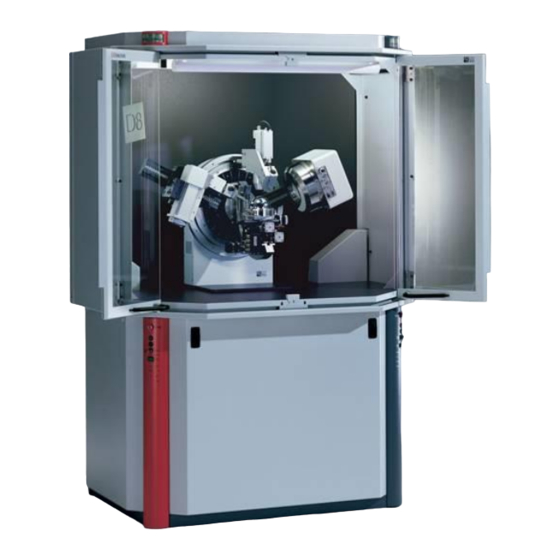
Bruker D8 Discover Standard Operating Procedure
X-ray diffractometer
Hide thumbs
Also See for D8 Discover:
- Standard operating procedure (13 pages) ,
- User manual (96 pages)
Advertisement
Quick Links
Bruker D8 Discover X-Ray Diffractometer
(You MUST be trained by an authorized BSCMC trainer to use this instrument)
Hazards:
This unit produces a high intensity X-ray beam. Take all precautions to avoid exposure to the x-rays.
Warning:
Beryllium! Do not touch the front window of either detector as they both contain Beryllium. Fumes
of the dust from Beryllium and its compounds can be hazardous if inhaled!
Typical Experiment Sequence:
1. Sign in on the electronic calendar
2. Visually check the diffractometer for instrument status.
3. Open the cooling water valves and turn the x-ray generator ON.
4. Launch the D8Tools software to check the system status and ramp the power up.
5. Launch the operating software:
a. GADDS for use with the HI-STAR area detector
b. Commander for use with the Scintillation detector.
6. Check the x-ray beam intensity
7. Load and align sample
a. Use the Laser-Video System with GADDS and the HI-STAR area detector
b. Use a Z-scan and half intensity method or the Laser-Video System with
Commander and the Scintillation detector.
8. Set up scan and save data.
9. Remove sample, reduce power, turn the generator off and shut off the cooling water
10. Sign out on the Sign electronic calendar Be sure that the calendar accurately
displays the number of hours the XRD was OCCUPIED by your experiment.
Standard Operating Procedure:
1
Advertisement

Related Manuals for Bruker D8 Discover


Summary of Contents for Bruker D8 Discover
- Page 1 Standard Operating Procedure: Bruker D8 Discover X-Ray Diffractometer (You MUST be trained by an authorized BSCMC trainer to use this instrument) Hazards: This unit produces a high intensity X-ray beam. Take all precautions to avoid exposure to the x-rays. Warning: Beryllium! Do not touch the front window of either detector as they both contain Beryllium.
- Page 2 Procedures for ALL X-Ray Diffraction Experiments on the Bruker D-8 Discover: Sign in on the electronic calendar at https://boisestate.ilabsolutions.com Visually check the diffractometer for instrument status. Check the machine status on either left or right column before using the machine. The “Ready” and “On” lights should be on.
- Page 3 Power OFF button: It switches off the control electronics, the high voltage generator and all components connected to the AC outlets. iii. Power ON button: It switches on the control electronics, the high voltage generator and all components connected to the AC outlets. High Voltage- Rotary Switch: Used for turning high voltage on or off.
- Page 4 c. Then physically look at the drive to determine which way it needs to go in order to be at the reference position i. If it needs to go in the positive direction to fulfill the reference position, push the find reference up button. Likewise, if the drive needs to go in the negative direction, push the find reference down button (→...
- Page 5 Procedures for X-Ray Diffraction Experiments using the point detector: 4. Launch the operating software: a. Open the Commander program for use with the point detector 5. Check the x-ray beam intensity (Make sure there is no sample or sample holder that will interfere with the path of the x-rays) NOTE: It is imperative that the copper absorbers are in place! If not, the...
- Page 6 iii. Make sure the y-scale is in CPS Set the increment to 0.01°/ and the scan speed to 0.2 step step Press the icon. c. Make sure that the max count rate is 65000 CPS or more. If not, please contact an authorized BSCMC trainer.
- Page 7 6. Load and align the sample (Depending on the sample and the stage, this can be done using the Laser-Video System or using a Z-scan) NOTE: Things to be careful of when loading your sample: • Do not touch the sollar slits •...
-
Page 8: Camera Zoom
Θ – Detector (In this case the HI-STAR area detector) φ (phi) – Rotation of the sample about the z-axis χ (chi/psi)– Rotation of the sample about the Eularian cradle Camera Zoom (1X ≤ Zoom ≤ 7X) iv. The Manual controller has two functions: 1. - Page 9 !!!Warning: Make sure that none of the drives will run into each other when they are moved since there are NO safety switches installed for this purpose. The “Emergency Stop” buttons can be used if needed but it is preferred to use the ESC/STOP button on the controller is you see a potential problem. v.
- Page 10 1. Back in the Direct Command window in Commander, type “RC1” and press “Send Command” to give control back to the computer. 2. Type “OC16,0” and press “Send Command” to turn the laser off. xi. Exit the Direct Command window by closing the prompt window. 6.b Align the Z-height the Z-scan half intensity method.
- Page 11 NOTE: All of the components including the X-ray beam, camera, and laser have been aligned to aim at a point which is called universal center of the goniometer. To align your sample surface at this universal center, you need to use the Manual Controller to move the XYZ table. 7.
-
Page 12: End Of Session
9. End of session a. Set the power generator to 20 kV and 5 mA by setting each scroll bar to the far left and pressing the SET icon. Make sure the generator reaches 20kV and 5mA prior to closing out of Commander.
Need help?
Do you have a question about the D8 Discover and is the answer not in the manual?
Questions and answers