Advertisement
Table of Contents
- 1 Table of Contents
- 2 Safety
- 3 General Information
- 4 Warning Labels
- 5 Safety Instructions
- 6 General
- 7 Installation
- 8 General Information
- 9 Delivery Scope
- 10 Site Requirements
- 11 Connecting VERTEX 70V to the Power Supply
- 12 Connecting VERTEX 70V to a PC
- 13 Connecting VERTEX 70V to the Vacuum Pump
- 14 Connecting VERTEX 70V to the Purge Gas Line
- 15 Operation
- 16 Purging the Spectrometer
- Download this manual
Advertisement
Table of Contents

Related Manuals for Bruker VERTEX 70v


Summary of Contents for Bruker VERTEX 70v
- Page 1 VERTEX 70v User Manual 1007253...
- Page 2 The following publication has been worked out with utmost care. However, Bruker Optik GmbH does not accept any liability for the correctness of the information. Bruker Optik GmbH reserves the right to make changes to the products described in this manual without notice.
-
Page 3: Table Of Contents
Connecting VERTEX 70v to the Power Supply ....11 Connecting VERTEX 70v to a PC ......12 Connecting VERTEX 70v to the Vacuum Pump . - Page 4 D Dimensional Drawings ......109 E Connecting VERTEX 70v to PC ..... . 115 General Information .
-
Page 5: Safety
Any non-observance of the precau- tions will infringe the intended use (i.e. performing spectroscopic measurements) of the spectrometer. In this case Bruker Optik GmbH will not assume any liability. It is the operator’s duty to plan and implement all necessary safety measures and to supervise their observance. -
Page 6: Warning Labels
The spectrometer and its components should only be used according to the instructions described in the manual or advised by a Bruker engineer. In case of accessories or components made by other manufacturers and used in connection with the spectrome- ter, Bruker does not assume any liability for safe operation and proper functioning. - Page 7 This warning symbol indicates the possible presence of radioactivity. When working with radioactive material, always observe the safety regulations and take all necessary protective measures (e.g. wearing protective cloth- ing, masks gloves etc.). Failure to do so may cause severe personal injury or even death. VERTEX 70v User Manual...
-
Page 8: Safety Instructions
Note draws your attention to particularly important information on the product, e.g. product operation or to a special part of the manual. The safety instructions Danger, Warning Caution stand out by the corresponding warning labels. VERTEX 70v User Manual... -
Page 9: General
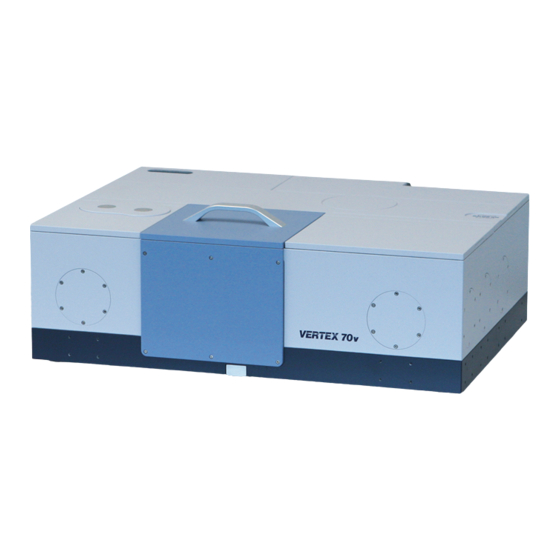
VERTEX 70v has five IR-beam outlet ports (on the right, front and left side) and two IR- beam inlet ports (on the right and rear side) allowing the connection of a multitude of optional accessories and/or components like: •... - Page 10 VERTEX 70v is supplied with an efficient vacuum pump that can evacuate the spec- trometer optics within a few minutes. The oil-free vacuum pump prevents the spectrom- eter optics from being contaminated by hydrocarbons.
-
Page 11: Installation
............Unpacking and initial installation of VERTEX 70v is done by Bruker service engineers. - Page 12 T r a n s p o r t a t i o n Due to its weight (about 105kg), VERTEX 70v has to be carried by at least four persons using the supplied transport handles. For transportation purposes, attach these handles properly to the right and left spectrometer side as shown in figure 1 using 12 screws (M5 x 16).
-
Page 13: Site Requirements
Humidity (non-condensing): 80% (relative humidity) Temperature variations can impair the results of long-term measurements. Therefore, the temperature variations should be less than 1°C per hour and should not exceed 2°C per day for this type of measurement. VERTEX 70v User Manual... - Page 14 Valid voltage range: 100 V AC to 240 V AC Valid frequency range: 50 to 60 Hz VERTEX 70v is an instrument of the protection class I. Caution: To avoid personal injury and spectrometer damage, connect the spectrometer only to a socket outlet with earthing contact.
-
Page 15: Connecting Vertex 70V To The Power Supply
I N S T A L L A T I O N Connecting VERTEX 70v to the Power Supply C O N N E C T I N G V E R T E X 7 0 V T O T H E P O W E R S U P P L Y . -
Page 16: Connecting Vertex 70V To A Pc
(labelled “Cross-over”) with two RJ-45 plugs. This cable is only used for the direct con- nection of VERTEX 70v to a computer. If you intend to connect the spectrometer to a network, a different type of cable (i.e. non-crossover, CAT 5 cable for the 10Base-T Eth- ernet standard) is required. -
Page 17: Connecting Vertex 70V To The Vacuum Pump
I N S T A L L A T I O N Connecting VERTEX 70v to the Vacuum Pump C O N N E C T I N G V E R T E X 7 0 V T O T H E V A C U U M P U M P . - Page 18 Attachment Flange Flexible Metal Hose Figure 5: Connecting VERTEX 70v to Vacuum Pump - Step 1 • Press the supplied flexible metal hose against the attachment flange (figure 6a) and attach the hose to the flange using the supplied hose clamp (figure 6b).
-
Page 19: Connecting Vertex 70V To The Purge Gas Line
............As an alternative to the vacuum operation, VERTEX 70v can be purged with either dry air or dry nitrogen gas. -
Page 20: Operation
I N S T A L L A T I O N Connecting VERTEX 70v to the Purge Gas Line Purge gas inlet for Purge gas inlet for optical bench. sample compartment. (Note: In case of vacuum (Note: In case of vacuum...
Need help?
Do you have a question about the VERTEX 70v and is the answer not in the manual?
Questions and answers