Advertisement
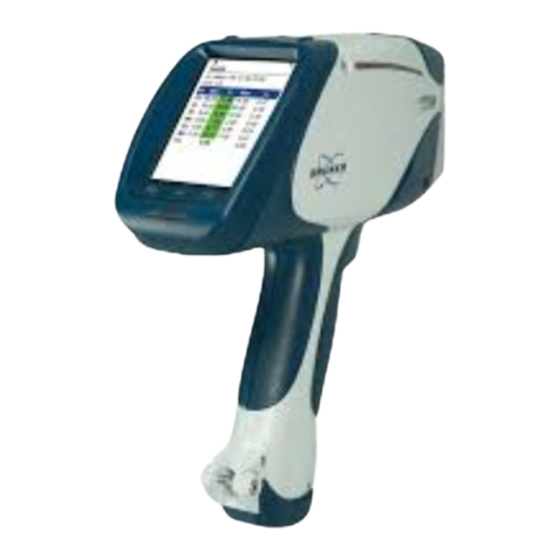
S1 TITAN
Before You Begin...
The S1 TITAN is an X‐ray genera ng device and should only be operated by individuals who have completed
an approved radia on safety program. Refer to the S1 TITAN User Guide for informa on related to the safe
opera on of the S1 TITAN.
Step 1
Insert a fully‐charged ba ery, or connect an approved AC adapter. Press the
power switch. Wait for the Logon Screen to appear. Tap the Logon bu on.
Log on to the analyzer by entering the operator passcode. A Radia on Warning
message will display. Squeeze and release the trigger to con nue.
Step 3
Select the applica on which matches your sample type from the APPLICATION
menu. By default, the S1 TITAN is configured to select the appropriate
Method, Se ngs, and Display.
Apply the nose of the analyzer to the sample (the nose must remain in contact with
the sample during the en re assay). The armed LED (see Step 1) will light yellow to
show that the IR proximity sensor is covered (required for X‐rays to be generated).
Pull the trigger to begin analysis.
WARNING: X‐rays are generated during this me.
When sa sfied with the results, release the trigger to stop the analysis.
QuickStart
REORDER: 040.0075.01.0
Step 2
Step 4
Advertisement
Table of Contents

Related Manuals for Bruker S1 TITAN


Summary of Contents for Bruker S1 TITAN
-
Page 1: Before You Begin
S1 TITAN QuickStart Before You Begin… The S1 TITAN is an X‐ray genera ng device and should only be operated by individuals who have completed an approved radia on safety program. Refer to the S1 TITAN User Guide for informa on related to the safe opera on of the S1 TITAN. Step 1 Insert a fully‐charged ba ery, or connect an approved AC adapter. Press the power switch. Wait for the Logon Screen to appear. Tap the Logon bu on. Step 2 Log on to the analyzer by entering the operator passcode. A Radia on Warning message will display. Squeeze and release the trigger to con nue. Step 3 Select the applica on which matches your sample type from the APPLICATION menu. By default, the S1 TITAN is configured to select the appropriate Method, Se ngs, and Display. Step 4 Apply the nose of the analyzer to the sample (the nose must remain in contact with the sample during the en re assay). The armed LED (see Step 1) will light yellow to ... - Page 2 WARNING HIGH INTENSITY X-RAYS DO NOT EXPOSE ANY PART OF BODY TO THE BEAM In case of emergency, or if your analyzer is lost, stolen, or damaged, immediately contact Bruker at (800) 466‐5323 or (509) 783‐9850 and no fy the appropriate regulatory and law enforcement agencies in your state or country. PRECAUTIONS Do not allow anyone other than trained and cer fied personnel to operate the S1 TITAN. Be aware of the direc on that the X‐rays travel when the red lamp is on and avoid placing any part of your body (especially the eyes or hands) near the examina on area during measurement. Never hold a sample to the window for analysis by hand; hold the window to the sample. The IR proximity sensor located on the nose is designed to prevent the emission of X‐rays in the absence of an object. Do not a empt to defeat this important safety feature as it may result in unnecessary exposure to the operator. Pregnant women who use the S1 TITAN should be aware that improper handling or improper use of the instrument could result in radia on exposure which may be harmful to a developing fetus. If required by a regulatory agency, wear an appropriate dosimeter when opera ng the S1 TITAN. ...
Need help?
Do you have a question about the S1 TITAN and is the answer not in the manual?
Questions and answers
how to change language option Bruker S1 Titan