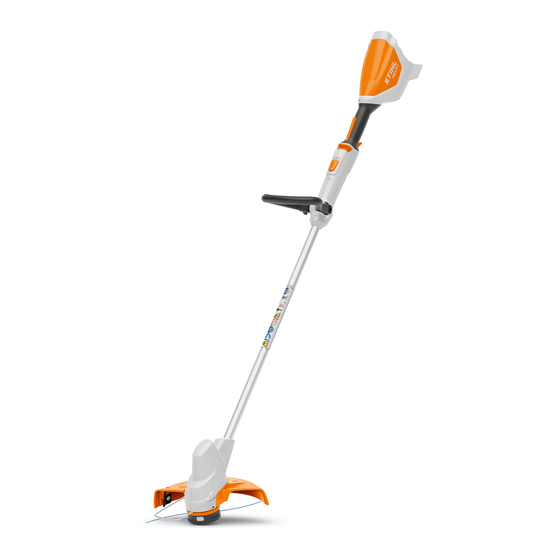
Stihl FSA 57 Instruction Manual
Hide thumbs
Also See for FSA 57:
- User manual ,
- Instruction manual (328 pages) ,
- Instruction manual (288 pages)
Table of Contents
Advertisement
Advertisement
Table of Contents

Subscribe to Our Youtube Channel
Summary of Contents for Stihl FSA 57
- Page 1 STIHL FSA 57 2 - 19 Instruction Manual...
-
Page 2: Table Of Contents
STIHL expressly commit themselves to a sus‐ tainable and responsible handling of natural resources. This user manual is intended to help you use your STIHL product safely and in an environmentally friendly manner over a long service life. We thank you for your confidence in us and hope you will enjoy working with your STIHL product. -
Page 3: Overview
3 Overview English Overview 13 Appliance Plug Connects cable to wall outlet. Trimmer, Battery and Charger 14 Connecting Cable Connects charger to appliance plug. 15 Charger Charges the battery. 16 Battery Supplies power to the trimmer. 17 LEDs Indicate battery’s state of charge and mal‐ functions. -
Page 4: Safety Precautions
Intended Use The data next to this symbol indicates the energy content of the battery according to The STIHL FSA 57 trimmer is designed for mow‐ the cell manufacturer’s specification. The ing grass. energy content available during operation is lower. - Page 5 ► If you have any queries: Contact a STIHL assess them. Bystanders, children and ani‐ servicing dealer for assistance.
- Page 6 ► Do not expose battery to high pressure. erly mounted. ► Do not expose battery to microwaves. – Genuine STIHL accessories for this brushcut‐ ► Protect battery from chemicals and salts. ter are fitted. – The accessories are correctly attached.
- Page 7 ► Do not open the battery. ► If you have any queries: Contact your STIHL ► Replace worn or damaged warning signs. servicing dealer. ■ Fluid may leak from a damaged battery. If the 4.6.3...
- Page 8 ► If the battery emits an unusual odour or ► Stop work, remove the battery and contact smoke: do not use the battery and keep it your STIHL servicing dealer for assistance. away from flammable materials. ■ Trimmer vibrations may occur during opera‐...
- Page 9 4 Safety Precautions English ► Never touch the connecting cable, extension ► Mount the charger on the wall as described cable or their plugs with wet hands. in this instruction manual. ► Insert the plug of the connecting cable or ■...
- Page 10 ■ The charger is not protected against all ambi‐ repairs: Contact your STIHL servicing dealer ent conditions. The charger may be damaged for assistance. if it is exposed to certain ambient conditions.
-
Page 11: Preparing Trimmer For Operation
STIHL dealer for assistance. charging process. There is a malfunction in the trimmer. ► If you cannot carry out the above steps: Do not use your trimmer and contact your STIHL dealer for assistance. Charging the Battery, LEDs Mounting the Charger on a Wall The charger can be mounted on a wall. -
Page 12: Assembling The Trimmer
English 7 Assembling the Trimmer State of Charge The deflector (2) is tight against the housing. ► Insert and tighten down the screws (3) firmly. The deflector (2) must not be removed again. 80-100% 60-80% 40-60% Mounting and Removing the 20-40% Mowing Head 7.2.1... -
Page 13: Adjusting Trimmer For User
8 Adjusting Trimmer for User English ► Loosen the star knob nut (1). ► Line up the loop handle (2) so that the recess ► Swing the loop handle (2) to the required posi‐ for the star knob nut (1) is on the right of the tion. -
Page 14: Switching The Trimmer On/Off
The battery (2) is unlocked and can be ► If the trigger can be pulled: Do not use your removed. trimmer and contact your STIHL dealer for 10 Switching the Trimmer assistance. Release slide or trigger lockout is faulty. -
Page 15: Operating The Trimmer
Adjusting Nylon Line of Tests and Criteria, Part III, sub-section 38.3. ► Tap the rotating mowing head on the ground. For transport regulations see www.stihl.com/ About 30 mm of fresh nylon line is advanced. safety-data-sheets The line limiting blade in the deflector trims the mowing lines to the correct length. -
Page 16: Storing
► Wind up the connecting cable and attach it to Every 12 months the charger. ► Have the trimmer checked by a STIHL servic‐ ► Observe the following points when storing the ing dealer. charger: 18 Repairing –... -
Page 17: Troubleshooting
19 Troubleshooting English ► If the charger has a malfunction or is dam‐ connecting cable replaced by a STIHL servic‐ aged: Replace the charger. ing dealer. ► If the connecting cable has a malfunction or is damaged: Do not use the charger and have 19 Troubleshooting 19.1... -
Page 18: Specifications
2 dB(A). K-value (uncertainty) for vibra‐ tion levels is 2 m/s². 20.1 STIHL FSA 57 Trimmer STIHL recommends that you wear hearing pro‐ – Approved battery: STIHL AK tection. – Weight without battery, cutting attachment and – Sound pressure level L... -
Page 19: Spare Parts And Accessories
24.1 STIHL FSA 57 brushcutter The complete EC Declaration of Conformity is ANDREAS STIHL AG & Co. KG available from ANDREAS STIHL AG & Co. KG, Badstraße 115 Badstrasse 115, 71336 Waiblingen, Germany. D-71336 Waiblingen Germany declare under our sole responsibility that –... - Page 20 *04588060121B* 0458-806-0121-B...


Need help?
Do you have a question about the FSA 57 and is the answer not in the manual?
Questions and answers