Stihl FSA 56 Instruction Manual
Electric trimmer
Hide thumbs
Also See for FSA 56:
- Instruction manual (76 pages) ,
- Instruction manual (144 pages) ,
- Instruction manual (396 pages)
Table of Contents
Advertisement
Advertisement
Table of Contents
Troubleshooting

Related Manuals for Stihl FSA 56


Summary of Contents for Stihl FSA 56
- Page 1 STIHL FSA 56 Instruction Manual...
-
Page 3: Table Of Contents
Maintenance and Repairs ......20 7.2 STIHL AutoCut 2-2 Mowing Head ....14 17.1 Servicing and Repairing the Trimmer. -
Page 4: Introduction
19.2 STIHL AK Battery ........23 The products are designed for reliability even under extreme 19.3 Charger STIHL AL 101 . -
Page 5: Symbols Used With Warnings In The Text
English 3 Overview Symbols used with warnings in the text 3 Overview WARNING Trimmer, Battery and Charger This symbol indicates dangers that can cause serious injuries or death. ► The measures indicated can avoid serious injuries or death. NOTICE This symbol indicates dangers that can cause damage to property. -
Page 6: Cutting Attachments
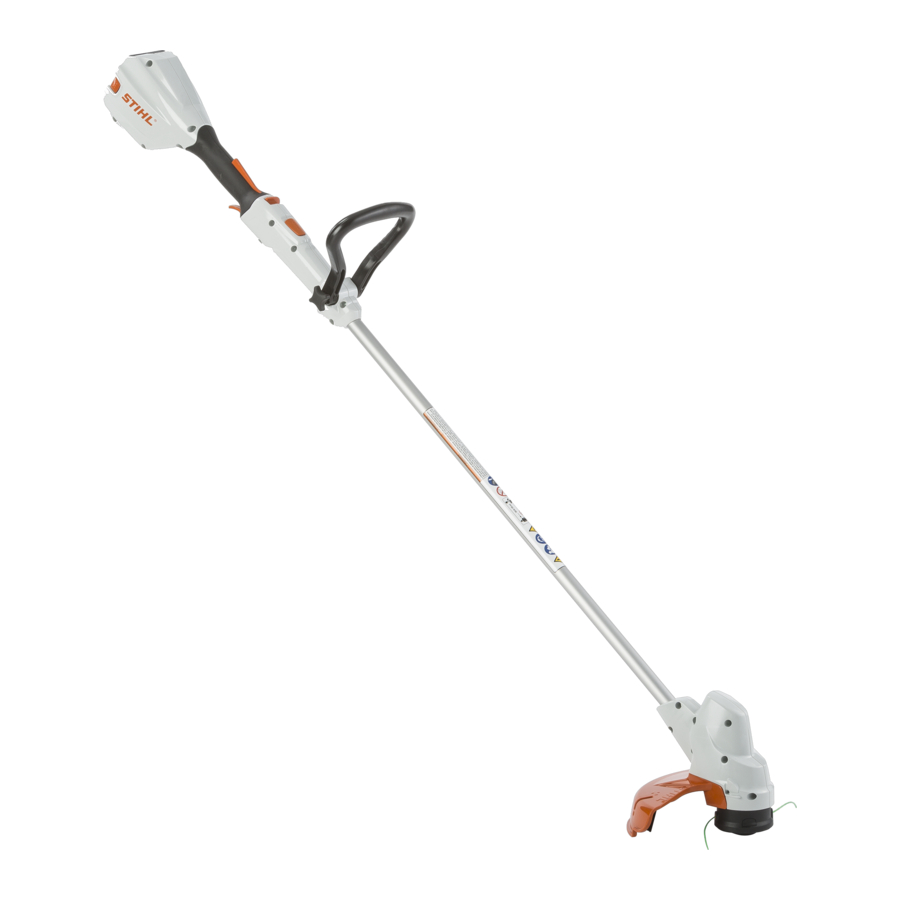
English 3 Overview Cutting Attachments 6 Lock Button Locks the shaft at the required length. 7 Star Knob Nut Secures loop handle to shaft. 8 Loop Handle For holding and controlling the trimmer. 9 Shaft Connects all components. 10 LED The LED indicates the operating status of the charger. -
Page 7: Safety Precautions
Observe battery’s specified temperature range. Observe safety notices and take the necessary precautions. Read, understand and save the instruction Intended Use manual. The STIHL FSA 56 grass trimmer is designed for mowing dry grass. The STIHL AK battery supplies power to the trimmer. 0458-713-0121-B... -
Page 8: The Operator
■ Batteries and chargers not explicitly approved for the – The user must be legally recognized as trimmer by STIHL may cause a fire or explosion. This can an adult. result in serious or fatal injuries and damage to property. -
Page 9: Work Area And Surroundings
English 4 Safety Precautions ■ The user can come into contact with the rotating cutting 4.5.2 Battery attachment during operation. This can result in serious WARNING injuries. ► Wear work gloves made of durable material. ■ Children are not aware of and cannot assess the dangers of the battery and can be seriously injured. -
Page 10: Safe Condition
► Use and store the charger at a temperature ► Never mount metal cutting attachments. between +5°C and +40°C. ► Only fit original STIHL accessories designed for this ■ Persons may trip over the connecting cable. This can trimmer. result in injuries and may damage the charger. - Page 11 English 4 Safety Precautions ► If you have any queries: Contact your STIHL servicing ► If the battery is dirty or wet: Clean the battery and allow dealer. it to dry. ► Never attempt to modify the battery. 4.6.3 Mowing Head ►...
-
Page 12: Operation
► Do not use a damaged charger. ► Stop work, remove the battery and contact your STIHL ► If the charger is dirty or wet: Clean the charger and allow servicing dealer. -
Page 13: Transporting
English 4 Safety Precautions Transporting ■ During charging, an incorrect mains voltage or incorrect mains frequency may result in an overvoltage in the 4.9.1 Trimmer charger. The charger may be damaged. WARNING ► Make sure that the mains voltage and the mains frequency of the power supply match the data on the rating plate of the charger. -
Page 14: Cleaning, Maintenance And Repairs
English 4 Safety Precautions ■ The charger is not protected against all ambient ► Remove the battery. conditions. The charger may be damaged if it is exposed to certain ambient conditions. ► Remove the battery. ► If the charger is hot: Allow charger to cool down. ►... -
Page 15: Preparing Trimmer For Operation
This can ► If 3 LEDs flash red while you are checking the controls: result in serious injuries. Remove the battery and contact your STIHL servicing dealer. ► Clean the trimmer, deflector, cutting attachment, battery There is a malfunction in the trimmer. -
Page 16: State Of Charge
The deflector (2) must not be removed again. malfunctions in the trimmer or battery. The LEDs can glow or flash green or red. STIHL AutoCut 2-2 Mowing Head The state of charge is indicated when the LEDs glow or flash green. -
Page 17: Mounting The Loop Handle
English 8 Adjusting Trimmer for User ► Thread the ends of the nylon lines (4) from the spool (2) ► Line up the loop handle (2) so that the recess for the star through the openings (1) in the mowing head (5). knob nut (1) is on the right of the control handle and the openings in the loop handle (2) are facing the operator. -
Page 18: Adjusting The Loop Handle
English 9 Removing and Fitting the Battery 9 Removing and Fitting the Battery Fitting the Battery ► Depress lock button (1) and hold it in that position. ► Pull or push the control handle (2) to the required position. ► Release the lock button (1). ►... -
Page 19: Switching The Trimmer On/Off
Trigger switch lockout and trigger ► Remove the battery. 10 Switching the Trimmer On/Off ► Try to pull the trigger. ► If the trigger can be pulled: Contact your STIHL servicing dealer. 10.1 Switching On The trigger lockout is faulty. -
Page 20: Testing The Battery
► Press button on battery. The LEDs glow or flash. ► If the LEDs do not glow or flash: Do not use the battery and contact your STIHL servicing dealer. There is a malfunction in the battery. 12 Operating the Trimmer 12.1 Holding and Controlling the Trimmer... -
Page 21: Transporting
► Adjust shaft to its shortest length. 15.2 Storing the Battery ► Carry the trimmer properly balanced by the shaft with the STIHL recommends that you store the battery with a charge cutting attachment behind you. between 40 % and 60 % (2 LEDs glow green). -
Page 22: Cleaning
► If your trimmer has a malfunction or is damaged or – The charger is clean and dry. requires servicing: Contact your STIHL servicing dealer. – The charger is in an enclosed room. – The charger is separate from the battery. -
Page 23: Troubleshooting
► Remove battery and insert it again. the battery. ► Switch on the trimmer. ► If 4 LEDs continue to flash red: Do not use the battery and contact your STIHL servicing dealer. No electrical contact ► Remove the battery. between trimmer and ►... -
Page 24: Troubleshooting Charger
LED flashes red. No electrical contact ► Remove the battery. charged. between charger and ► Clean contacts on charger. battery. ► Fit the battery. Malfunction in charger. ► Do not use the charger and contact your STIHL servicing dealer. 0458-713-0121-B... -
Page 25: Specifications
– Charging current: see rating plate – Permissible temperature range for use and storage: + 5 °C to + 40 °C The charging times are indicated at www.stihl.com/ charging-times. 19.4 Noise and Vibration Data STIHL recommends that you wear hearing protection. -
Page 26: Combinations Of Cutting Attachments And Deflectors
ANDREAS STIHL AG & Co. KG Badstrasse 115 Mowing head cannot be installed by the user. D-71336 Waiblingen ► Have the required mowing head installed by a STIHL Germany servicing dealer. confirms that the product described below 21 Spare Parts and Accessories –... -
Page 27: Stihl Al 101 Charger Conformity Notice
This charger has been manufactured and put on the market in accordance with the following directives: 2014/35/EU, 2014/30/EU and 2011/65/EU. The complete EC Declaration of Conformity is available from ANDREAS STIHL AG & Co. KG, Badstrasse 115, 71336 Waiblingen, Germany. 0458-713-0121-B... - Page 28 0458-713-0121-B englisch www.stihl.com *04587130121B* 0458-713-0121-B...
Need help?
Do you have a question about the FSA 56 and is the answer not in the manual?
Questions and answers