
Related Manuals for KegLand KL20671


Summary of Contents for KegLand KL20671
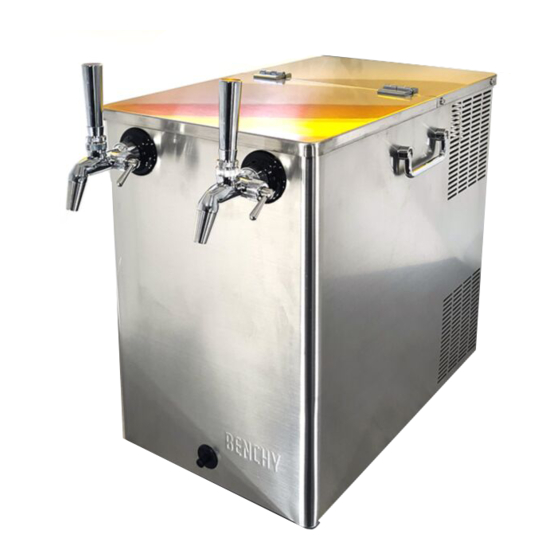
- Page 1 Benchy Sparkling - Instruction Manual KL20671 Instruction Manual KegLand Distribution PTY LTD www.KegLand.com.au Last Updated 20/07/2021 10:11 AM Page 1 of 12...
- Page 2 Benchy Sparkling - Instruction Manual www.KegLand.com.au WARNING IF THE BENCHY HAS JUST BEEN MOVED DO NOT TURN ON UNLESS IT HAS BEEN STANDING UPRIGHT FOR 24 HOURS. FAILURE TO DO SO WILL VOID WARRANTY. STAND THE BENCHY IN THE UPRIGHT POSITION FOR 24 HOURS...
-
Page 3: Installation Checklist
I have not exceeded the pressures which are stated on the data plate on the unit. I have read and followed the instruction manual in its entirety and will now conduct a leak test prior to leaving the unit unattended. www.KegLand.com.au Last Updated 20/07/2021 10:11 AM Page 3 of 12... -
Page 4: Sight Glass Assembly
The reservoir can easily be accessed flipping the top plate closest to the sight glass over. Add water to the reservoir using a jug or funnel as shown below until the cooling coils are completely submerged. Check for any leaks after filling. www.KegLand.com.au Last Updated 20/07/2021 10:11 AM Page 4 of 12... - Page 5 Benchy Sparkling - Instruction Manual Figure 1. Benchy Sparkling Under Counter Plumbing Diagram KL11143 KL20671 KL06224 KL06224 KL11143 KL07481 KL07481 KL17756 https://w ww.kegl and.com. au/pe- water- KL20671 line- KL20671 KL23917 beer- KL06224 gas- 4mm-5- 32-x-6- 3mm-1- 4-10m- KL06224 / KL06231...
- Page 6 3. Secure the shank with a 5/8” nut internally and firmly tighten the duotight fitting onto the short shank thread. 4. Tighten the shank collar onto your tap firmly with a 7 in 1 tool (KL07672). www.KegLand.com.au Last Updated 20/07/2021 10:11 AM Page 6 of 12...
- Page 7 5. Insert the sparkling water OUT and cold still water OUT tubing securely into the duotight fittings on the back of the shanks. To correctly insert the tubing into the duotight fitting refer to the push in fittings instructions below. www.KegLand.com.au Last Updated 20/07/2021 10:11 AM Page 7 of 12...
- Page 8 Insertion of EVABarrier Tubing into push in Fittings www.KegLand.com.au Last Updated 20/07/2021 10:11 AM Page 8 of 12...
- Page 9 The Benchy Sparkling can also be used to dispense only sparkling water if preferred. To achieve this, simply plug the cold still water OUT push in fitting with an 8mm plug (KL06958). www.KegLand.com.au Last Updated 20/07/2021 10:11 AM Page 9 of 12...
-
Page 10: Leak Testing
Step 1. Ensure mains water into the Benchy Sparkling is turned off, the regulator adjustment knob is turned fully counter clockwise and the unit is connected too all dispensing taps. www.KegLand.com.au Last Updated 20/07/2021 10:11 AM Page 10 of 12... - Page 11 The reservoir should not be set below 2°C as there is a risk of the water freezing which can damage the Benchy Sparkling. To change the reservoir set temperature refer to the following instruction manual. KegLand STC1000 Instructions www.KegLand.com.au Last Updated 20/07/2021 10:11 AM...
-
Page 12: Warranty (Australia)
If you purchased your unit from an international distributor, you will be required to go through their warranty claims process. Terms & Conditions For a full terms and conditions, please visit our website here -> www.KegLand.com.au Last Updated 20/07/2021 10:11 AM Page 12 of 12...
Need help?
Do you have a question about the KL20671 and is the answer not in the manual?
Questions and answers