Table of Contents

Related Manuals for KegLand CANNULAR


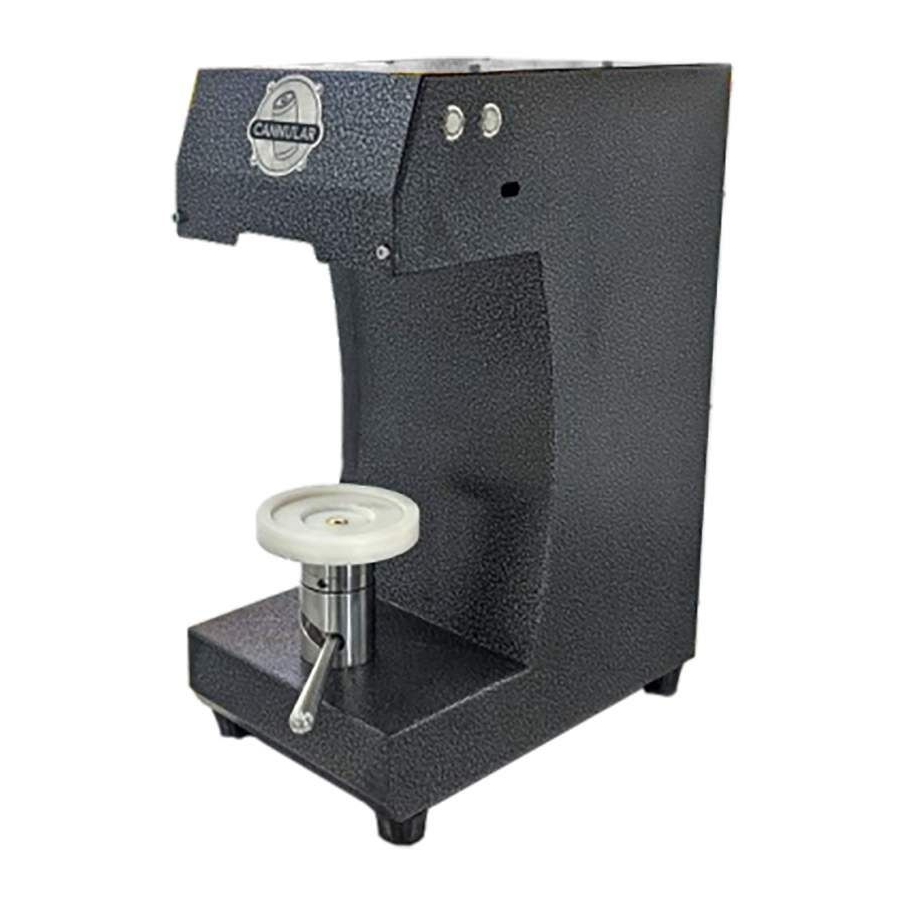
Summary of Contents for KegLand CANNULAR
- Page 1 KL25164 - Cannular Fully Automatic - Single Lane Quick Start Manual Fully Automatic Cannular Canning Machine Single Lane KegLand Distribution PTY LTD www.KegLand.com.au www.KegLand.com.au Last Updated 1/07/2022 9:44 AM Page...
-
Page 2: Table Of Contents
KL25164 - Cannular Fully Automatic - Single Lane Contents 1.0 – Level your Cannular using a spirit level in relation to the filling/seaming table......3 2.0 - Identifying parts on the Cannular Single Lane Canning System ............ 4 2.1 - Beverage Line / Liquid Flow Meter................... 4 2.2 –... -
Page 3: Level Your Cannular Using A Spirit Level In Relation To The Filling/Seaming Table
It is important to level the filling/seaming table using a spirit level. Drop/Raise the levelling foot in each corner of the Cannular to level out the machine. Rotate the red cog on the castor wheel assembly to raise or lower the levelling feet. -
Page 4: Identifying Parts On The Cannular Single Lane Canning System
We have found using a G40 set to -2°C with 2m of 5mm x 8mm EVABarrier from Keg to G40, and a short line (1m) from the G40 to Cannular to be a suitable option. The more insulation you give your liquid line, the better the temperature stability of your beverage. -
Page 5: Compressed Air Inlet
Inlet Fitting = 8mm OD Push In Fitting. Requirements: The Cannular requires an inlet air pressure of 100psi (7 BAR) to function optimally. The Filter / Water trap will need to be emptied on a regular basis depending on your air quality. -
Page 6: Co2 Inlet For Purging
KL25164 - Cannular Fully Automatic - Single Lane 2.3 – CO2 Inlet for Purging Inlet Fitting = 8mm OD Push In Fitting. We recommend not exceeding 3psi worth of CO for the oxygen reducing purging pre-filling process. Please note depending on your can volumes you may need to set the Timer Parameters in the PLC longer or shorter. -
Page 7: Sanitiser Inlet (Pre Can Filling Sanitiser Spray And Post Seam Spritz)
KL25164 - Cannular Fully Automatic - Single Lane 2.4 – Sanitiser Inlet (Pre Can Filling Sanitiser Spray and Post Seam Spritz) Inlet Fitting = 13mm OD Barb x 1/2" Male Thread Please note: DO NOT EXCEED 15PSI, this silicone hosing cannot withstand large amounts of pressure and will burst under pressures higher than 15PSI. -
Page 8: Can Lid Dropper Apparatus
KL25164 - Cannular Fully Automatic - Single Lane 2.5 – Can Lid Dropper Apparatus This section will require adjustment out of box if you are not using 500mL cans. For a complete walkthrough process, the cans tested would ideally be filled with carbonated water. Or still water if sparkling is not available. - Page 9 KL25164 - Cannular Fully Automatic - Single Lane 2.6 – Can Platform Raising Apparatus This section will require adjustment again if you are not using 500mL cans. 2.6.1 – Ensure your air supply is still turned off. 2.6.2 – Place the previous can you have tested with the lid dropping apparatus further forward onto the can lifting platform.
-
Page 10: Automatic Can Seam Testing (Using Water)
Can Raise Delay or else the First Operation roller will start to engage before the can is fully engaged with the chuck. This is crucial to setting up the Cannular system. If you are not familiar with the functions of these Timers, it is best to take note of the default values and adjust the setting you’re not familiar with up by to 10 seconds and run a can through. -
Page 11: Beverage Filling In Automatic Mode
B64 Can ends The Cannular Full Auto Canning Line should already be calibrated upon arrival however if it has gone out of specification during transit or over the course of its life you may need to adjust the position of the rollers to achieve a hermetic double seam which is within tolerances. -
Page 12: Setting The Roller Gap (X-Axis)
After adjusting the roller gap and before operating the Cannular it is vital that you check that the roller does not make contact with the chuck. To confirm this, disconnect the air supply to the unit. -
Page 13: Warranty And Support (Australia)
KL25164 - Cannular Fully Automatic - Single Lane Warranty and Support (Australia) To lodge a warranty claim in Australia please forward as many visual pieces of supporting information and a detailed description of your issue to If you purchased your unit from an international distributor, you will be required to go through their warranty claims process.
Need help?
Do you have a question about the CANNULAR and is the answer not in the manual?
Questions and answers