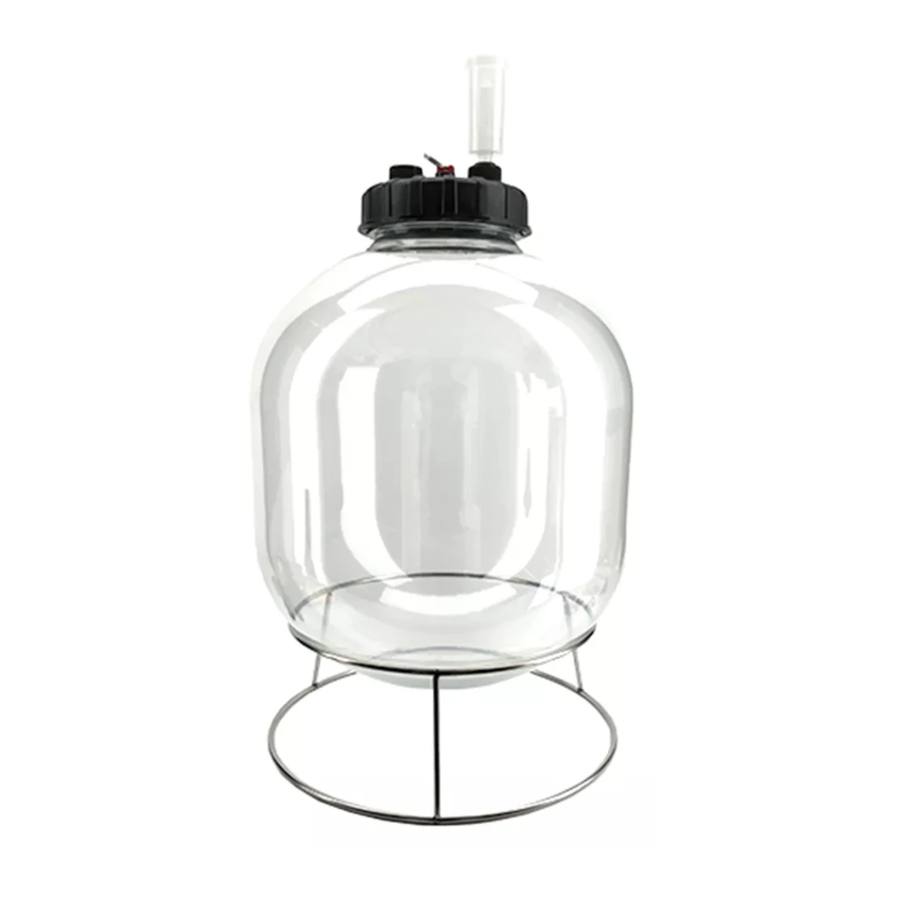
KegLand Fermzilla Instruction Manual
Starter kit
Hide thumbs
Also See for Fermzilla:
- Instruction sheet (10 pages) ,
- Instruction manual (9 pages) ,
- Instruction manual (6 pages)
Advertisement
Starter Kit Instruction Manual
Starter Kit Instruction Manual
(for 27L and 55L models)
This instruction sheet contains vital information that is related to the safe usage and handling of the
FermZilla Uni Tank. It is vital that you read this instruction sheet from front to back before using the
product! THIS IS FOR YOUR OWN SAFETY
Ferment, Clarify, Dispense. The uni tank that does it all.
www.KegLand.com.au
Last Updated 1/30/2018 8:44 PM
Page 1 of 9
Advertisement
Table of Contents

Summary of Contents for KegLand Fermzilla
- Page 1 This instruction sheet contains vital information that is related to the safe usage and handling of the FermZilla Uni Tank. It is vital that you read this instruction sheet from front to back before using the product! THIS IS FOR YOUR OWN SAFETY Ferment, Clarify, Dispense.
- Page 2 4. If you connect external pressure source ensure it has independent PRV pre-set to 45psi or below. 5. Do not tamper with pressure relief valve. Only use the red colored supplied by KegLand. 6. If the fermenter is scratched, damaged or has been under any physical duress; do not use the fermenter under pressure.
- Page 3 Butterfly Dump Valve Assembly is sold separately as an (KL11389) upgrade. This is recommended if you want to use the FermZilla for elevated temperatures up to 100C (212F) 1L Collection Collection 304 Stainless 8 Leg Stand Container with Lid, Caps and...
- Page 4 Butterfly Dump Valve Seal Kit (KL11457) This includes: Cone Seal (KL12690) Spigot O-Ring (KL12706) Gate Gasket (KL12713) Collection Container O-Ring 1L Collection Container (KL11372) (KL11365) This Includes Collection Container O-Ring and Lid and Caps www.KegLand.com.au Last Updated 1/30/2018 8:44 PM Page 4 of 9...
- Page 5 Starter Kit Instruction Manual FermZilla – Lid Assembly 1. Ensure the lid assembly has the o-ring attached. 2. Apply some food grade lubricant to the o- ring to extend the life of this o-ring and threads. 3. Place the lid onto the neck of the tank and screw down the threaded lid ring.
- Page 6 Starter Kit Instruction Manual FermZilla – Dump Valve Assembly 1. Ensure the double threaded spigot has both the o-ring around the base and the cone shaped seal around the conical part of the threaded spigot. (see below) www.KegLand.com.au Last Updated 1/30/2018 8:44 PM...
- Page 7 Starter Kit Instruction Manual 2. Once the threaded spigot sticks out the bottom of the FermZilla use the thread ring to secure the spigot onto the tank. NOTE: This is a LEFT HAND THREAD. This has been designed with a left hand...
- Page 8 5. Carbonation of small samples of product 6. Yeast culturing container The FermZilla collection container has also conveniently manufactured with heat resistant Tritan plastic meaning it’s not only robust and chemical resistant, but also heat resistant and will handle extended contact in hot water 100C (212F) Yeast Harvesting 1.
- Page 9 With the FermZilla it’s possible to ferment at higher temperatures, faster speeds and produce cleaner beers. In order to do this we would recommend you to purchase the additiona parts: a) 2 x Carbonation caps.


Need help?
Do you have a question about the Fermzilla and is the answer not in the manual?
Questions and answers