Do you have a question about the Fire-Lite FL-PS6 and is the answer not in the manual?
Questions and answers
Jay Maier
May 8, 2025
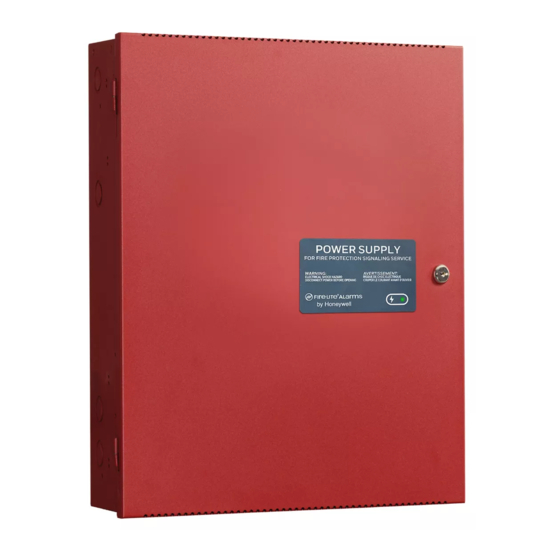
Have a Fl-ps10, was wondering how you read the trouble history
1 comments:
Mr. Anderson
May 19, 2025
To read the trouble history on a Honeywell FL-PS6, set DIP switch position 9 to OFF and position 10 to ON. This activates the trouble history mode. The output trouble LEDs will display the stored trouble conditions. The trouble history will be erased when the switch is returned to Normal mode.


Need help?
Do you have a question about the Fire-Lite FL-PS6 and is the answer not in the manual?
Questions and answers
Have a Fl-ps10, was wondering how you read the trouble history
To read the trouble history on a Honeywell FL-PS6, set DIP switch position 9 to OFF and position 10 to ON. This activates the trouble history mode. The output trouble LEDs will display the stored trouble conditions. The trouble history will be erased when the switch is returned to Normal mode.
This answer is automatically generated