Table of Contents
Advertisement
Quick Links
Item #1003 939 861
1003 939 803
Model #ASTR55-PC-4K-GR
ASTR75-PC-4K-GR
USE AND CARE GUIDE
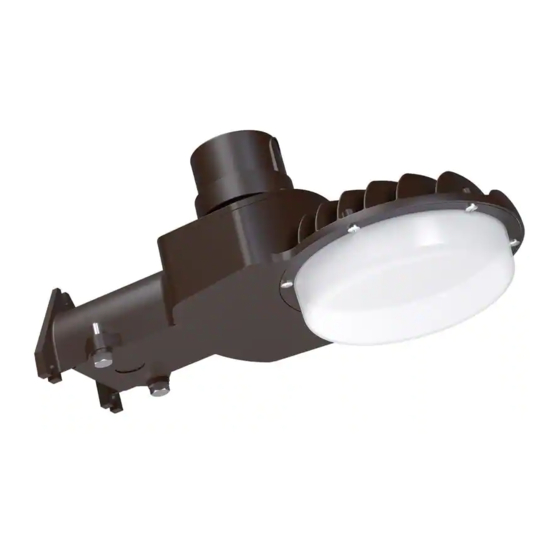
ASTRA LED AREA LIGHT
Questions, problems, missing parts? Before returning to the store,
call Commercial Electric Customer Service
9 a.m. - 5 p.m., EST, Monday - Friday
1-844-548-3776
HOMEDEPOT.COM
THANK YOU
We appreciate the trust and confidence you have placed in Commercial Electric through the purchase of this LED area light. We strive to
continually create quality products designed to enhance your home. Visit us online to see our full line of products available for your home
improvement needs. Thank you for choosing Commercial Electric!
Advertisement
Table of Contents

Related Manuals for Commercial Electric ASTR55-PC-4K-GR


Summary of Contents for Commercial Electric ASTR55-PC-4K-GR
- Page 1 THANK YOU We appreciate the trust and confidence you have placed in Commercial Electric through the purchase of this LED area light. We strive to continually create quality products designed to enhance your home. Visit us online to see our full line of products available for your home...
-
Page 2: Table Of Contents
Table of Contents Hardware Included ....... . . 3 Safety Information ........2 Package Contents . -
Page 3: Limitation Of Liability
Warranty (continued) LIMITATION OF LIABILITY In no event shall the manufacturer be liable for indirect, consequential, incidental or special damages, or lost profits. The manufacturer is not liable for any claims or damage arising out of or connected with the manufacture, sale, delivery, use, maintenance and repair or modification of the manufacturer products, or supply of any replacement parts that exceed the purchase price of the manufacturer products giving rise to a claim. -
Page 4: Package Contents
Pre-Installation (continued) HARDWARE INCLUDED NOTE: Hardware not shown to actual size. Part Description Quantity Part Description Quantity Hex head lag bolt Photocell black cover label Wire nut Mounting bracket Flat washer Rubber grommet PACKAGE CONTENTS Part Description Quantity Light fixture NEMA Twist-lock 3-pin photocell (provided separately in the box) Wire cover plate... -
Page 5: Preparing For Installation
Preparing for Installation CAUTION: Do not try to rotate the photocell receptacle on top of the fixture as it may twist the wiring. NOTE: Make sure the photocell is locked on the receptor. Do not over rotate after it is locked. Review this information to ensure a successful installation: □... - Page 6 Installation (continued) Attaching the photocell on the fixture CAUTION: Do not try to rotate the photocell receptacle on top of the fixture as it may twist the wiring. NOTE: The fixture comes with the twist-lock photocell (B) provided separately in the box. NOTE: The light fixture will not work without the photocell inserted into the photocell receptacle as it completes the circuit.
- Page 7 Installation (continued) Mounting the fixture □ Feed supply wires through the arm (D). Wall mount □ Using the fixture (A) as a template, mark and pre-drill the three mounting holes. □ Partially screw the bottom hex bolts (AA) with washers (CC) and place the fixture’s two bottom mounting groves onto the bottom bolts (AA).
-
Page 8: Operation
Installation (continued) Securing the fixture and wiring Wall mount □ Once the fixture is wired, place the wire cover plate (C) on the arm (D) by tightening the two screws and washers removed earlier. Extension arm mount □ After wiring is complete, secure the fixture on the extension arm using the arm mounting bracket (EE) by tightening the screws and washers removed earlier, until the arm mounting bracket (EE) pushes firmly against the pole. -
Page 9: Care And Cleaning
Operation (continued) Option 2: Switch controlled Switch controlled operation enables the light fixture to turn ON and OFF by flipping a switch that controls the electricity to the outlet powering the fixture. The light fixture will not turn ON and OFF automatically, but is manually controlled. - Page 10 Questions, problems, missing parts? Before returning to the store, call Commercial Electric Customer Service 9 a.m. - 5 p.m., EST, Monday-Friday 1-844-548-3776 HOMEDEPOT.COM Retain this manual for future use.
Need help?
Do you have a question about the ASTR55-PC-4K-GR and is the answer not in the manual?
Questions and answers