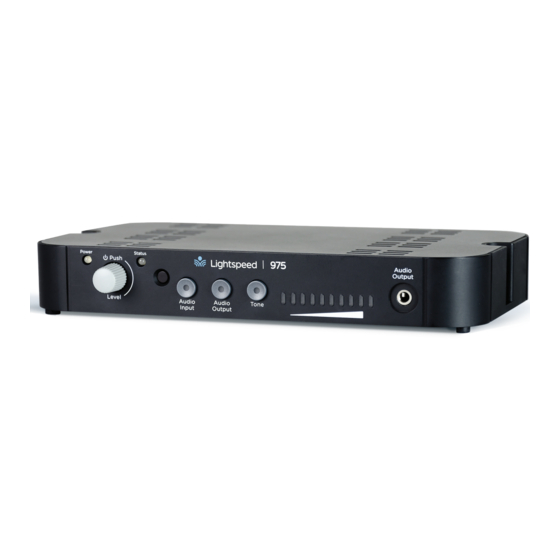
Lightspeed 975 Quick Start Manual
Instructional audio system
Hide thumbs
Also See for 975:
- User manual (42 pages) ,
- Installation manual (19 pages) ,
- User manual (46 pages)
Advertisement
Quick Start Guide
Instructional Audio System
CONNECT
Connect the power supply
to the 975 and plug the
POWER TO
cord into an AC outlet.
THE 975
USING THE FLEXMIKE
Remove microphone
from charger. Press
the mute button to
unmute, hold near
your mouth and
begin speaking.
ALIGN WITH
COLLARBONE
USING THE SHAREMIKE
Remove microphone
from charger and press
the mute button to
begin speaking.
USING A WIRELESS AUDIO LINK
You can connect your 2nd (or 3rd) microphone to your computer's USB
port to enable a wireless 2-way audio link.
SEND AUDIO FROM THE COMPUTER to the 975 to ensure all audio from
the computer (videos, video conferencing, audiobooks, music, etc) can
be played through the Lightspeed 975 system and speakers.
SEND AUDIO TO THE COMPUTER from the 975 to ensure the teacher's
Flexmike and any student microphones are clearly picked up by a video
conferencing solution.
The 975 will power
on and the power
light will glow.
POWER/MUTE BUTTON
TALK (BLUE)
MUTE (WHITE)
ADJUST
VOLUME
TALK (BLUE)
MUTE (WHITE)
POWER/MUTE
BUTTON
ADJUST
VOLUME
Power
Status
Push
Audio
Audio
Tone
Level
Input
Output
POWER LIGHT
CHARGE MICROPHONES NIGHTLY
Place the microphones into the cradle
charger. The power status light will glow red
when it is charging.
It takes about 5-6 hours to fully charge the
microphone battery.
When charging is complete,
the power status light will
glow green.
Connect the microphone
to your computer using a
USB-C cable. Open your
computer sound settings to
select FlexmikeAudio as the
microphone and speaker.
USB cable sold separately. Lightspeed offers
a USB-A to USB-C cable for sale (part #USBC)
Audio
Output
NORMAL OPERATION
CHARGING IN PROGRESS
CHARGING COMPLETE
POWER STATUS
LIGHT
Advertisement
Table of Contents

Summary of Contents for Lightspeed 975
- Page 1 Connect the microphone to your computer using a USB-C cable. Open your SEND AUDIO FROM THE COMPUTER to the 975 to ensure all audio from computer sound settings to the computer (videos, video conferencing, audiobooks, music, etc) can select FlexmikeAudio as the be played through the Lightspeed 975 system and speakers.
- Page 2 SHAREMIKE CONFIRM STATUS The status light on the 975 will light up indicating the pairing process is complete. The Mic 1 or Mic 2 light on the microphone will stay illuminated.


Need help?
Do you have a question about the 975 and is the answer not in the manual?
Questions and answers