
Subscribe to Our Youtube Channel
Related Manuals for Barmesa Pumps IA1-2-4


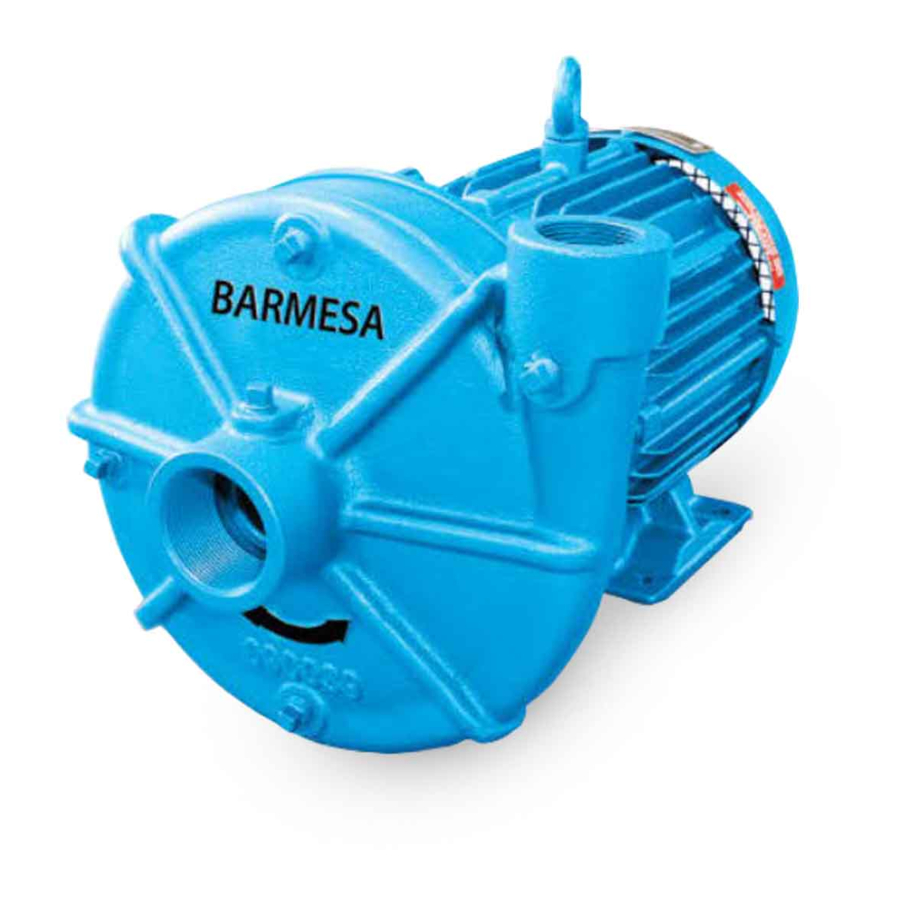
Summary of Contents for Barmesa Pumps IA1-2-4
- Page 1 Installation, Operation & Maintenance Manual End Suction Centrifugal Pumps 2 - 125 HP @ 1750 & 3500 RPM barmesapumps.com IMPORTANT! - Read all instructions in this manual before operating or servicing a pump.
-
Page 2: General Safety Information
WARNING C a r e f u l l y r e a d caustic, etc.) or use these pumps in IMPORTANT! - Barmesa Pumps is not water over 95º F. Do not exceed instruction manuals supplied with responsible for losses, injury or... -
Page 3: Specifications And Dimensions
Specifications & Dimensions SUCTION: 1½" - 8" NPT or flange horizontal. DISCHARGE: 1" - 6" NPT or flange vertical. LIQUID TEMPERATURE: 95 °F (35 °C) max. VOLUTE: Cast iron ASTM A-48 class 30. INTERMEDIATE COUPLING: Cast iron ASTM A-48 class 30. IMPELLER: Cast iron ASTM A-48 class 30 or stainless steel 304. - Page 4 Recommendations, Warnings & Installation Receiving inspection Service Stations Suction pipe hose reinforced Upon receiving the pump, it should To find the nearest Barmesa Pumps authorized service shop, please sufficiently robust prevent inspected damage collapsing by the difference in shortages. If damage has occurred,...
-
Page 5: Installation
Installation Table 1 Friction in meters x 100 m of piping. PIPING DIAMETER LITERS GALLONS 1" 1 1/4" 1 1/2" 2" 2 ½" 3" 4" 5" 6" 8" 10" MINUTE MINUTE 4.54 6.86 1.77 9.62 2.48 16.2 1.53 20.6 5.22 2.42 25.1 6.34... - Page 6 Installation Table 1 Equivalent length in meters of straight pipe and valve connections for calculating friction. DIAMETER PART DESCRIPTION 1" 1 1/4" 1 1/2" 2" 2 ½" 3" 4" 5" 6" STANDARD 90° 0.84 1.07 1.22 1.68 1.98 2.44 3.35 4.12 4.88 ELBOW MEDIUM RADIUS 0.69 0.92 1.07 1.37 1.68 2.14 2.75 3.51 4.27...
- Page 7 Installation Figure 2 Wrong installation. Air leaks A valve in the suction pipe is not recommended Air pocket Concentric Too much Long piping reducer height “D” Piping elbow immediately Vortex installed after the suction Less than 4x “D” Without strainer Figure 3 Inclination.
- Page 8 Installation & Operation Figure 6 Discharge piping. Expansive joint Safety shutoff valve Service valve. Retarded action check valve Swing check valve could cause a “water hammer” Service valve CORRECT INCORRECT barmesapumps.com Pre-Operation Due to the cost of energy or BHP 1. Check Voltage and Phase - 3. Name Plate...
-
Page 9: Operation And Maintenance
All pumps are liquid to be pumped, check with your operation is very difficult to remove manufactured following this Barmesa Pumps distributor for more and reassembly without creating a condition. information. seal leak. Stuffing box* *For Barmesa pumps with universal If the pump has graphite packing Disassembly... - Page 10 Service Step 1: Install the intermediate Figure 7 Mechanical Seal - Sectional View. coupling previously removed. Make sure the shaft and 1 - Ceramic seat cavities, where will it seats, are clean. 2 - Seal seat Buna-N The shaft sleeve should not be sharp, 3 - Inox.
- Page 11 Service Insert the joint by the clearance Figure 9 "Lovejoy" coupling. Ÿ between the hubs and rest it on any of the covers. Lubricate the Rubber slots and clearance with as much Socket head spider grease as possible. set screw To insert the grid, note that their Ÿ...
- Page 12 Service Table 3 Coupling installation. MISALIGNMENT “X” 1/8" 0.026" 0.005" 0.015" 0.005" 0.156" 1/8" 0.028" 0.005" 0.02" 0.007" 0.188" 1/8" 0.033" 0.005" 0.02" 0.007" 0.188" 1/8" 0.038" 0.005" 0.02" 0.007" 0.188" 1/8" 0.045" 0.005" 0.02" 0.007" 0.188" barmesapumps.com 1/8" 0.052" 0.01"...
- Page 13 Drawings MODEL HP RPM PHASE FRAME IA1-2-4 2 1735 145JM 3.5" 5.5" 5" 2.75" 12" 0.34" IA1-3-2 3 3510 182JM 4.5" 4.5" 6.88" 7.5" 3.63" 11.81" 0.41" IA1-5-2 5 3490 184JM 5.5" IA1-7.5-2 7.5 3515 213JM 5.25" 7.6" 8.5" 4.25" 13.5" 0.41"...
- Page 14 Drawings HIGH PRESSURE CENTRIFUGAL PUMP MODEL IA1½XH GENERAL DIMENSIONS MODEL HP RPM PHASE FRAME IA1½XH-3-4 3 1750 182JM 4.5" 4.5" 6.88" 7.5" 3.63" 11.81" 0.41" IA1½XH-5-4 5 1730 184JM 5.5" IA1½XH-15-2 15 3530 254JM 8.25" 19.06" 6.25" 10" 10" 4.5" 0.53"...
- Page 15 Drawings HIGH PRESSURE CENTRIFUGAL PUMP MODEL IA2½ GENERAL DIMENSIONS MODEL HP RPM PHASE FRAME IA2½-3-4 3 1740 182JM 4.5" 4.5" 6.88" 7.5" 3.63" 11.81" 4.47" 0.41" IA2½-5-4 5 1730 184JM 5.5" IA2½-10-2 10 3505 215JM 5.25" 7.6" 8.5" 7" 4.25" 15"...
- Page 16 Drawings HIGH PRESSURE CENTRIFUGAL PUMP MODEL IA4 GENERAL DIMENSIONS DISCHARGE 4" NPT SUCTION 6" NPT 4 HOLES MODEL HP RPM PHASE FRAME IA4-40-2 40 3530 324TSC 24" 10.5" 5" 12.5" 8" 12" 0.66" IA4-50-2 50 3530 326TSC 25.5" 12" IA4-60-2 60 3565 364TSC 28"...
-
Page 17: Parts List
INTERMEDIATE COUPLING, FOR 2 TO 5 HP 03010028 INTERMEDIATE COUPLING, FOR 7.5 HP 03010018 VOLUTE CASE 03090038 IMPELLER IA1-3-2, Ø5.75" 03140031 IMPELLER IA1-5-2, Ø6.81" 03140031B IMPELLER IA1-2-4 & IA1-7.5-2, Ø7.50" 03140031C SHAFT SLEEVE 30400808 SLINGER 92010014 MECHANICAL SEAL 31030131 O-RING 92010033... - Page 18 Parts List IA1½ IA1½H ITEM QTY. DESCRIPTION # PART ITEM QTY. DESCRIPTION # PART ELECTRIC MOTOR, 200-230/460, ODP ELECTRIC MOTOR, 200-230/460, ODP 5 HP, 3490 RPM, 3 PH, FRAME 184T JM 3 HP, 1740 RPM, 3 PH, FRAME 182T JM 7.5 HP, 3515 RPM, 3 PH, FRAME 213T JM 15 HP, 3530 RPM, 3 PH, FRAME 254T JM 10 HP, 3505 RPM, 3 PH, FRAME 215T JM...
- Page 19 Parts List IA2½ IA2H ITEM QTY. DESCRIPTION # PART ITEM QTY. DESCRIPTION # PART ELECTRIC MOTOR, 200-230/460, ODP ELECTRIC MOTOR, 200-230/460, ODP 3 HP, 1740 RPM, 3 PH, FRAME 182T JM 25 HP, 3525 RPM, 3 PH, FRAME 284T JM 5 HP, 1730 RPM, 3 PH, FRAME 184T JM 30 HP, 3525 RPM, 3 PH, FRAME 286T JM 10 HP, 3505 RPM, 3 PH, FRAME 215T JM...
- Page 20 Parts List IA3 IA3H ITEM QTY. DESCRIPTION # PART ITEM QTY. DESCRIPTION # PART ELECTRIC MOTOR, 200-230/460, ODP ELECTRIC MOTOR, 200-230/460, ODP 3 HP, 1740 RPM, 3 PH, FRAME 182T JM 30 HP, 3525 RPM, 3 PH, FRAME 286T JM 5 HP, 1730 RPM, 3 PH, FRAME 184T JM 40 HP, 3530 RPM, 3 PH, FRAME 324T JM 7.5 HP, 1750 RPM, 3 PH, FRAME 213T JM...
- Page 21 Parts List TYPICAL EXPLODED VIEW CENTRIFUGAL PUMP MODEL * IA1½XH barmesapumps.com ITEM QTY. DESCRIPTION # PART ELECTRIC MOTOR, 200-230/460, ODP 3 HP, 1740 RPM, 3 PH, FRAME 182T JM, FLANGE Ø8.5" 5 HP, 1730 RPM, 3 PH, FRAME 184T JM, FLANGE Ø8.5" 15 HP, 3530 RPM, 3 PH, FRAME 254T JM 20 HP, 3525 RPM, 3 PH, FRAME 256T JM 25 HP, 3530 RPM, 3 PH, FRAME 284T JM...
-
Page 22: Troubleshooting Chart
- That the motor is suitable for the pump. NOTE: Barmesa Pumps assumes no responsibility for damage or injury due to disassembly in the field. Disassembly of the pumps or supplied accessories other than at Barmesa Pumps or its authorized service centers, automatically voids warranty.
Need help?
Do you have a question about the IA1-2-4 and is the answer not in the manual?
Questions and answers