
Related Manuals for Mooreco 90451 Series


Summary of Contents for Mooreco 90451 Series
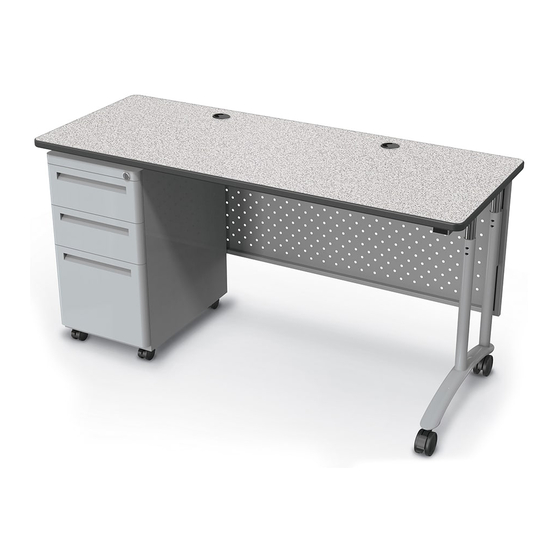
- Page 1 Modular Teacher Desk - Single Pedestal Part Numbers: 90451-XXXX-XX / 90452-XXXX-XX ASSEMBLY INSTRUCTIONS INSTRUCCIONES DE ENSEMBLAJE INSTRUCTIONS DE MONTAGE DO NOT THROW AWAY! NO LA TIRE NE PAS JETER UPDATED AS OF: 09/04/2019 1 of 9...
- Page 2 Parts 90390 - 1 Side Leg 90369 - Pedestal 58590 - Support Tube 58259 (72”)/ 58258 (60”) - Modesty Panel Table Top (Custom) ASSEMBLY INSTRUCTIONS DO NOT THROW AWAY! INSTRUCCIONES DE ENSEMBLAJE NO LA TIRE INSTRUCTIONS DE MONTAGE NE PAS JETER UPDATED AS OF: 09/04/2019 2 of 9...
- Page 3 Hardware 90390 - 1 Sided Leg 90369 - Pedestal P1 - Pedestal Box P1 - Adjustable Leg P3 - H Support Tube P2 - V Bracket: Inner P6 - V Bracket: Inner A - M6 x 42mm P7 - V Bracket: Outer B - M6 x 12mm A - M6 x 42mm E - Non-Locking Caster...
-
Page 4: Warranty
WARNINGS AND DISCLAIMERS ADVERTENCIAS Y RENUNCIAS AVERTISSEMENTS Review full assembly instructions and Previo a comenzar el proceso de Avant de commencer l’ assamblage check that all parts are present before ensamblaje favor revisar veuillez consulter instructions beginning assembly. Heavy or large instrucciones y asegurarse que cuenta con complètes et vérifier si vous avez toutes furniture may require multiple persons in... - Page 5 STEP 1 Attach two casters (E,F) to Adjustable Leg (P1)with Caster Wrench included. Locking Caster installed in front. Hardware Required: -Adjustable Leg: 90390 - P1 -Non-locking Caster: 90390 - E -Locking Caster: 90390 - F -Lock Washer x2: 90390 - G Tool(s) Required: -Caster Wrench STEP 2...
- Page 6 STEP 3 Connect V-bracket Outer (P7) to back of pedestal with two screws Hardware Required: (B). For left-handed desk (see cover page) install as shown. For -V-Bracket: Outer right-handed desk install on opposite side of pedestal. Connect 90369 - P7 V-bracket Inners (P2, P6) to Modesty Panel with two screws each -V-Bracket: Inner x2 (B).
- Page 7 STEP 5 Hardware Required: After removing all four screws from leg, raise to highest setting. -H-Support Tube Replace single screw to hold leg in place. Next adjust pedestal 90369 - P3 bracket height by pressing levers on both sides while lifting. Raise bracket to approximate height of leg.
- Page 8 STEP 7 Hardware Required: -M6 x 42mm x10 Set Table Top into place by aligning threaded inserts on 90390 - A x2 underside of table with holes in H-Support tube and Adjustable 90369 - A x8 Leg. Insert screws (A) up through holes and hand tighten all before tightening further with allen wrench.
- Page 9 STEP 9 Install U-Clamps by sliding over Support Tube and securing with two wood screws each (D). Screws are driven directly into underside of ta- ble. Position clamps approximately half-way along each sliding tube. Hardware Required: -U-Clamp x2 58590 - P2 -Wood Screw x4 58590 - D Tool(s) Used...
Need help?
Do you have a question about the 90451 Series and is the answer not in the manual?
Questions and answers