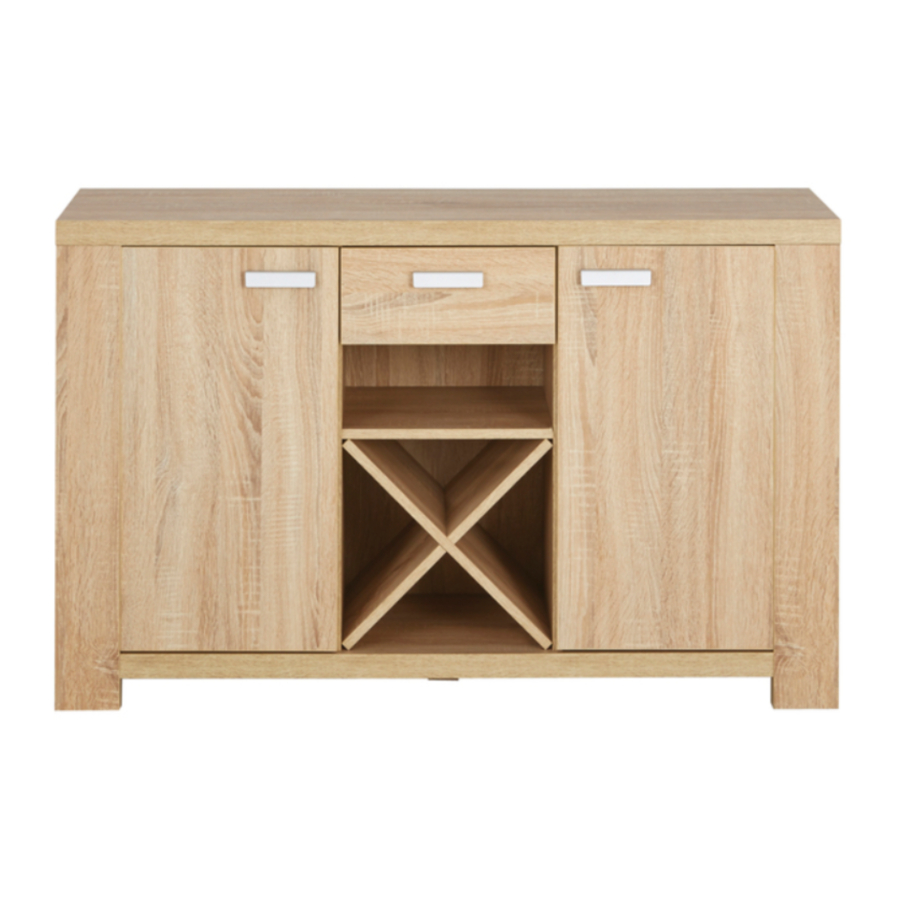
fantastic furniture HAVANA Assembly Instructions Manual
Buffet 2 door
Hide thumbs
Also See for HAVANA:
- User manual ,
- Manual (16 pages) ,
- Assembly instructions manual (12 pages)
Advertisement
Quick Links
Advertisement

Summary of Contents for fantastic furniture HAVANA
- Page 1 Version 1.1 HAVANA Buffet 2 Door www.fantasticfurniture.com.au...
- Page 2 Enjoy Your purchase from Australia’s Best Value Furniture Store www.fantasticfurniture.com.au PAGE 2...
-
Page 3: Assembly Checklist
Assembly checklist Read through the instructions carefully Make sure you have all the required tools. before you begin. Never use power tools unless instructed. Identify and lay out all of the components Unless instructed, do not fully tighten screws before you begin assembly. until the item is fully assembled. -
Page 4: What You Need
What you need Top Panel to assemble the product (P1) RR Leg Side (P12) Panel (P7) DO NOT USE Other tools you need Adjustable Right Flat head screwdriver; Phillips head Shelf Panel Divider screwdriver; Hammer (P6) LR Leg (P10) (P4) Back Shelf Panel (P11) - Page 5 Step 1 You will need 22 x Cam Bolts Phillips head (H3) screwdriver (P1) (P10) (P9) Attach 10 x Cam Bolts (H3) into Top Panel (P1). (P12) Attach 12 x Cam Bolts (H3) into Legs (P9, P10, P11, P12). (P11) Tighten Cam Bolts using a Phillips head screwdriver.
- Page 6 Step 3 (P3) You will need PVC banding (P5) 4 x Small 4 x Cam Nuts Dowels (H2) (H4) Flat head screwdriver This is how a cam nut works ..The head of the cam bolt goes into the open (P4) mouth of the cam nut.
- Page 7 Step 5 (P7) You will need 8 x Cam Nuts Flat head (H4) screwdriver (P7) (P9) (P10) (P2) Insert 8 x Cam Nuts (H4) into Side Panels (P7). Rotate the cam nuts so the arrows point towards the incoming cam bolts. Attach Side Panels (P7) to Legs (P9, P10), then tighten the cam nuts using a Flat head screwdriver.
- Page 8 Step 7 (P3) Groove facing up (P7) You will need (P4) (P2) 6 x Inside 4 x Small Hexagonal Dowels (H2) Screws (H13) (H19) 1 x Double Ended 5 x Plastic Screws (H19) Glides (H14) (P7) (P14) 1 x Allen Hammer Key (H20) Insert 4 x Small Dowels (H2) into Dividers (P3, P4).
- Page 9 Step 9 You will need 8 x Dowels (H1) Insert 8 x Dowels (H1) into Legs (P9, P10, P11, P12). Step 10 You will need (P1) 8 x Small 10 x Cam Nuts Dowels (H2) (H4) Flat head (P4) screwdriver (P3) (P7) Insert 8 x Small Dowels (H2) into Dividers (P3, P4) and Side Panels (P7).
- Page 10 Step 11 You will need 4 x Small Cam Phillips head Bolts (H10) screwdriver (P17) Screw 4 x Small Cam Bolts (H10) into Drawer Front (P17) with a Phillips head screwdriver. Step 12 (P18) You will need Flat head 4 x Small Cam (P19) screwdriver Nuts (H11)
- Page 11 Step 14 You will need (P21) 4 x Long Phillips head Screws(H12) screwdriver (P18) (P19) Attach Drawer Back (P21) to Drawer Sides (P18, P19) with 4 x Long Screws (H12), make sure that the groove lines up the whole way around the drawer. Tighten Screws using a Phillips head screwdriver.
- Page 12 Step 16 You will need 1 x Handle 2 x Round Head (H15) Bolts (H16) (P17) Phillips head screwdriver Attach 1 x Handle (H15) to Drawer Front (P17) with 2 x Round Head Bolts (H16). Tighten Round Head Bolts using a Phillips head screwdriver. Step 17 You will need 2 x Handles...
- Page 13 Step 18 You will need 16 x Timber Phillips head Screws (H18) screwdriver (P16) (P15) Attach Left Door (P15) to LF Leg (P9) and Right Door (P16) to RF Leg (P10) with 16 x Timber Screws (H18). Tighten Screws using a Phillips head screwdriver. Make sure cut-out is Step 19 close to side of Buffet.
- Page 14 Step 20 You will need 2 x Rubber Stickers (H22) Stick 2 x Rubber Stickers (H22) to Adjustable Shelf Panels (P6) as shown. Step 21 Slot 2 x X-crossing Boards (P8) together as shown. www.fantasticfurniture.com.au PAGE 14...
-
Page 15: Job Complete
Step 22 Insert 2 x X-crossing Boards into the space under drawer. Align the drawer runners with space in Buffet and insert drawer. Do not use heavy force. Step 23 Recommended weight capacity : 80KG. Job Complete! In the interest of our environment please dispose of all packaging thoughtfully. www.fantasticfurniture.com.au PAGE 15... - Page 16 Top panel Door Adjust the door move in or out a little projective line of projective line of top panel top panel Top panel door The door should The door should door move out a little move in a little Door Top panel Top panel...


Need help?
Do you have a question about the HAVANA and is the answer not in the manual?
Questions and answers