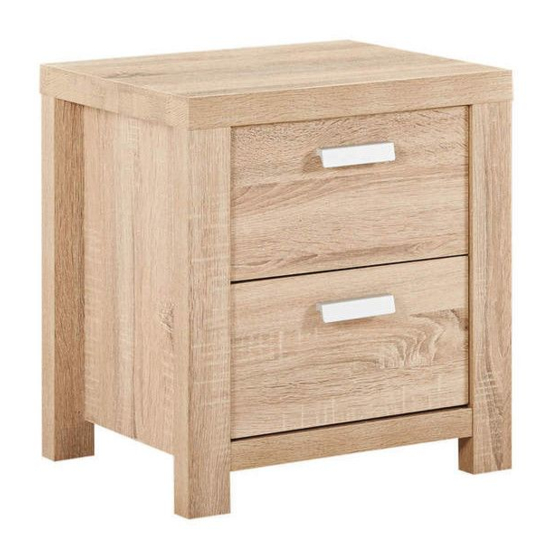
fantastic furniture HAVANA Assembly Instructions Manual
Bedside 2 drawer
Hide thumbs
Also See for HAVANA:
- User manual ,
- Manual (16 pages) ,
- Assembly instructions manual (16 pages)
Table of Contents
Advertisement
Quick Links
Advertisement
Table of Contents

Summary of Contents for fantastic furniture HAVANA
- Page 1 Version 1.0 HAVANA Bedside 2 Drawer www.fantasticfurniture.com.au...
- Page 2 Enjoy Your purchase from Australia’s Best Value Furniture Store www.fantasticfurniture.com.au PAGE 2...
- Page 3 Assembly checklist Read through the instructions carefully Make sure you have all the required tools. before you begin. Never use power tools unless instructed. Identify and lay out all of the components Unless instructed, do not fully tighten screws before you begin assembly. until the item is fully assembled.
- Page 4 What you need Top Panel (P1) to assemble the product Right Side Panel Back Panel (P3) (P6) DO NOT USE (P10) Additional Tools Required Rail Flat head screwdriver; (P5) Phillips head screwdriver; Hammer RF Leg (P8) (P9) Rail Parts list (P4) Box 1: Top Panel (P1);...
- Page 5 Step 1 You will need Cam Bolts Phillips head (H3) screwdriver (P10) (P8) (P7) (P9) Attach 8 x Cam Bolts (H3) into Legs (P7, P8, P9, P10). Step 2 (P9) You will need 4 x Dowels 4 x Cam Nuts (H1) (H4) (P2)
- Page 6 Step 4 You will need (P9) 2 x CL Runner 6 x Small Tracks (H6) Screws (H5) (P2) (P7) Phillips head screwdriver Attach 2 x CL Runner Tracks (H6) to Left Side Panel (P2) with 6 x Small Screws (H5). Step 5 You will need (P8)
- Page 7 Step 7 (P4) You will need (P7) 2 x Dowels 2 x Cam Nuts (H1) (H4) (P2) (P5) Flat head screwdriver (P9) Insert 2 x Dowels (H1) into Rails (P4, P5). Insert 2 x Cam Nuts (H4) into the holes of Rails (P4, P5). Rotate the cam nuts so the arrows point towards the incoming cam bolts.
- Page 8 (P8) Step 9 You will need (P7) 4 x Plastic Hammer Glides (H2) (P10) (P9) Attach 4 x Plastic Glides (H2) to the bottom of Legs (P7, P8, P9, P10) with a Hammer. (P6) Step 10 You will need (P3) 8 x Dowels (H1) (P8)
- Page 9 Step 12 (P1) You will need 6 x Cam Nuts Flat head (H4) screwdriver (P8) (P9) Insert 6 x Cam Nuts (H4) into the holes of Side Panels (P2, P3) and Legs (P7, P8, P9, P10). Rotate the cam nuts so the arrows point towards the incoming cam bolts. Attach Top Panel (P1) to the frame and tighten the cam nuts using a Flat head screwdriver.
- Page 10 Step 14 You will need 4 x Small Cam Phillips head Bolts (H10) screwdriver (P11) Screw 4 x Small Cam Bolts (H10) into Drawer Front (P11) with a Phillips head screwdriver. Step 15 (P12) You will need Flat head 4 x Small Cam screwdriver Nuts (H11) (P13)
- Page 11 Step 17 (P15) You will need (P12) 4 x Long Phillips head Screws(H12) screwdriver (P13) Attach Drawer Back (P15) to Drawer Sides (P12, P13) with 4 x Long Screws (H12), make sure that the groove lines up the whole way around the drawer. Tighten Screws using a Phillips head screwdriver.
- Page 12 Step 20 Slide the drawers into the bedside table. Step 21 Recommended weight capacity : 80KG. Job Complete! In the interest of our environment please dispose of all packaging thoughtfully. www.fantasticfurniture.com.au PAGE 12...


Need help?
Do you have a question about the HAVANA and is the answer not in the manual?
Questions and answers