
Subscribe to Our Youtube Channel
Related Manuals for Ispring RCS5T


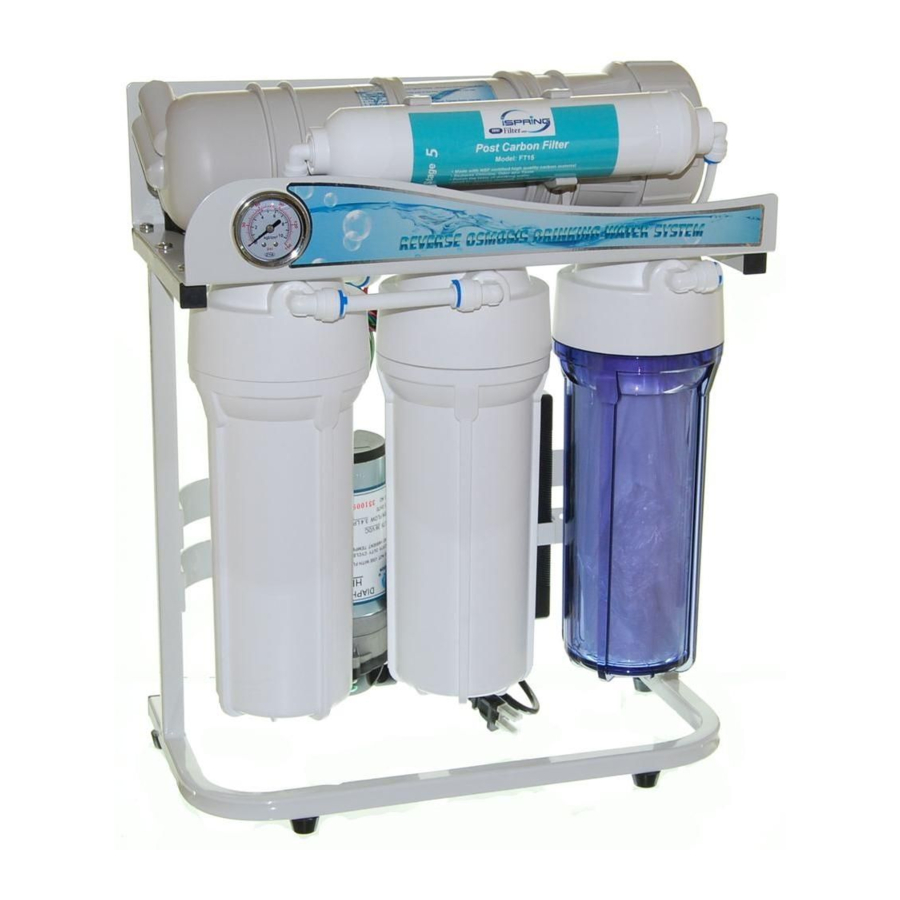
Summary of Contents for Ispring RCS5T
- Page 1 RCS5T Reverse Osmosis Water Filtration System INSTALLATION INSTRUCTIONS & OPERATING MANUAL Ver. 05/2021 Copyright ©2005-2021 ISPRING WATER SYSTEMS, LLC. All rights reserved.
- Page 3 At iSpring, we strive to develop products to the highest of standards and aim to make excellent drinking water accessible for all households. With affordable pricing, reliable quality, prompt delivery, and top-notch customer service, we hope to assist in bringing you great water for years to come.
-
Page 4: Table Of Contents
Stages .................. 14 O-rings: Replace Every 3 Years or Sooner if Leak Happens at O-ring............15 Extra Installation..............................15 UV Lamp (part# iSpring UVB11) and Ice Maker Kit (part# iSpring ICEK) ..........15 Warranty Registration ............................16 www.123filter.com | (678) 261-7611 | support@123filter.com... -
Page 5: Before Installation
Please open the box and take all the components and tool kit out. Inspect them to ensure that nothing is damaged during shipping. If any part is cracked or broken, please immediately contact iSpring Customer Support for replacement. Identify and get familiar with the components. Recommended Tools List •... -
Page 6: Components Identification
Components Identification www.123filter.com | (678) 261-7611 | support@123filter.com Page 4... -
Page 7: Installation Tips
Installation Tips How to Use Quick-connect Fitting Page 5 www.123filter.com | (678) 261-7611 | support@123filter.com... -
Page 8: To Connect
To Connect: 1. See Figures above. Check and cut the tubing end square and clean with a utility knife or scissors. 2. Make a mark at the end of tubing. The lengh is about 1/2” - the depth of the fitting body. 3. -
Page 9: How To Drill A Hole In Sink Or Counter-Top
8. Be patient and deliberate. It can take 20 – 40 minutes to drill through one inch. Ice Maker Kit An Ice Maker Kit (part# iSpring ICEK) can be purchased separately to feed RO water to refrigerator and get crystal clear ice cubes and great tasting water at ease. It could make the Drinking Water Faucet not absolutely necessary. -
Page 10: Installation Steps
Installation Steps Before you begin installation, it is highly recommended that you watch the video “iSpring reverse osmosis installation” on YouTube. Note: Steps 1 – 7 are independent, and can be performed in any order. Step 1: Install Feed Water Adapter (AFW) 1.1 See Figures above. -
Page 11: Step 2: Install Drinking Water Faucet
Step 2: Install Drinking Water Faucet 2.1 If your kitchen sink does not have an existing 1/2” hole, you will have to drill one. (Refer to How to Drill a Hole in Sink or Counter-top.) Wipe clean and dry the area. (Contact us for a larger front plate and washer if the hole is too big to cover.) 2.2 Remove the blue protection film from the front plate, slip it onto the faucet thread, and slip on the black rubber washer. -
Page 12: Step 4: Install The Vertical Filters: Stages 1, 2, And 3
Step 4: Install the Vertical Filters: Stages 1, 2, and 3 4.1 Make sure that the O-ring is seated inside the groove at the top of the filter housing. Food- grade silicon jelly may be used to help the O-ring stay in place and seal better. 4.2 Filter cartridges are preserved in shrink wrap. -
Page 13: Step 7: Tubing Hook Up (Model Specific Sub-Steps Are Marked With * )
(will do it in system start up). Step 7: Tubing Hook Up (optional sub-steps are marked with * ) 7.1 Facing the iSpring logo up front, locate the pre-filter 1 stage on the right hand side. -
Page 14: Step 8: System Start Up (Model Specific Sub-Steps Are Marked With * )
Shut off the RO Faucet. (Optional: turn on the Tank Shut-off Valve and wait for the tank to be filled up.) * If you have installed an iSpring UV stage, plug in the UV power and observe if the RO faucet turns the UV on/off through the Flow Sensor Switch. -
Page 15: System Maintenance
System Maintenance For replacement filter cartridges, visit 123Filter.com or Google “Model replacement filter” online, in which “Model” is the model number of the system, e.g. RCS5T. Stages 1 – 3 Pre-filters: Replace every 6 – 12 months, depending on source water quality and clean water usage. -
Page 16: Stage 4 Ro Membrane: Replace Every 2 - 3 Years Or Sooner If Tds Level Starts Increasing
2. If there is enough room under the sink and filter system is hung on the wall, it could be easier to twist the filter housing off without taking the unit off the wall. Otherwise, it could be easier to pull the system out, lay it down and work towards the housing bottom. Please be careful with tubing connections when pulling the system out. -
Page 17: O-Rings: Replace Every 3 Years Or Sooner If Leak Happens At O-Ring
The Ice Maker Kit (model# iSpring ICEK) can be purchased separately to feed RO water to a refrigerator and get crystal clear ice cubes and great tasting water. It would make a Drinking Water Faucet not necessary. -
Page 18: Warranty Registration
Warranty Registration 123filter.com To register your product for the warranty, visit our website at and go to the “Warranty” tab. We provide a 30-day money-back guarantee, a 1-year manufacturer warranty, and lifetime tech support for all of our products. However, we do not have the order information from websites other than 123Filter.com (Amazon, Home Depot, etc.), so please be sure to fill in that information upon registration of your system. - Page 20 Atlanta, GA USA iSpringFilter.com For questions, comments, or technical support, please contact us at: support@123Filter.com (678) 261-7611 Monday-Friday 8:30 a.m. - 5:30 p.m. EST...
Need help?
Do you have a question about the RCS5T and is the answer not in the manual?
Questions and answers