Advertisement
Quick Links
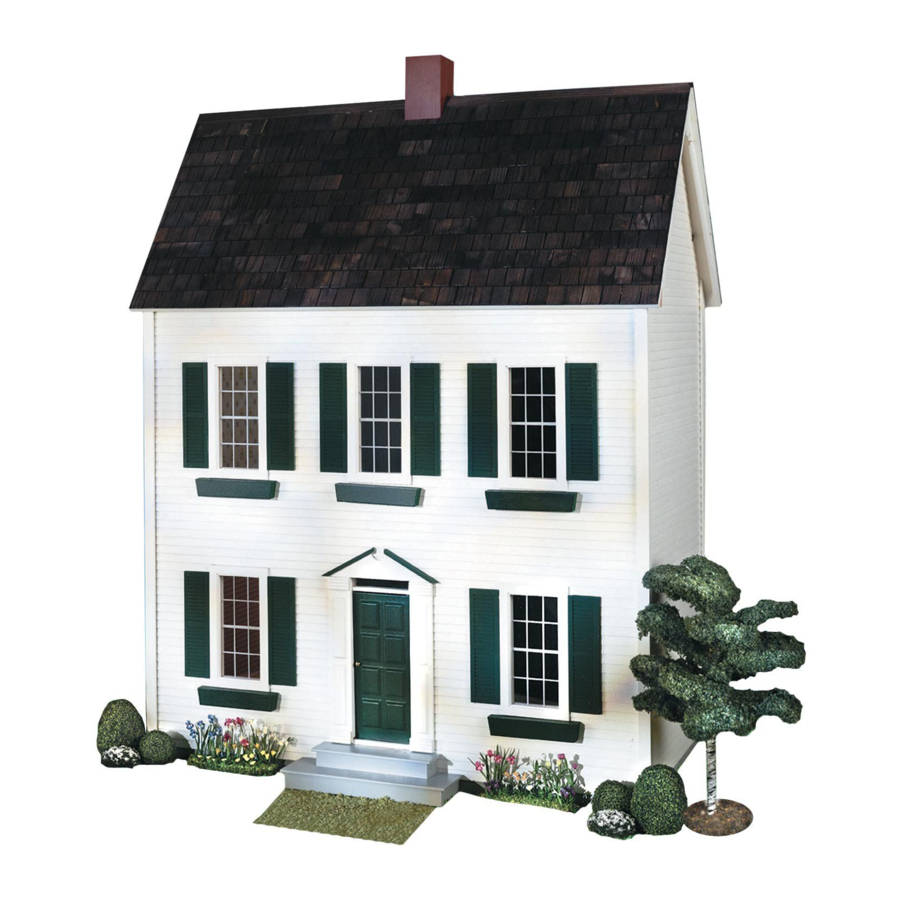
#00072 Colonial Instructions
Parts List:
(1)
Base Floor
(finished only on 1 side)
(1)
2
Floor (stair hole)
nd
(1)
3
Floor
rd
(1)
Rear Foundation
(1)
Left Side Panel
(1)
Right Side Panel
(1)
Front Panel
(1)
1
Floor Divider
st
(1)
2
Floor Divider
nd
(2)
Attic Dividers
(1)
Front Roof
(1)
Rear Roof
(1)
Assembled Staircase
(1)
Assembled Short Landing Rail
(1)
Assembled Long Landing Rail
(1)
Left Rear Eave Trim
(1)
Right Rear Eave Trim
(1)
Left Front Eave Trim
(1)
Right Front Eave Trim
(1)
Chimney
(1)
Assembled Front Steps
(4)
Roof Ridge Strips
(1)
Left Front Corner – 19
(1)
Right Front Corner – 19
(1)
Left Rear Corner – 20"
(1)
Right Rear Corner – 20"
Small Parts Bag:
(2)
Peak Gingerbread Trim (triangular)
(4)
Dowels
(2)
Long Screws
(4)
Short Screws
/
"
15
32
/
"
15
32
Real Good Toys
10 Quarry Hill * Barre, Vermont 05641
Customer Service: 802-479-2217
Tips for building the perfect dollhouse:
Congratulations on your purchase of a Real Good Toys QuickBuild
dollhouse. Your QuickBuild
TM
meticulous care by our craftspeople using cabinet grade materials and
requires only ordinary white glue to quickly and easily build a sturdy
dollhouse you will be proud of for many years to come.
This dollhouse will last for years, even generations, if proper care and
attention is given during assembly. Take your time and be sure to read
the instructions completely before you proceed.
Check all parts and packs against the parts list before beginning con-
struction to identify the parts and to make sure you have everything.
If you need replacement parts be sure to include the exact name and
measurements taken directly from the parts list.
Assembly Notes:
A large, clutter-free, well lighted work area is most helpful during as-
sembly, and a flat work surface is very important.
Supplies you will need:
Phillips Screwdriver
White glue
Masking tape
All the parts should be attached with glue.
amounts of glue and always wipe off excess glue immediately. Use
masking tape, if necessary, to hold parts together while the glue dries.
Read the instructions carefully, look at each of the illustrations. With
the parts in your hands, think the assembly through before you pro-
ceed.
Always test fit (no glue) parts before final assembly.
Make sure everything is straight and flat as the glue dries... That's
the shape that will be permanent.
kit has been precision made with
Use generous
TM
Advertisement

Subscribe to Our Youtube Channel
Related Manuals for Real Good Toys QuickBuild


Summary of Contents for Real Good Toys QuickBuild
- Page 1 #00072 Colonial Instructions Tips for building the perfect dollhouse: Congratulations on your purchase of a Real Good Toys QuickBuild Parts List: dollhouse. Your QuickBuild kit has been precision made with Base Floor meticulous care by our craftspeople using cabinet grade materials and...
- Page 2 ASSEMBLY INSTRUCTIONS Dowel Groove 3. Attach the Rear Foundation to the Side Panels and insert (2) dowels. Dowel 4. Attach the Base Floor (the 2. Attach the Right groove goes towards the Front Dowel Side Panel to the Front Panel using (1) 1.
- Page 3 Groove 9. Set the 3 Floor in place, adjust the 2 Floor Divider 10. Set the 2 Attic Dividers in to fit properly in the ceiling groove of the 3 Floor. (Be place, make sure the wallpa- careful when inserting the 3 Floor into the Front Panel per matches on both sides.
- Page 4 ” ” 13. Attach the Chimney 14. Attach the (4) Roof Ridge 16. Attach the Assembled to the Front Roof. Use Strips to form the peak. Staircase - apply glue to (2) stained Roof Ridge the side of the staircase strips to center the where it meets the wall chimney on the roof.
Need help?
Do you have a question about the QuickBuild and is the answer not in the manual?
Questions and answers