Advertisement
Quick Links
Instructions for
Real Good Toys'
Congratulations on your choice of a Real Good Toys product. Your kit has been precision made with meticulous
care by our craftspeople using carefully selected materials. This Dollhouse will last for years, even generations,
if heirloom care and attention is given during assembly. Take your time and read the instructions completely.
If you have questions, ask the experts at your local Dollhouse Store or at info@realgoodtoys.com
Before you begin -
For the moment, keep them that way. There are important things to do before you open your glue bottle.
Prepare your space:
over a large area while it is being built. You will need
a large flat tabletop for the house, several boxes to keep
parts organized until they are needed, and several trays
lined with waxed paper for holding small parts like
windows and railings.
A snap-lid box will keep your tools and supplies handy
between building sessions.
Preview the Overview
your build; this helps make it fun and fulfilling.
Supplies:
Tape measure or ruler, Pencil, Sticky notes
Paint: Interior semi-gloss latex paint... Everything gets at least one coat before assembly - get the paint now.
Paintbrushes 1" or 2" foam brushes for each color, 3" foam roller for interior painting
Sandpaper: 320 grit, 3-5 sheets
Glue: Aleene's Tacky Glue for the dollhouse
Masking tape: ¾" or 1"
Wiring: it's easiest to install some parts during assembly... order wiring supplies now.
Wallpaper paste: Roman's "Border" Paste
Waxed paper
PostIts
, Aleene's
, and X-Acto
®
®
and have no affiliation with Real Good Toys
Real Good Toys 122 Gallison Hill Road Montpelier, VT 05602 802 479-2217 www.realgoodtoys.com
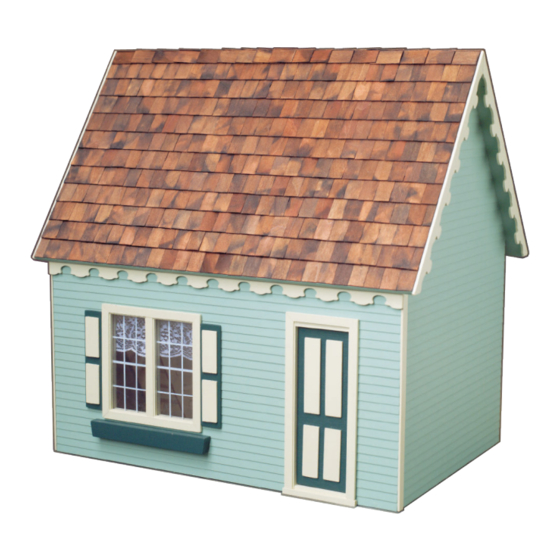
Keeper's House
the
You have already opened the box and see all the parts organized in boxes and bundles.
This dollhouse will spread out
(page 3) to plan and organize
are registered trademarks of their manufacturers
®
Measure and identify the parts:
groupings that protect the parts, and that is how the Parts
List is organized. As you measure and identify the parts,
label them with sticky notes using the names from the parts
list, and check them off the parts list so you know you have
everything. Taking the time now to identify and organize
the parts also makes them familiar so you will understand
what the instructions intend as you read ahead.
• Plan ahead so you know where you are going
• Read ahead so you know how to get there
• Paint ahead so the parts will be ready when you need them
(like PostIts®)
Special Edition Kit #JM-122
©06/16
The kit is packed in
Advertisement

Related Manuals for Real Good Toys Keeper’s House


Summary of Contents for Real Good Toys Keeper’s House
- Page 1 Real Good Toys’ ©06/16 Congratulations on your choice of a Real Good Toys product. Your kit has been precision made with meticulous care by our craftspeople using carefully selected materials. This Dollhouse will last for years, even generations, if heirloom care and attention is given during assembly. Take your time and read the instructions completely.
- Page 2 Accessories page 2 Instructions for Special Edition Kit #JM-122 Customizing? Options for building Real Good Toys’ Dollhouses Exterior: Exterior Paint Color: see www.RealGoodToys.help for suggestions Windows: available working or non-working Accessories: Gingerbread Flower Boxes Foundation Stucco Grit Fancy Windows and Doors...
-
Page 3: Assembly Tips
Assembly Notes page 3 Instructions for Special Edition Kit #JM-122 Overview of the Build: Assembly Tips: A large, clutter-free, well-lighted work area is helpful Details of each step will be expanded along the way, but lots of during assembly, but a flat work surface is essential. folks like to see how it all fits together before they start Read the instructions carefully;... - Page 4 Parts List page 4 Instructions for Special Edition Kit #JM-122 Attic Partition Identify the parts: Open one bundle at-a-time. Measure each part and find it on the parts list. Windows Label the parts and, as you preview the instructions, group them as they will be used. Side Parts List: Measurements are approximate and are for identification only...
- Page 5 Stain the Shingles: Our pro uses Real Good Toys’ Shingle Dye when dying the shingles for this house. Batch dye or stain the shingles several days ahead of time so they...
- Page 6 Paint (B) page 6 Instructions for Special Edition Kit #JM-122 B. Painting: www.RealGoodToys.help has painting and sanding videos Do not stack painted parts - even when they A word about primer: Primer is designed to help paint stick feel dry they will stick and damage each other. to an impervious surface or to join layers of dissimilar paints.
- Page 7 Instructions for Special Edition Kit #JM-122 Assembly Instructions page 7 Flooring: Hardwood flooring, carpeting, tile, or paint is applied after assembly is complete. Faux-wood flooring is done before assembly Google: “Faux Wood Floor on MDF gpr01010” or www.dollhouseworkshop.net/RGT/Videos/Faux-wood.html Assembly Continue to step 8 without stopping Step 2 ...
- Page 8 Instructions for Special Edition Kit #JM-122 page 8 Assembly Details: Photos support the descriptions but do not replace them. Note: Many of these photos are of un-painted parts, but you should have painted these parts at least one- coat already, and have sanded thoroughly. ...
- Page 9 Assembly Instructions page 9 Instructions for Special Edition Kit #JM-122 □ 9. Glue and tape together the Rear Roof and Eaves with the Rear Roof’s bevel at the top. Rear Roof This is the inside Eave Rear Roof Bevel Eave Rear Roof Bevel Eave...
- Page 10 page 10 Instructions for Special Edition Kit #JM-122 www.realgoodtoys.help has slideshows the “holding” hands are pushing down, not squeezing together A snip of tape at each corner and working on brown cardboard makes controlling the rubber band easier Spacers (temporary!) locate the Middle Frame...
- Page 11 Assembly Instructions page 11 Instructions for Special Edition Kit #JM-122 □ □ Finish the Outside 23. Paint and install the Eave Gingerbread to the edges of the Roofs, covering the edges of the shingles. 24. Install the Front Gingerbread (Cresting), if desired, centered side-to-side.
- Page 12 Top Stair Block where will they go? Wiring? Wallpaper? Tile or carpeting? Every choice makes a difference in the order of finishing. Real Good Toys has provided materials for some basic interior work, but you may choose to do it differently.
Need help?
Do you have a question about the Keeper’s House and is the answer not in the manual?
Questions and answers