Advertisement
Quick Links
ASSEMBLY INSTRUCTIONS
RiverRidge
®
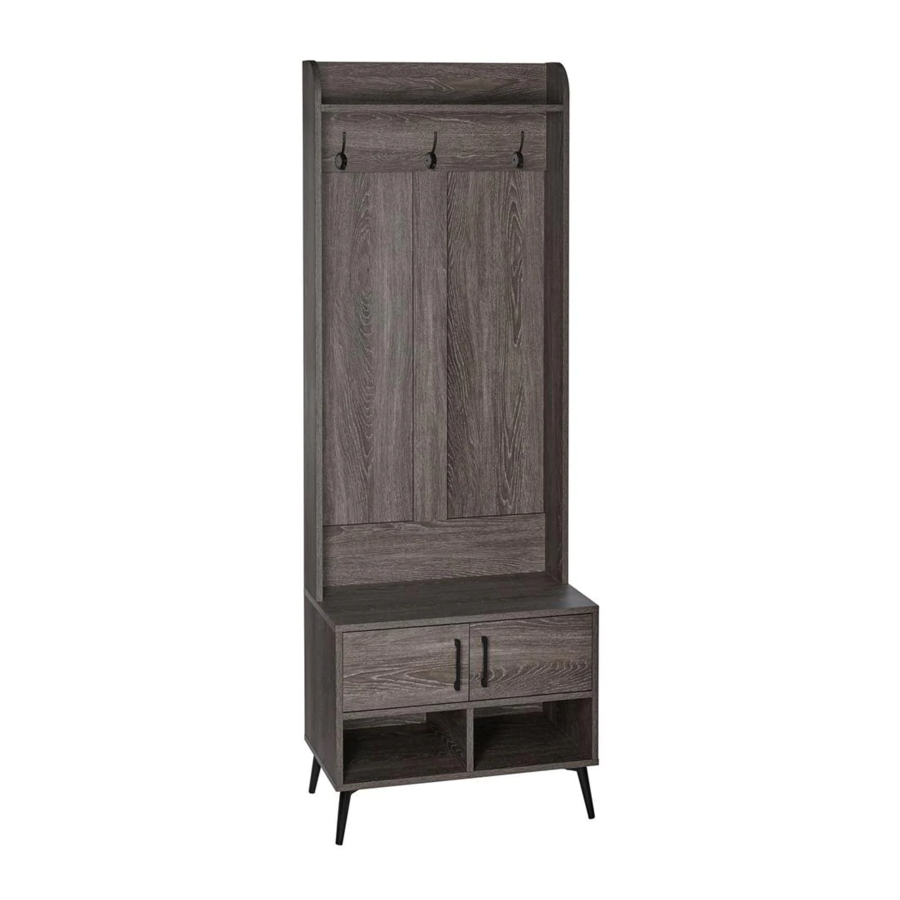
Woodbury Hall Tree w/ Bench
ITEM #: 16-029
ADULT ASSEMBLY REQUIRED
This product requires assembly by an adult because of small parts. Care should be taken in
unpacking and assembling this item to keep small parts away from children.
WARNING
SEE FULL WARNING ON PAGE 2
Young children can be seriously injured or killed if furniture tips over. Don't use
this item for a TV stand or place heavy objects on top of item. Always use
angle-braces or anchors to secure furniture to the wall.
Advertisement

Related Manuals for RiverRidge 16-029


Summary of Contents for RiverRidge 16-029
- Page 1 RiverRidge ® Woodbury Hall Tree w/ Bench ITEM #: 16-029 ADULT ASSEMBLY REQUIRED This product requires assembly by an adult because of small parts. Care should be taken in unpacking and assembling this item to keep small parts away from children.
- Page 2 THIS SHELF UNIT WILL HOLD UP TO 20 POUNDS PER SHELF AND CUBBY FOR TOTAL OF 80 POUNDS. BENCH SEATING WEIGHT CAPACITY IS 200 POUNDS. DO NOT LOAD SHELVES OR CUBBIES WITH MORE THAN 20 POUNDS OR SEATING WITH MORE THAN 200 POUNDS.
-
Page 3: Parts List
PARTS LIST DESCRIPTION Upper Rear Board Upper Shelf Middle Rear Board Vertical Support Board Lower Rear Board Top Board Cross Bar Shelf Divider Board Bottom Board Upper Left Side Panel Upper Right Side Panel Lower Left Side Panel Lower Right Side Panel 2PCS Door 2PCS... - Page 4 PARTS LIST PART DESCRIPTION 14PCS Cam Bolt 14PCS Cam Lock 38PCS Wood Dowel (8x30mm) 8PCS Screw (4X35mm) 8PCS Machine Screw (6x30mm) 8PCS Shim 4PCS Hinge 24PCS Screw (4x14mm) 3PCS Metal Hook (4x14mm) 7PCS Screw (3x12mm) 34PCS Screw (2.5x10mm) Plastic Anchor 2PCS Handle 4PCS...
- Page 5 STEP 1 1. Screw 3 cam bolts (A) into pre-threaded holes on upper left side panel (11). 2. Screw 3 cam bolts (A) into pre-threaded holes on upper right side panel (12). STEP 2 1. Screw 4 cam bolts (A) into pre-threaded holes on top board (6). STEP 3 1.
- Page 6 STEP 4 1. Insert 4 wood dowels (C) into wood dowel holes on vertical support board (4). 2. Attach middle rear board (3) and lower rear board (5) to vertical support board (4) by inserting wood dowels (C) into wood dowel holes on middle rear board (3) and lower rear board (5). STEP 5 1.
- Page 7 STEP 6 1. Insert 8 wood dowels (C) into wood dowel holes on upper left side panel (11). 2. Attach upper left side panel (11) to upper rear board (1), upper shelf (2), middle rear board (3) and lower rear board (5) by inserting wood dowels (C) into wood dowel holes and insert cam bolts (A) into cam lock holes on upper rear board (1), upper shelf (2), middle rear board (3) and lower rear board (5).
- Page 8 STEP 8 1. Insert 2 wood dowels (C) into wood dowel holes on top board (6). 2. Attach bottom board (6) to upper left side panel (11) and upper right side panel (12) by inserting wood dowels (C) into wood dowel holes on upper left side panel (11) and upper right side panel (12). 3.
- Page 9 STEP 10 1. Insert 2 wood dowels (C) into wood dowel holes on divider board (9). 2. Attach divider board (9) to shelf (8) by inserting wood dowels (C) into wood dowel holes on shelf (8). 3. Insert 6 wood dowels (C) into wood dowel holes on bottom board (10). 4.
- Page 10 STEP 12 1. Insert 4 wood dowels (C) into wood dowel holes on top board (6). 2. Place cross bar (7) onto grooves on lower left side panel (13) and lower right side panel (14). 3. Attach pre-assembled upper section to pre-assembled lower section by inserting wood dowels (C) into wood dowel holes and inserting cam bolts (A) into cam lock holes on lower left side panel (13) and lower right side panel (14).
- Page 11 STEP 13 1. Attach lower back board (17) to back of cabinet by inserting 10 screws (K) through holes on lower back board (17), then tighten to back of cabinet. STEP 14 1. Attach 2 hinges (G) to door (15) by inserting 4 screws (H) through holes on hinges (G), then tighten to door (15).
- Page 12 Door Adjustments 1. Attach 1 door (15) to cabinet by inserting 8 screws (H) through holes on hinges (G), then tighten to lower left side panel (13). 2. Attach 1 door (15) to cabinet by inserting 8 screws (H) through holes on hinges (G), then tighten to lower right side panel (14).
- Page 13 STEP 16 1. Place drawing with hole position in desired location and drill holes on wall. 2. Insert 1 plastic anchor (L) into hole on wall. 3. Attach bracket (O) to plastic anchor (L) by inserting 1 screw (Q) through hole on bracket (O), then tighten to plastic anchor (L) in wall.
- Page 14 ATTENTION ADULTS: Cabinet should be checked periodically for damage or loose screws/parts. Take appropriate action necessary to correct hazards such as tightening of screws and taking any damaged parts away from children. WARNING Please make sure your item is secured to the wall, per assembly instructions.
- Page 15 Cabinet! Thank you for purchasing this RiverRidge ® Home item. We hope you enjoy it and consider purchasing other RiverRidge ® items. To order replacement parts at no cost to you, email customer.service@ssi-rr.com, call 1-(844)-223-5201 or order parts online at www.riverridgehome.com RiverRidge ®...
Need help?
Do you have a question about the 16-029 and is the answer not in the manual?
Questions and answers