Kasco LED3C11 Operation & Maintenance Manual
Waterglow composite lighting
Hide thumbs
Also See for LED3C11:
- Owner's manual (13 pages) ,
- Operation & maintenance manual (13 pages)

Subscribe to Our Youtube Channel
Related Manuals for Kasco LED3C11


Summary of Contents for Kasco LED3C11
- Page 1 LED3C11, LED6C11 WaterGlow Composite Lighting Operation & Maintenance Manual 800 Deere Rd. Prescott, WI 54021 • 715-262-4488 • sales@kascomarine.com • www.kascomarine.com Document number 884012...
-
Page 2: Table Of Contents
• Kasco WaterGlow lighting kits are intended for use with a Listed control panel having a GFCI protected receptacle, or field wiring terminals and disconnect switch, or a timer with a disconnect for use with a GFCI receptacle. They are intended to be mounted on a floating fountain or aerator for use in a natural or man-made body of water to comply with NEC Article 682. -
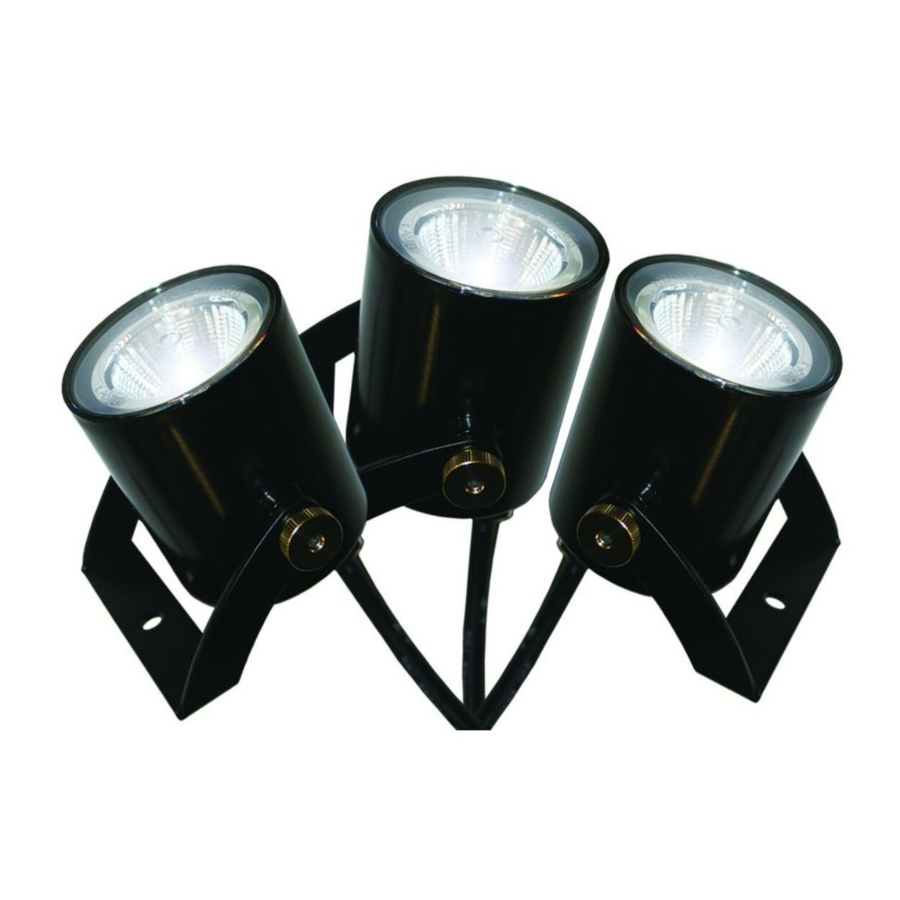
Page 3: Parts Included
Back to Contents LED3C11, LED6C11 WATERGLOW COMPOSITE LIGHTING MANUAL PARTS INCLUDED Description Quantity Part # Lens cap 345551 Colored lens kit (4 colors) 345559 LEDC11 fixture 345500 Cord connector O-ring 345035 10-32 thumb nut 345043 #10 split lock washer 771037... -
Page 4: Mounting Instructions
Back to Contents LED3C11, LED6C11 WATERGLOW COMPOSITE LIGHTING MANUAL MOUNTING INSTRUCTIONS 1� Attach the bracket (H) to the light fixture (C) by fitting the head of the 10-32 x 1/2’’ hex screw (I) into the tabs on each side of the fixture. - Page 5 Back to Contents LED3C11, LED6C11 WATERGLOW COMPOSITE LIGHTING MANUAL 3. (Optional) Place lens caps over the light fixture (C) as shown. Ensure the cap is seated all the way down onto the fixture housing. Make sure the fixture and lens are clean before installing the lens cap. Repeat for all fixtures.
- Page 6 Back to Contents LED3C11, LED6C11 WATERGLOW COMPOSITE LIGHTING MANUAL 5� After attaching the unit to the float according to fountain/aerator instructions, push the clips into recesses on float until you hear an audible click indicating the fixture is secure. Ensure clip is fully seated on float Fig.
-
Page 7: Alternate Mounting Instructions
Supplementary hardware is required in order to mount RGBC5 light fixtures to a large (2HP+) surface aerator. Use the additional hard- ware kit (P/N 840303 for 3 light fixtures or 840306 for 6 light fixtures). These kits are sold separately� Contact Kasco Marine at sales@kascomarine�com or your local distributor for order information� 884012 / 2021.1.1... -
Page 8: Maintenance Recommendations
Warranty period: LED3C11, LED6C11 = 3 year Limited Warranty: The following maintenance procedures can be utilized to ensure Kasco® Marine, Inc. warrants this Light Kit to be free from de- many years of quality performance from your Kasco fountain and fects in material or workmanship under normal use and service. -
Page 9: Repair
A physical Kasco Repair Form must be included with any equip- ment sent to Kasco or an Authorized Repair Center. This form Once warranty coverage has been established, the equipment may be sent to any Kasco Authorized Repair Center or to Kasco can be found under the Product Support section of kascomarine�... -
Page 10: Troubleshooting Tips
• Kasco C-25, C-85, and C-95 control panels have a photo eye on the left side of the enclosure exterior. This photo eye measures ambient light. To activate, the photo eye must not measure any ambient light for at least several minutes. Covering the photo eye with black electrical tape will activate the photo eye for testing. -
Page 11: Replacement Parts
Back to Contents LED3C11, LED6C11 WATERGLOW COMPOSITE LIGHTING MANUAL 884012 / 2021.1.1... -
Page 12: Repair Contact Form
LED3C11, LED6C11 WATERGLOW COMPOSITE LIGHTING MANUAL REPAIR CONTACT FORM • Kasco requires that all equipment sent for repair MUST be accompanied by this form and marked to Repairs attention� • Kasco is NOT responsible for shipping damage accrued in return shipment� •...
Need help?
Do you have a question about the LED3C11 and is the answer not in the manual?
Questions and answers