Table of Contents
Advertisement
Quick Links
Advertisement
Table of Contents

Subscribe to Our Youtube Channel
Related Manuals for ADE Juwel Series


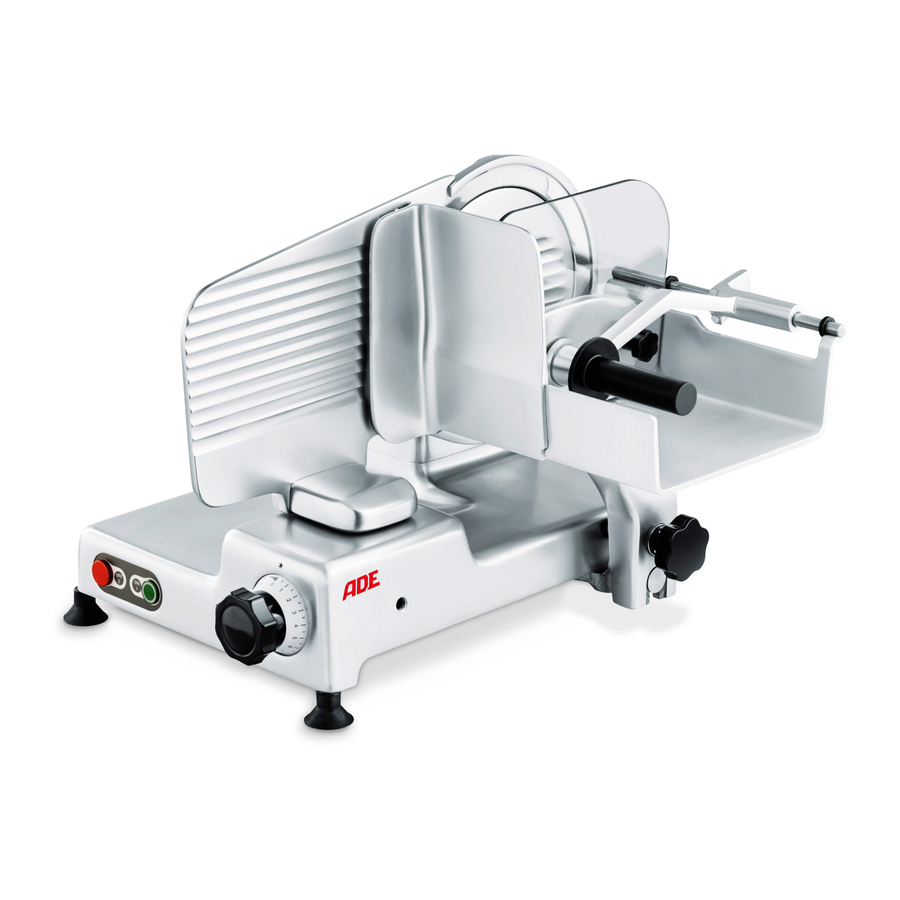
Summary of Contents for ADE Juwel Series
- Page 1 OPERATING MANUAL Straight Feed Slicers Series JUWEL Juwel-200624-Rev010-UM-en ADE Germany GmbH & Co. KG Hammer Steindamm 27 – 29 22089 Hamburg / GERMANY +49 40 432 776 - 0 +49 40 432 776 - 10 E-Mail: info@ade-germany.de IMPORTANT FOLLOW THE USER GUIDE...
-
Page 2: Table Of Contents
CONTENT FIGURES ..............................2 FOREWORD .............................. 4 INTENDED USE ............................4 PREPARATION AND OPERATION ......................4 3.1 Opening the packaging ..........................4 3.2 Installation ..............................5 3.3 Wiring ................................. 5 3.4 Operation ..............................5 CONTROLS AND SAFETY DEVICES ...................... 6 4.1 Controls .............................. -
Page 3: Figures
FIGURES Fig. 1 Fig. 2 Juwel-200624-Rev010-UM-en... - Page 4 Fig. 3 Fig. 4 locking mechanism Juwel-200624-Rev010-UM-en...
-
Page 5: Foreword
FOREWORD This manual has been compiled in conformity with the Machine Directive in the latest version. With it, the manufacturer intends to furnish the customer with clear and concise instructions for the use and maintenance of the machine, as well as information regarding the safety devices with which it is fitted in order assure maximum efficiency throughout its service life. -
Page 6: Installation
Packaging material are recycable material and may be disposed of under no circumstance in the house case. Please ask the public authorities about possibilities of a proper disposal. The local regulations have to be absolutely adhered at the disposal. The packing material may not be disposed of in free nature. 3.2 Installation Place the slicer on a smooth, flat and stable surface. -
Page 7: Controls And Safety Devices
CONTROLS AND SAFETY DEVICES 4.1 Controls The Vertical slicers are switched on and off electrically by means of two buttons, I (start) and O (stop). Both feature a white lamp which indicates when the blade is rotating. The machine features a safety switch in the blade guard connected with a no voltage relay. Every time the supply voltage is cut off, the button “I”... -
Page 8: Using The Slicer
USING THE SLICER 5.1 Operating procedure (Fig.1) 1) Set the graduated knob “A” to “0” (zero). 2) Move the product carriage “B” as far away from blade “K” as possible. 3) Lift the product press “C” using the relevant handle. 4) Set the product down on the product carriage, lower the product press onto or behind the product. -
Page 9: Lubricating
8) Position the blade-removal tool “J” in place and fasten it onto the threaded holes by means of the two handwheels “W”. Use a screwdriver to unscrew the 4 blade screws, after which use the two handwheels to remove the assembly. 9) Clean the removed blade with warm water and liquid detergent, rinse in clear water, dry and use alcohol to disinfect. -
Page 10: Cleaning And Maintenance
4) Unscrew completely the black turning knob of the sharpening device supplied with each machine with standard knife. Then lead the end of the thread visible now through the hole of the thickness-plate from the side of the carriage, while pulling the last-slice-device a bit upwards to the right. Then screw on the sharpening device by means of the turning knob in such a way the neck of the sharpening device rests upon the upper edge of the thickness plate. -
Page 11: Training
The training will be given by studying the operating manual very careful. 10. WARRANTY ADE will repair or replace this product within a period of 2 year from date of delivery applying to defects occurred due to poor material or workmanship (invoice is necessary). -
Page 12: Technical Features
− RoHS Directive 2011/65/EU in the currently valid versions. This declaration loses its validity if modifications are made to the scale without our approval. Hamburg, June 2020 ADE Germany GmbH & Co. KG Hammer Steindamm 27 – 29 D-22089 Hamburg Juwel-200624-Rev010-UM-en... -
Page 13: Wiring Diagrams
13. WIRING DIAGRAMS 230V 400V Juwel-200624-Rev010-UM-en... -
Page 14: Exploded Views
14. EXPLODED VIEWS SOCKET Juwel 1 + Juwel 2K SOCKET Juwel 2 + Juwel 3 Juwel-200624-Rev010-UM-en... - Page 15 CARRIAGE MOUNTING Juwel 1 + Juwel 2K CARRIAGE MOUNTING Juwel 2 Juwel-200624-Rev010-UM-en...
- Page 16 CARRIAGE MOUNTING Juwel 3 CARRIAGE Juwel 1 + Juwel 2K + Juwel 2 + Juwel 3 Juwel-200624-Rev010-UM-en...
- Page 17 ADJUSTMENT UNIT Juwel 1 + Juwel 2K ADJUSTMENT UNIT Juwel 2 + Juwel 3 Juwel-200624-Rev010-UM-en...
- Page 18 MOTOR UNIT 230V Juwel 1 + Juwel 2K MOTOR UNIT 230V Juwel 2 + Juwel 3 Juwel-200624-Rev010-UM-en...
- Page 19 MOTOR UNIT 400V Juwel 1 + Juwel 2K MOTOR UNIT 400V Juwel 2 + Juwel 3 Juwel-200624-Rev010-UM-en...
-
Page 20: Spare Parts Series Juwel
15. SPARE PARTS SERIES JUWEL Juwel 1 Juwel 2 Juwel 2K Description Quantity Art-No. Art.-No. Art.-No. SOCKET Feet H4010-038 H4050-044 H4010-038 Knife H4020-011 H4050-030 H4050-030 Cover plate H4020-013 H4050-103 H4050-103 Drop rod of cover plate H4020-0071 H4020-0761 H4020-0761 Sleeve for droprod of cover plate H4020-0831 H4020-0831 H4020-0831... - Page 21 Juwel-200624-Rev010-UM-en...
- Page 22 Juwel-200624-Rev010-UM-en...
- Page 23 Juwel-200624-Rev010-UM-en...
- Page 24 Distributor: Juwel-200624-Rev010-UM-en...
Need help?
Do you have a question about the Juwel Series and is the answer not in the manual?
Questions and answers