Table of Contents
Advertisement
Quick Links
OPERATING MANUAL
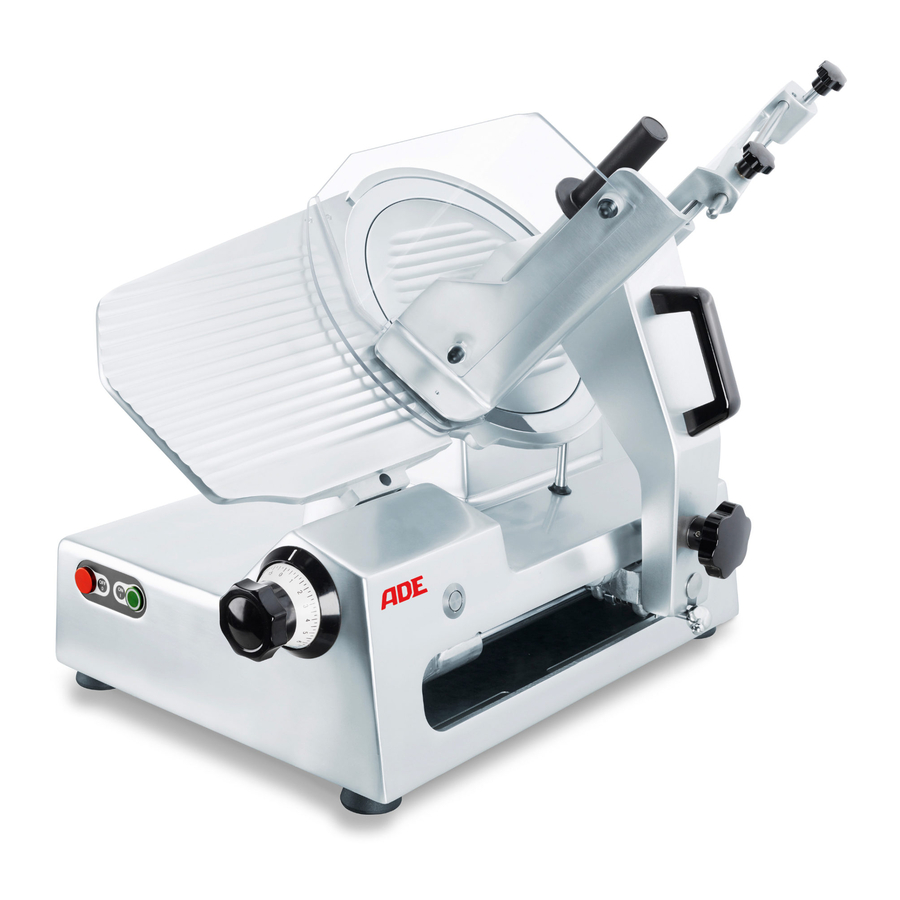
Gravity Feed Slicers with automatic
Transmission
Model AUTOMATIC /AUTOMATIC-Z
Automatic_Automatic-Z-200626-Rev014-UM-en
ADE Germany GmbH & Co. KG
Hammer Steindamm 27 – 29
22089 Hamburg / GERMANY
Fax
E-mail:
PLEASE KEEP FOR FUTURE REFERENCE
Automatic
Automatic-Z
+49 40 432 776 - 0
+49 40 432 776 - 10
info@ade-germany.de
IMPORTANT
FOLLOW THE USER GUIDE
Advertisement
Table of Contents

Summary of Contents for ADE Automatic
- Page 1 OPERATING MANUAL Gravity Feed Slicers with automatic Transmission Automatic Automatic-Z Model AUTOMATIC /AUTOMATIC-Z Automatic_Automatic-Z-200626-Rev014-UM-en ADE Germany GmbH & Co. KG Hammer Steindamm 27 – 29 22089 Hamburg / GERMANY +49 40 432 776 - 0 +49 40 432 776 - 10 E-mail: info@ade-germany.de...
-
Page 2: Table Of Contents
3.1 Opening the packaging ..........................4 3.2 Installation ..............................4 3.3 Wiring ............................... 5 3.4 Operation ..............................5 3.5 Operation in automatic mode ........................5 CONTROLS AND SAFETY DEVICES....................... 5 4.1 Controls ..............................5 4.2 Mechanical safety devices ........................5 4.3 Testing .............................. -
Page 3: Foreword
FOREWORD With this manual the manufacturer intends to furnish the customer with clear and concise instructions for the use and maintenance of the machine, as well as information regarding the safety devices with which it is fitted in order assure maximum efficiency throughout its service life. The slicers may be updated;... - Page 4 Fig. 2 (J = Optional – not included standard fitting) Fig. 2/A Fig. 3 Fig. 4 Fig. 5 Automatic_Automatic-Z-200626-Rev014-UM-en...
-
Page 5: Preparation And Operation
PREPARATION AND OPERATION On receiving the box containing the slicer, make sure that it is intact and has not been damaged during transit. Should the slicer prove damaged, duly submit a report to the forwarding agent, no later than three days after the date indicated on the documents, listing any damage done to the machine. -
Page 6: Wiring
3.5 Operation in automatic mode In the Automatic Gravity models with Gear Drive, the product carriage can be operated in automatic mode. Said mode can be enabled or disabled by rotating lever "Z" slightly, as indicated in fig.5. -
Page 7: Using The Slicer
2. 6.1 Cleaning (Fig. 2) (Fig. 2/A) 1) Isolate the machine from the power supply by unplugging it, or switching off the automatic switch located near the outlet. Never settle for simply pressing the slicer's red "stop" button. -
Page 8: Lubricating
4) Unscrew the blade guard fastening handwheel "G" completely, hold the blade guard "H" and remove it from the machine completely. 5) Position the blade-removal tool "J" (accessory – no standard fitting) in place and fasten it onto the threaded holes of the blade by means of the two handwheels "W". Use a screwdriver to unscrew the blade screws, after which use the two handwheels to remove the assembly. -
Page 9: Training
For mounting the sharpening device pull the carriage with carriage arm “B” in the maximum position to the user and hinge up the remaining holder “C”. Unscrew completely the black turning knob of the sharpening device supplied with each machine with standard knife. Then lead the end of the thread visible now through the hole of the thickness-plate from the side of the carriage, while pulling the last-slice-device a bit upwards to the right. -
Page 10: Storage And Tranport
13. WARRANTY ADE will repair or replace this product within a period of 2 year from date of delivery applying to defects occurred due to poor material or workmanship (invoice is necessary). -
Page 11: Technical Data
RoHS Directive 2011/65/EU in the currently valid versions. This declaration loses its validity if modifications are made to the product without our approval. Hamburg, June 2020 ADE Germany GmbH & Co. KG Hammer Steindamm 27 – 29 D-22089 Hamburg Automatic_Automatic-Z-200626-Rev014-UM-en... -
Page 12: Wiring Diagrams
16. WIRING DIAGRAMS 400V Three-Phase 230V Single-Phase (only on request) Automatic_Automatic-Z-200626-Rev014-UM-en... -
Page 13: Exploded Views
17. EXPLODED VIEWS AUTOMATIC 300 SOCKET CARRIAGE MOUNTING Automatic_Automatic-Z-200626-Rev014-UM-en... - Page 14 CARRIAGE ADJUSTMENT UNIT Automatic_Automatic-Z-200626-Rev014-UM-en...
- Page 15 MOTOR UNIT 400V GEAR UNIT Automatic_Automatic-Z-200626-Rev014-UM-en...
-
Page 16: Spare Part Lists
18. SPARE PART LISTS DESCRIPTION ART-NO. SOCKET Fan cap H4050-028 Feet H4050-086 Seal ring 60x85x10/SL H4050-072 Fix bushing H4050-009 Knife 300mm H4050-030 Handle for cover plate H4050-006 227/228/229 Wiper complete H4050-139 Plastic ring for handle setting H4050-128 207 - 217 Knife hub complete H4020-047 0122... - Page 17 GEAR UNIT Gear H4050-129 809 – 814 Towing arm H4050-067 Mounting for parallel transport H4050-057 Gear shaft H4050-142 Ball bearing for gear shaft H4050-118 V-belt pulley H4050-068 Motor belt pulley H4050-155 Driving belt H4050-152 Automatic_Automatic-Z-200626-Rev014-UM-en...
- Page 18 Option Counting device (only model Automatic-Z) COUNTING DEVICE Screw 2,8 x10 UNI6954 Underframe Counting device Automatic-Z Screw TCEI M5x16 UNI5931 Upper housing Screw TSPTC M6x20 INOX UNI6109 Screw TCEI M5x55 UNI5931 Holder extension Connecting cable Automatic_Automatic-Z-200626-Rev014-UM-en...
- Page 19 Automatic_Automatic-Z-200626-Rev014-UM-en...
- Page 20 Dealer: Automatic_Automatic-Z-200626-Rev014-UM-en...


Need help?
Do you have a question about the Automatic and is the answer not in the manual?
Questions and answers