Advertisement
Quick Links
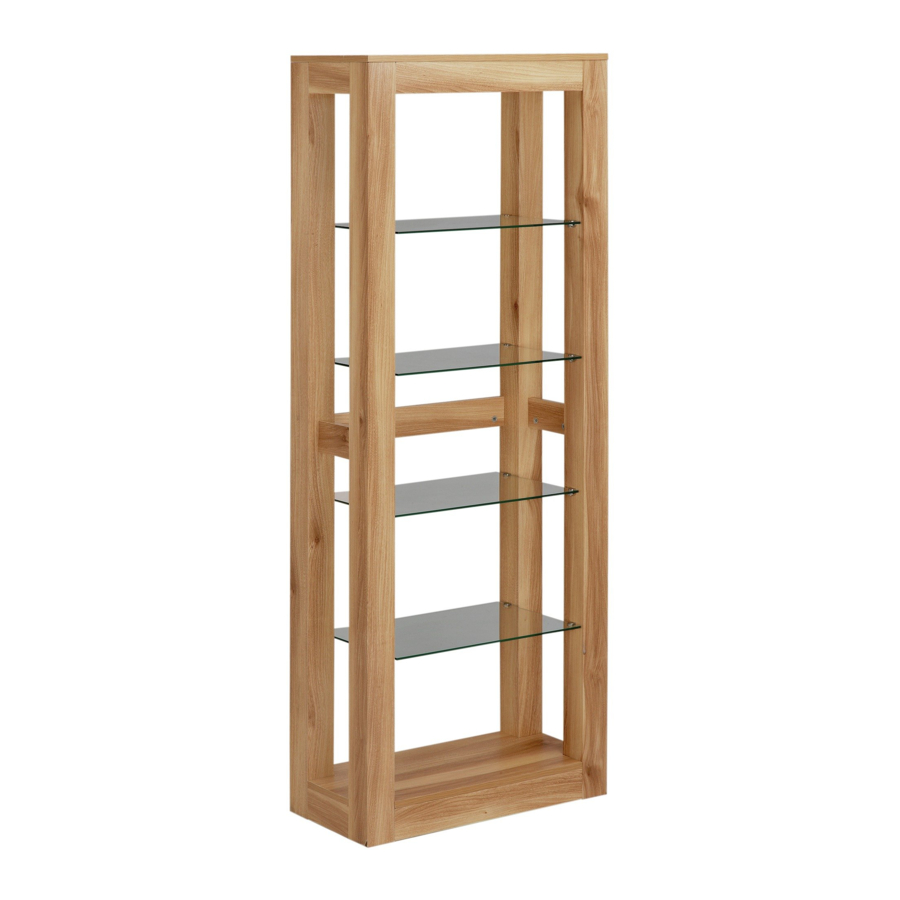
Hygena Cubic Wood Glass Display Unit
Assembly Instructions
450/4382D
- Please keep for future reference
Dimensions
Width - 65cm
Depth - 30cm
Height - 170cm
Important
– Please read these instructions fully before starting assembly
If you need help or have damaged or missing parts, call the Customer Helpline: 03456 400800
Issue 1 - 16/09/15
Advertisement

Subscribe to Our Youtube Channel
Related Manuals for Argos Hygena


Summary of Contents for Argos Hygena
- Page 1 Hygena Cubic Wood Glass Display Unit Assembly Instructions 450/4382D - Please keep for future reference Dimensions Width - 65cm Depth - 30cm Height - 170cm Important – Please read these instructions fully before starting assembly If you need help or have damaged or missing parts, call the Customer Helpline: 03456 400800...
- Page 2 Safety and Care Advice Important – Please read these instructions fully before starting assembly • Check you have all the • Do not stand or put weight on • We do not components and tools listed on the product, this could cause recommend the pages 3 &...
- Page 3 Components - Panels Please check you have all the panels listed below Top panel (650 x 300 mm) Bottom panel (646 x 296 mm) Front left post (1685 x 70mm) Rear left post (1685 x 70mm) Front right post (1685 x 70mm) Rear right post (1685 x 70mm) Front top rail x 1...
- Page 4 Components - Panels Please check you have all the panels listed below Front top rail x 1 Bottom panel Top panel Bottom rail x 2 (646 x 296 mm) (508 x 70mm) (650 x 300 mm) Front left post Rear top rail (1685 x 70mm) (508 x 70mm) Side top rail x 2...
- Page 5 Components - Fittings If you have damaged or missing components, call the Customer Helpline: 03456 400800 Please check you have all the fittings listed below Note: The quantities below are the correct amount to complete the assembly. In some cases more fittings may be supplied than are required.
- Page 6 Assembly Instructions Step 1 Middle. Small holes. Screw 22 Metal dowels into the threaded holes in the Posts as shown. Insert Wood dowels into the indicated holes. Middle. Middle. Step 2 Small holes. Firmly push Front left post and Rear left Untaped edge.
- Page 7 Assembly Instructions Step 3 Insert the 12 Metal Cams into the 12 holes on the side rails so that they are flush. Note: Longer leg of the cross on the Metal Cams must face towards end of rails (as shown). Then, using a Philips Screwdriver, screw all Metal Cams...
- Page 8 Assembly Instructions Step 5 Insert the 5 Metal Cams into the 5 holes on the rails so that they are flush. Note: Longer leg of the cross on the Metal Cams must face towards end of panel (as shown). Then, using a Philips Screwdriver, screw all Metal Cams Note: Longer leg of...
- Page 9 Assembly Instructions Step 7 Screw 8 Metal dowels into the threaded holes in the Top panel Bottom panel shown. Insert Wood dowels into the indicated holes. Step 8 Firmly push Top and Note: Longer leg of Bottom panels onto the rails the cross on the ensuring the Metal...
- Page 10 Assembly Instructions Step 9 Peel off the cover of the Foot pads , attach to the bottom of Posts. Turn the unit upright. Screw Shelf holders onto the pre-drilled holes in Posts using 25mm Screws , make sure the screws of the shelf holders face downwards as shown.
- Page 11 Assembly Instructions Step 11 Note: This Step is for securing the Unit to a wall and should only be attempted by experienced persons. You will Need the Following: Another person to assist you Electric Drill (& Drill Bits) Screwdriver Fixings Supplied: 2 Webbings 2 Small Wood Screws...
Need help?
Do you have a question about the Hygena and is the answer not in the manual?
Questions and answers