Sign In
Upload
Download
Table of Contents
Contents
Add to my manuals
Delete from my manuals
Share
URL of this page:
HTML Link:
Bookmark this page
Add
Manual will be automatically added to "My Manuals"
Print this page
×
Bookmark added
×
Added to my manuals
Manuals
Brands
Lissmac Manuals
Saw
Compactcut 900 P
Operating manual
Lissmac Compactcut 900 P Operating Manual
Floor saw
Hide thumbs
1
2
3
4
5
6
7
8
Table Of Contents
9
10
11
12
13
14
15
16
17
18
19
20
21
22
23
24
25
26
27
28
29
30
31
32
33
34
35
36
37
38
39
40
41
42
43
44
45
46
47
48
49
50
51
52
53
54
55
56
57
58
59
60
page
of
60
Go
/
60
Contents
Table of Contents
Troubleshooting
Bookmarks
Table of Contents
Table of Contents
Table of Contents 1. Features & Benefits
Basics of Intended Use
Organizational Measures
Personnel Choice and Personnel Qualification; Basic Responsibilities
Safety Instructions for Operation Phases
Transport, Assembly and Installation
Operation
Maneuvering the Floor Saw
Special Work While Using the Machine
Safety Instructions for Special Types of Dangers
Danger for the Operator by the Machine
Electric Power
Dust
Noise
Transport
Packaging and Storage
Environmental Protection
Disposal
2 Description of the Device
Technical Data
3 Commissioning
Consumables
Tools (Diamond Blade)
Control Panel
Refueling
Diamond Blade Installation (Tool)
Installing Multiple Diamond Blades
4 Transport
Transport Position
Lifting by Crane
Securing Machine for Road Transport
5 Operation
Safety
Preparations
Handlebar Adjustment
Adjusting Lowering Speed of Saw Head
Starting and Maneuvering the Machine
Cutting the Floor Saw
Toe-In Adjustment
Dust Extraction Unit
6 Maintenance
Troubleshooting Table
Torque Values for Bolted Connections
Maintenance Plan
7 Tools
8 Warranty
9 Circuit Diagram
Advertisement
Quick Links
Download this manual
EN
OPERATING MANUAL
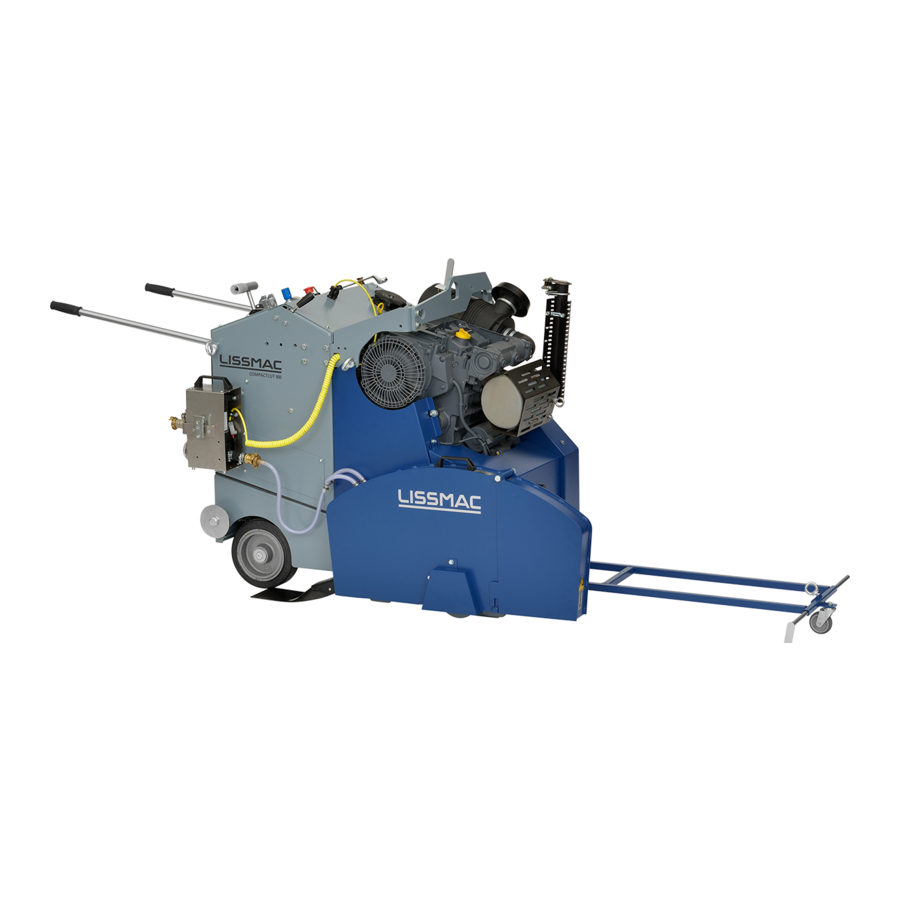
FLOOR SAW
COMPACTCUT 900 P/T
LISSMAC Maschinenbau GmbH
Lanzstrasse 4
D-88410 Bad Wurzach
Telephone +49 (0) 7564 / 307-0
Fax +49 (0) 7564 / 307-500
lissmac@lissmac.com
www.lissmac.com
1/60
Table of
Contents
Previous
Page
Next
Page
1
2
3
4
5
Advertisement
Table of Contents
Need help?
Do you have a question about the Compactcut 900 P and is the answer not in the manual?
Ask a question
Questions and answers
Related Manuals for Lissmac Compactcut 900 P
Saw Lissmac MULTICUT 900 SG Operating Manual
Floor saw (93 pages)
Saw Lissmac Compactcut 900 T Operating Manual
Floor saw (60 pages)
Saw Lissmac Compactcut 900 Operating Manual
Floor saw (56 pages)
Saw Lissmac COMPACTCUT 905 P/T Operating Manual
Floor saw (80 pages)
Saw Lissmac MULTICUT 905 SG Operating Manual
Floor saw (112 pages)
Saw Lissmac COMPACTCUT 201 P Operating Manual
Floor saw (84 pages)
Saw Lissmac COMPACTCUT 202 D Operating Instructions Manual
Floor saw (49 pages)
Saw Lissmac COMPACTCUT 300 P Operating Manual
Floor saw (48 pages)
Saw Lissmac COMPACTCUT 200 P Operating Manual
Floor saw (42 pages)
Saw Lissmac COMPACTCUT 301 P Operating Manual
Floor saw (46 pages)
Saw Lissmac COMPACTCUT 450 P Operating Instructions Manual
Floor saw (57 pages)
Saw Lissmac COMPACTCUT 400 E Operating Manual
Floor saw (45 pages)
Saw Lissmac COMPACTCUT 201 P Operating Manual
Floor saw (72 pages)
Saw Lissmac UNICUT 600 Operating Manual
Floor saw (93 pages)
Saw Lissmac DTS 700 Operating Manual
Masonry saw (40 pages)
Saw Lissmac DTS 901-V Operation Manual
Diamond cut-off saw dts 901-v diamond cut-off saw dts 901-h (30 pages)
This manual is also suitable for:
Compactcut 900 t
Table of Contents
Print
Rename the bookmark
Delete bookmark?
Delete from my manuals?
Login
Sign In
OR
Sign in with Facebook
Sign in with Google
Upload manual
Upload from disk
Upload from URL


Need help?
Do you have a question about the Compactcut 900 P and is the answer not in the manual?
Questions and answers