Sign In
Upload
Download
Table of Contents
Contents
Add to my manuals
Delete from my manuals
Share
URL of this page:
HTML Link:
Bookmark this page
Add
Manual will be automatically added to "My Manuals"
Print this page
×
Bookmark added
×
Added to my manuals
Manuals
Brands
Arai Manuals
Motorcycle Accessories
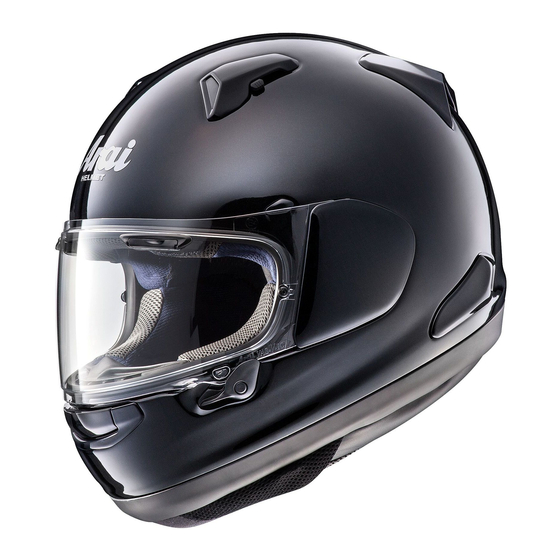
QUANTUM-X
Operation instructions manual
Arai QUANTUM-X Operation Instructions Manual
Hide thumbs
1
Table Of Contents
2
3
4
5
6
7
8
9
10
11
12
page
of
12
Go
/
12
Contents
Table of Contents
Bookmarks
Table of Contents
Table of Contents
To Open/Close Shield
To Operate Demist System
To Operate Browvents
To Operate Mouthvent
To Operate Top Vents
To Remove/Replace Breath Deflector
To Remove/Replace Chin Cover
To Operate Airflow Spoiler
To Remove/Replace Shield
To Remove/Replace Base Plate
To Remove/Replace Tether
To Remove/Replace Cheekpad
To Remove/Replace Comfort Lining
To Remove/Replace Chinstrap Covers
To Remove/Replace Neckroll
Advertisement
Quick Links
1
To Open/Close Shield
2
To Operate Top Vents
3
To Operate Demist System
4
To Remove/Replace Shield
5
To Remove/Replace Cheekpad
Download this manual
QUANTUM-X & SIGNET-X
OPERATION INSTRUCTIONS
For your safety, it is important that you completely read the instructions and warnings.
Table of
Contents
Previous
Page
Next
Page
1
2
3
4
5
Advertisement
Table of Contents
Need help?
Do you have a question about the QUANTUM-X and is the answer not in the manual?
Ask a question
Questions and answers
Related Manuals for Arai QUANTUM-X
Motorcycle Accessories Arai RX-7GP Manual
(41 pages)
Motorcycle Accessories Arai QUANTIC Manual
(52 pages)
Motorcycle Accessories Arai GP-6S Operation Instructions
(2 pages)
Motorcycle Accessories Arai Regent-X Operation Instructions Manual
(20 pages)
Motorcycle Accessories Arai Open Face Series Instructions For Use Manual
Open face series; (15 pages)
Motorcycle Accessories Arai RX-7V EVO Instructions For Use Manual
(68 pages)
ARAI RX-7V EVO Manual
(article)
Motorcycle Accessories Arai RX-7V Instructions For Use Manual
(68 pages)
Motorcycle Accessories Arai PROFILE-V Instructions For Use Manual
(60 pages)
Motorcycle Accessories Arai TX-4 Instructions For Use Manual
(14 pages)
Motorcycle Accessories Arai TX-4 Instructions For Use Manual
(68 pages)
Motorcycle Accessories Arai Classic-V Operation Instructions Manual
(24 pages)
Motorcycle Accessories Arai Defiant-X Operation Instructions Manual
(12 pages)
This manual is also suitable for:
Signet-x
Table of Contents
Print
Rename the bookmark
Delete bookmark?
Delete from my manuals?
Login
Sign In
OR
Sign in with Facebook
Sign in with Google
Upload manual
Upload from disk
Upload from URL


Need help?
Do you have a question about the QUANTUM-X and is the answer not in the manual?
Questions and answers