
Subscribe to Our Youtube Channel
Related Manuals for Arai Defiant-X


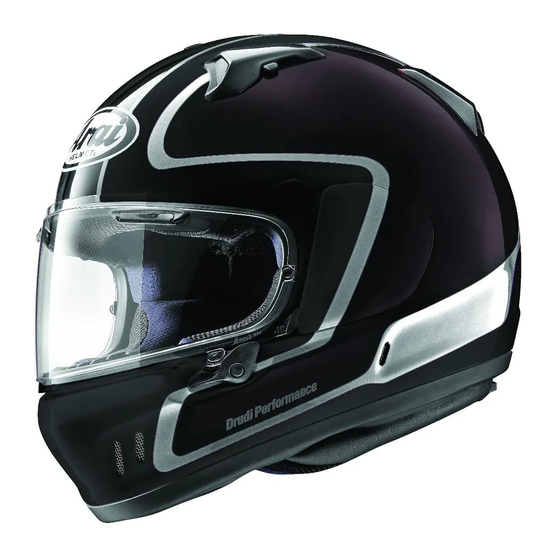
Summary of Contents for Arai Defiant-X
- Page 1 Defiant-X OPERATION INSTRUCTIONS For your safety, it is important that you completely read the instructions and warnings. Defiant-X...
-
Page 2: Table Of Contents
English CONTENTS TO OPEN/CLOSE SHIELD ...........3 TO OPERATE DEMIST SYSTEM ..........4 TO OPERATE BROWVENTS ..........4 TO OPERATE MOUTHVENT ..........5 TO OPERATE TOP VENTS ...........5 TO REMOVE/REPLACE SHIELD ...........5 TO REMOVE/REPLACE BASE PLATE ........6 TO REMOVE/REPLACE TETHER ..........7 TO REMOVE/REPLACE CHEEKPADS ........7 TO REMOVE/REPLACE COMFORT LINING ......9... -
Page 3: To Open/Close Shield
English ① ② TO OPEN/CLOSE SHIELD To open, push the shield latch lever up and the shield will open slightly ①. Then pull the bulge on the shield slightly outward so the shield clears the latch post on the helmet ②, and raise the shield. ③... -
Page 4: To Operate Demist System
Rinse well with clean water, and wipe off with a soft cloth. Never use petrol, thinner, benzene or any other solvents. There are many “aggressive” cleaners on the market, including some supposed to be specifically for use on shield. Arai strongly recommends that you do not use any such products to clean your shield as some of their ingredients may have damaging effects on the shield and other plastic parts installed on your helmet. -
Page 5: To Operate Mouthvent
English TO OPERATE MOUTHVENT To open, slide the tab on each side outward. To close, slide each tab as shown. CLOSE CLOSE CLOSE CLOSE TO OPERATE TOP VENTS Simply push the switches/levers on each vent to open/close the vents. OPEN NOTE : Do not use oils or waxes to lubricate vents or other moving parts. -
Page 6: To Remove/Replace Base Plate
English To replace, position the shield on the base plate so that the lower part of the sliding slot of the shield is over the spring clip of the base plate and the brass stud is in the red hole of the base plate ⑦. Press the shield onto the spring clip, and then fully raise the shield until the brass stud falls into the sliding slot of the base plate ⑧&⑨... -
Page 7: To Remove/Replace Tether
English ② ① TO REMOVE/REPLACE TETHER To remove the tether connecting the side pod and base plate, compress the tether spring hook at the side pod ① and pull the tether out from the slot ②. ③ To remove tether from the base plate, remove base plate from helmet. Pull tether until it stops, then bend it toward the back of the base plate to release it ③... - Page 8 English WARNING : Never use petrol, thinner, benzene or any other solvents. To replace the fabric covering, ensure it is turned right side out, and stretch the covering over the pad, and adjust the covering to lie smoothly. Then push the rectangular collar through the pad assembly and adjust into final position.
-
Page 9: To Remove/Replace Comfort Lining
English ① ② ③ TO REMOVE/REPLACE COMFORT LINING The comfort lining is secured to the helmet by plastic bosses ①. To remove the lining, undo bosses by grasping the lining as close to each boss as possible ② and pulling straight up ③. Note the fore & back, top & bottom sides of the lining for replacement. - Page 12 Helmet Specifications Subject to Change Without Notice. Contact to : ARAI HELMET, LIMITED 12 Azuma-cho, 2-chome Omiya, Saitama Japan 330-0841 ARAI HELMET (AMERICAS), INC. P.O. Box 787 Fogelsville, PA 18051-0787 U.S.A. 2019_10 Defiant-X FUKUYAMA PRINTING CO.,LTD. Printed in Japan...
Need help?
Do you have a question about the Defiant-X and is the answer not in the manual?
Questions and answers