Advertisement
Table of Contents
Advertisement
Table of Contents

Related Manuals for Arai Open Face Series


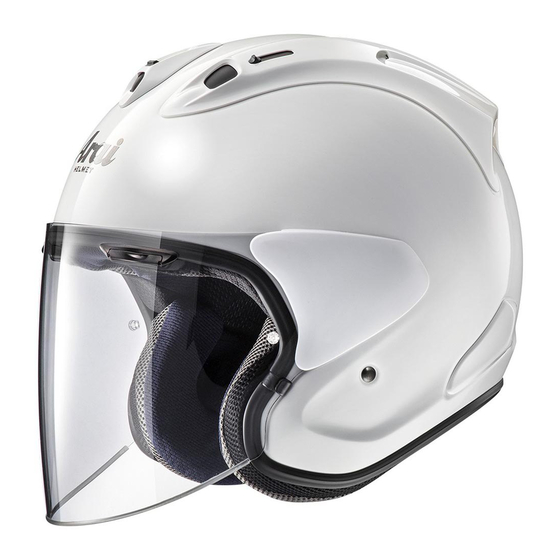
Summary of Contents for Arai Open Face Series
- Page 1 INSTRUCTIONS FOR USE READ THIS BOOKLET BEFORE USE! OPEN FACE SERIES...
-
Page 2: Table Of Contents
English CONTENTS To open/close shield ................4 To operate browvents ................4 To operate top vents ................4 To remove/replace shield ................. 6 (X-TEND / X-TEND RAM / XC / XC RAM / SZ-RAM4 / SZ-URBAN) To remove/replace shield holding arms ............ 8 (X-TEND / X-TEND RAM / XC / XC RAM / SZ-RAM4 / SZ-URBAN)... -
Page 3: To Open/Close Shield
There are many “aggressive” cleaners on the market, including some supposed to be specifically for use on shield. Arai strongly recommends that you do not use any such products to clean your shield as some of their ingredients may have damaging effects on the shield and other plastic parts installed on your helmet. -
Page 4: To Remove/Replace Shield
English TO REMOVE/REPLACE SHIELD X-TEND / X-TEND RAM / XC / XC RAM / SZ-RAM4 / SZ-URBAN To remove the shield, first place it in the fully open position. When the shield is in its fully open position, levers appear under the shield holding arms. -
Page 5: To Remove/Replace Shield Holding Arms
English Push firmly inward on the shield holding arms until you hear them click into place. Lower the shield past the normal upper stops, and test operation. If the shield does not seem to work properly, remove and gently reinstall it again. -
Page 6: To Remove/Replace Shield/Peak
English To replace the shield holding arms, first slip the upper slot of the shield into the upper bracket of the shield holding arm <1>, next slip the lower slot of the shield into the lower bracket of the shield holding arm <2>, then slide the shield holding arm downward until it is fully snapped into place <3>. - Page 7 English To replace shield/peak, with the parts off the helmet, place the base plate under the shield in the position as illustrated (note that the L & R embossed on the base plate indicate Left and Right on the helmet when the helmet is worn).
-
Page 8: To Remove/Replace Cheekpads/ Earcups
English HOLE “D” With gentle pressure, rotate the pressure plate as illustrated ensuring that the two tabs in sleeve A engage the tracks in hole C. Use care so as not to HOLE “C” scratch the painted surface of the peak while rotating the pressure plate. SLEEVE “B”... - Page 9 English WARNING: Never use petrol, thinner, benzene or any other solvents. To replace the fabric covering, ensure it is turned right side out, and stretch the covering over the rear edge of the cheekpad assembly. Then push the rectangular collar through the pad assembly and place it in position. Stretch the rest of the covering over the front part of the cheekpad assembly making sure to leave the tab outside the fabric covering.
- Page 10 English SZ-RAM4 / SZ-URBAN A” B” The earcups are secured to their base plates by bosses A & B and C. C” To remove earcup, first undo chinstraps, then remove bosses A & B from its base plate by grasping upper part of earcup on one side and pulling toward you until a snap is heard, then do the other side of the same earcup.
-
Page 11: To Remove/Replace Chinstrap Covers
English To replace earcup (note that the L & R embossed on the cup bases indicate Left and Right inside of the helmet when the helmet is worn), push the lower tab C into its receptacle and pull downward until it is fully snapped into place. - Page 12 To replace the right chinstrap cover (long side), ensure the cap side of the chinstrap end snap (Arai logo impressed) on the chinstrap and the leatherette side of the chinstrap cover both face outward, slip the chinstrap cover onto the chinstrap.
- Page 13 To replace the right chinstrap cover (long side), ensure the cap side of the chinstrap end snap (Arai logo impressed) on the chinstrap and the leatherette side of the chinstrap cover both face outward, slip the chinstrap cover onto the chinstrap.
-
Page 14: To Remove/Replace Comfort Lining
English TO REMOVE/REPLACE COMFORT LINING X-TEND RAM / X-TEND RAM CT / XC-RAM / CT-Z ( except CT-Z for Australia ) The comfort lining is secured to the helmet by 4 plastic bosses. To remove the lining, undo 4 bosses by grasping the lining as close to each boss as possible and pulling straight up. - Page 15 URL: http://www.arai.co.jp Contact to ARAI HELMET, LIMITED 12 AZUMA-CHO, 2-CHOME OMIYA, SAITAMA 330-0841 JAPAN ARAI HELMET (AMERICAS), INC. P.O. BOX 787 ALLENTOWN, PA 18051-0787 U.S.A. ARAI HELMET (EUROPE), B.V. P.O. BOX 112 3870 CC HOEVELAKEN THE NETHERLANDS Helmet Specifications subject to Change Without Notice.
Need help?
Do you have a question about the Open Face Series and is the answer not in the manual?
Questions and answers