Charlton & Jenrick 4D Ecoflame 1250E Installation And Operating Instructions Manual
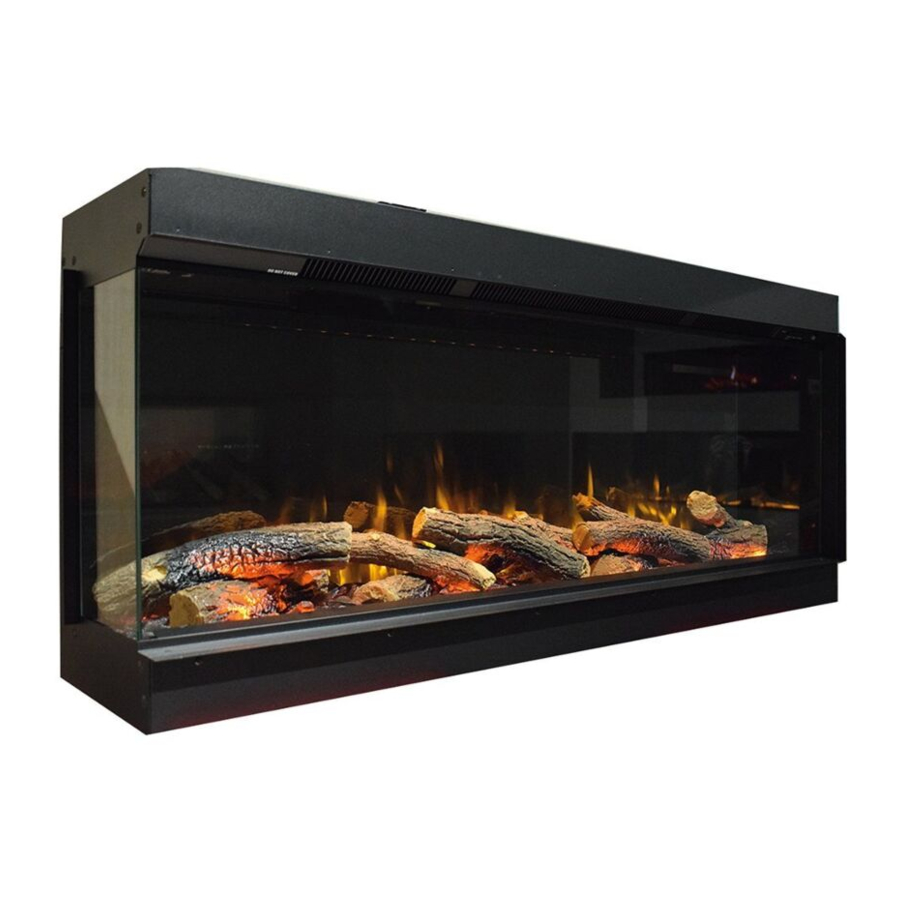
Led electric fire
Hide thumbs
Also See for 4D Ecoflame 1250E:

Related Manuals for Charlton & Jenrick 4D Ecoflame 1250E


Summary of Contents for Charlton & Jenrick 4D Ecoflame 1250E
- Page 1 LED Electric Fire Model: 4D Ecoflame 1250E/1500E/1800E INSTALLATION AND OPERATING INSTRUCTIONS Please read the instructions carefully before installation or use and keep for future reference.
- Page 3 Important Safety Information ………………………………………………… Technical Specifications ……………………………………………………… Parts and Hardware …………………………………………………………… Appliance Dimensions ………………………………………………………… Installation Instructions ……………………………………………………… Operating Instructions ………………………………………………………… Manual Control Panel …………………………………………………… Remote Control ………………………………………………………… Maintenance …………………………………………………………………… Service Parts list………………………………………………………………… Others ……………………………………………………………………………...
- Page 4 1.1 Read all the instructions carefully before using the appliance. 1.2 For indoor use only. This appliance is not suitable for use outside The house 1.3 Do not use this appliance in the immediate surroundings of a bath, a shower or a swimming pool. 1.4 Do not use this fire as a free-standing appliance.
- Page 5 not play with the appliance. Cleaning and user maintenance shall not be made by children without supervision. 1.14 Children and vulnerable people must be always supervised when using this appliance, as some parts can become very hot and cause burns. A suitable fireguard must be fitted for this purpose.
- Page 6 At minimum heat output (elmin): 12W In standby mode (elSB): 0.49W Type of Heat Output / Room Temperature Control Single stage heat output and no room temperature control Two or more manual stages , no room temperature control With mechanic thermostat room temperature control With electronic room temperature control Electronic room temperature control plus day timer Electronic room temperature control plus week timer...
- Page 7 Power Cord Bracket (1pc) Installer must fit before ST4*40 Screw (4pcs) Wall Plug (18pcs) leaving appliance Lower Brackets (2pcs) To be used when the Wall Edging Strips (2pcs) Edging Strips (2pcs) Hanging Bracket (J) is used Wall hanging bracket is attached on firebox (1pc) 1250E (1pc) Power Cord (1pc)
-
Page 8: Preparation Before Installation
Instruction Manual (1pc) Simplified Instruction (1pc) Unit: mm Model 1250E 1250 1280 1500E 1500 1530 1800E 1800 1830 5.1 PREPARATION BEFORE INSTALLATION Tools Required A screwdriver, a spirit level and drill will be needed. - Page 9 Prepare the Appliance Your new electric fireplace may be installed virtually anywhere in your home. However, when choosing a location, ensure that the general instructions are followed: For best result, install out of direct sunlight, water, or very damp air. The appliance must be connected to an earthed electrical outlet and it must be easily accessible to allow disconnection.
- Page 10 Front view (only the front window is visible) When you unpack the appliance, you will notice that the side panels have been fixed on the appliance, which makes the appliance visible on only one front side. Front and one side view (the front and one of the side windows are visible) Front and two sides view (the front and both sides windows are visible) Remove the side panels from the ends you want to view to enable duel or triple aspect as required Then fix the edging strips using the screws taken from...
- Page 11 5.2 Installing the Appliance The following is only given as a general guide because it can be installed in so many ways, provided you ensure electric connections are safely made in accordance with the codes, various materials can be used for the framework and cladding.
- Page 12 Cladding the framework note: hard surfaces can amplify sound consider adding some underlay or similar to the inside surface of the cladding Wall Mounted Installation Remove the wall bracket from the rear of the appliance, and place it horizontally against the wall. Using the wall as a template mark the hole position as shown in the figure below.
-
Page 13: Preparation Before Use
Mount the appliance carefully on the hooks of the wall bracket, secure the appliance To the wall bracket with the screws provided, one into each end Use four screws provided to fix the bottom brackets to the corresponding holes on the underside of appliance adjusting the brackets position to ensure the appliance is plumb with the wall. - Page 14 NOTE: To use both remote and manual functions, the manual on/off switch must be in 'ON' position. To prevent the product becoming too hot, there is 10s delay when turning on the heater and a 10s delay when turning off the heater fan. Batteries Ensure that the handset batteries are new and inserted correctly.
- Page 15 6a.4 FUEL BED: Press button FUEL BED to select 14 different fuel bed colour effects and OFF setting. If the fuel bed was turned off by pressing button LIGHTS ON/OFF and the fuel bed was not at OFF, the fuel bed effect will be memorised.
- Page 16 Before Day/Time Set Up 6b.1 The screen shown to the right is when the remote controls is in standby mode Turn on/off 6b.2 Press to turn on/off the appliance. After Day/Time Set Up Flame Effect 6b.3 Press to enter the flame effect adjustment screen.
- Page 17 NOTE: It is normal for the fan heater to stop running for periods of time. This happens because the room temperature is at or above the temperature set on the remote control. The heater indicator will be turned off after 10s if you have the flame ON.
- Page 18 6b.20 Press until shows at the upper right corner of the screen, then enter the daily timer heating mode. 6b.21 Hold the button for 6 seconds to enter the daily timer setting. Up to 3 heating start time periods can be set. Press ' ' or ' ' to choose hour or minute,...
- Page 19 6b.27 Hold button for 6 seconds to enter the weekly timer setting. Press ' ' or ' ' to move the cursor (a flashing underline), press the button in the corresponding week position to select (the character is highlighted) or cancel (the character is displayed normally) the current setting.
- Page 20 Window Open Detection 6b.34 When the transmitter detects a rapid drop in room temperature, it will be judged as a window open, the warning icon will be displayed and the heater will be turned off automatically. 6b.35 After the indoor temperature has risen or a manual override of the warning (by operating remote control) has been done the fire will return to normal working state.
- Page 21 6b.43 Ensure the batteries are inserted with the correct polarity. 6b.44 If the remote is to be unused for a long period, the batteries should be removed. 6b.45 The terminals within the remote must not to be short-circuited. Resetting the Thermal Cut Out 6b.46 The appliance is fitted with an Electronic Safety Control (E.S.).
- Page 22 front glass panel should always be completely dried with a clean, lint-free cloth or paper towel. Caution: Abrasive cleaners should not be used on the glass panel. Liquids should not be sprayed directly onto any surface of the unit.
- Page 24 Environment Meaning of crossed –out wheeled dustbin: Electrical appliance should not be disposed as unsorted municipal waste. Separate collection facilities should be used in the disposal of electrical appliances. Contact your local government for the information about the available collection systems.
- Page 28 Charlton & Jenrick Ltd Unit D, Stafford Park 2, Telford, Shropshire, TF3 3AR Tel: (0845) 5195 991 Fax: (0845) 5195 992 www.charltonandjenrick.co.uk...
Need help?
Do you have a question about the 4D Ecoflame 1250E and is the answer not in the manual?
Questions and answers