Degelman STRAWMASTER 7000 Quick Start Manual
Hide thumbs
Also See for STRAWMASTER 7000:
- Operator's manual/parts catalog (51 pages) ,
- Operator's manual/parts catalog (36 pages) ,
- Operator's manual/parts catalog (49 pages)
Advertisement
Quick Links
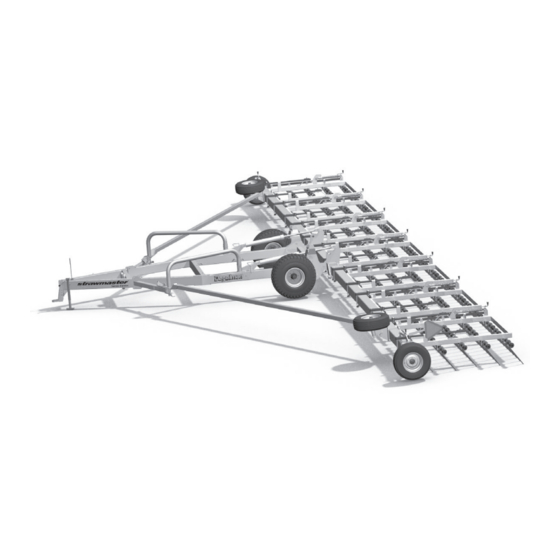
QUICK-START GUIDE
STRAWMASTER 7000
for
* Refer to operators manual for complete safety and operation info.
A
Connect Hydraulics
B
Backing Into Field Position
Note: Ensure there is plenty of room
behind and to the sides of the
Strawmaster before backing
into field position.
1
1)
Remove Transport Frame Pins
Note: Hydraulic models have both frame and cylinder
(B).
transport pins
The Auto-Fold Cables should
be tight and the latch in the
2)
The 50' model has a telescopic truss beam. Move out into
field position and secure with pin. All other models have a
fixed length truss arm.
Transport
Field
Hair Pin
*
AUTO-FOLD LIFT CIRCUIT...
1
HYDRAULIC LIFT CIRCUIT..................
2
REPHASING TINE ANGLE CIRCUIT....
3
3
2
(A) a
nd place in holders.
(both sides)
Store
Store
A
Remove
Remove
Remove
Remove
Store
Store
B
Cylinder Lock
Cylinder Lock
(both sides)
open position.
Transport Pin
50'
WARRANTY
REMEMBER! You must complete Product
Registration to be eligible for Warranty.
Note: These hydraulic options are not included on all models.
Manual adjustment will be required if they are not installed.
3
2
1
1
4
3)
Turn the transport wheel's
spindle over so the wheel
leans out (both sides).
4)
Back-up slowly. The wings will open up. Ensure there is lots of
room behind and to the sides. Back-up evenly so you don't
damage the transport wheels.
IMPORTANT: Be sure to backup evenly to avoid serious
damage to the transport wheels.
5)
With wings fully opened, lower harrow sections to the ground
by extending the auto-fold lift cylinders.
6)
If the auto-fold latch(s) still haven't closed, slowly back up just
a bit more. It should then snap shut and be fully engaged.
ATTENTION: Before driving forward make sure both
latches have fully engaged or serious damage to the
machine will result.
Adjust Settings
7)
Adjust settings for light or aggressive harrowing.
8)
Adjust Tine Angle as needed.
9)
Adjust Height Adjustments as needed.
Harrow Lift Cylinders
(Optional)
(Optional)
3
3
3
2
3
2
6
5
3
1
The Auto-Fold cable will loosen
and the auto-fold latch should
close on the swing arm pipe.
3
3
2
142638 v1.1
Advertisement

Related Manuals for Degelman STRAWMASTER 7000


Summary of Contents for Degelman STRAWMASTER 7000
- Page 1 QUICK-START GUIDE WARRANTY STRAWMASTER 7000 REMEMBER! You must complete Product * Refer to operators manual for complete safety and operation info. Registration to be eligible for Warranty. AUTO-FOLD LIFT CIRCUIT... Connect Hydraulics Harrow Lift Cylinders HYDRAULIC LIFT CIRCUIT....(Optional) REPHASING TINE ANGLE CIRCUIT..
- Page 2 Setting Tine Angle, Pressure & Frame ® NOTE: Strawmaster can have either manual or hydraulic adjustment. Trailer height & tine angle are set by either ratchet/sidewind jacks or hydraulics. Note: Manual models - Use the manual jacks Actual settings will vary Tine Angle Adjustment with tine wear.
Need help?
Do you have a question about the STRAWMASTER 7000 and is the answer not in the manual?
Questions and answers