
Subscribe to Our Youtube Channel
Related Manuals for Body Solid Powerlift LSA 50


Summary of Contents for Body Solid Powerlift LSA 50
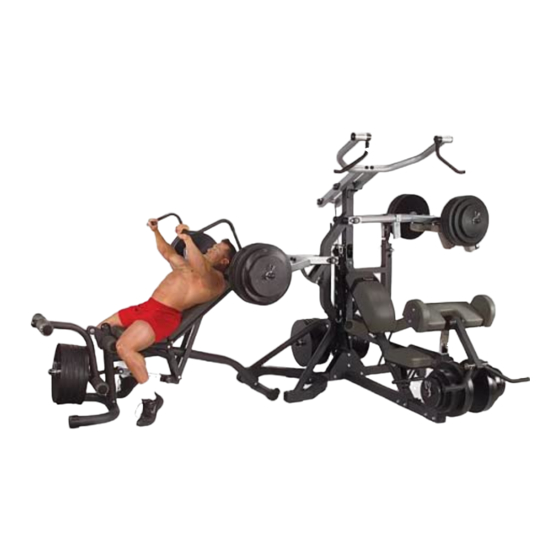
- Page 1 F r e e w e i g h t L e v e r a g e G y m S y s t e m Body-Solid ® L S A 5 0 S q u a t / C a l f S t a t i o n L S A 5 0 A s s e m b l y I n s t r u c t i o n s...
- Page 2 I m p o r t a n t S a f e t y I n s t r u c t i o n s Before beginning any fitness program, you should obtain a complete physical examination from your physician. Il est conseille de subir un examen medical complet avant d’entreprendre tout programme d’exercise.
- Page 3 A s s e m b l y I n s t r u c t i o n s You must review and follow the instructions in this Owner’s Manual. If you do not assemble and use the PowerLIFT Squat/Calf Station according to these guidelines, you could void the Body-Solid warranty. Assembly of the PowerLIFT Squat/Calf Station takes professional installers about 30 minutes to complete.
- Page 4 S T E P Be careful to assemble all components in the sequence they are presented. IMPORTANT! Before you begin you should look at pages 11 and 12. This is a quick reference guide that shows all hardware parts (in actual size) along with the corresponding key numbers on the assembly instructions.
- Page 5 S T E P...
- Page 6 S T E P Be careful to assemble all components in the sequence they are presented. You will need assistance in this step to properly align all parts. Insert pivot shaft (BF) into vertical mainframe (E) as shown using: one 24 (standard nut 10mm) one 16 (square head bolt 10mm x 50mm with dog point) Note: Be sure that (16) bolt goes into the hole in the center of the pivot shaft (BF) and wrench tighten (16) bolt first and then wrench tighten (24) nut last.
- Page 7 S T E P...
- Page 8 S T E P Install both Olympic adapter sleeves (2) as shown using: two 23 (flat washer 10mm x 30mm) two 26 (spring lock washer 10mm) two 15 (round allen head 10mm x 20mm full thread bolt) Wrench Tighten these bolts now two 3 (plastic ball-end cap 2") two 8 (rubber donut) See Note 1.
- Page 9 S T E P...
- Page 10 L S A 5 0 M a i n f r a m e P a r t s L i s t KEY# QTY PART# DESCRIPTION SLA50CR-BA CALF RAISE SLA50FB-BB FOOT BRACE SLA50SF-BC SUPPORT FRAME SLA50BP-BD BRACE PLATE SLA50SB-BE SAFETY BAR SLA50PS-BF PIVOT SHAFT...
- Page 11 S a f e t y G u i d e l i n e s Successful resistance training programs have one prominent feature in common...safety. Resistance training has some inherent dangers, as do all physical activities. The chance of injury can be greatly reduced or completely removed by using correct lifting techniques, proper breathing, maintaining equipment in good working condition, and by wearing the appropriate clothing.
- Page 12 L S A 5 0 H a r d w a r e ( s h o w n a c t u a l s i z e ) Key # round allen head 8mm x 80mm partial thread bolt QTY. 4 Key # round allen head 8mm x 90mm partial thread bolt QTY.
- Page 13 L S A 5 0 H a r d w a r e ( c o n t i n u e d ) ( s h o w n a c t u a l s i z e ) Key # spring lock washer 10mm QTY.
- Page 14 E X P L O D E D V I E W D I A G R A M B o d y - S o l i d L S A 5 0 S q u a t / C a l f S t a t i o n ©...
Need help?
Do you have a question about the Powerlift LSA 50 and is the answer not in the manual?
Questions and answers