Advertisement
Quick Links
TOOLS REQUIRED
Hammer
Safety goggles
Measuring tape
Wall hardware
Installation
1
PREPARING FOR INSTALLATION
NOTE: Before installation, make sure all parts are present. Compare parts with
the Hardware Included list. If any part is missing or damaged, do not attempt to
install the product.
□ Determine the desired mounting location, and mark the wall where the unit
will be installed.
NOTE: For secure installation, the unit must be mounted to at least one wall stud.
2
CUTTING THE OPENING FOR PLUMBING FIXTURES
NOTE: This step applies to vanity cabinets with full back panels only.
□ Locate and mark plumbing on the back panel.
□ Drill a pilot hole through the back panel.
□ Use a keyhole saw to cut an opening for the plumbing fixtures.
3
POSITIONING THE CABINET
□ Move the cabinet into place, and use wood
shims to level the cabinet against the wall.
Use and
Care Guide
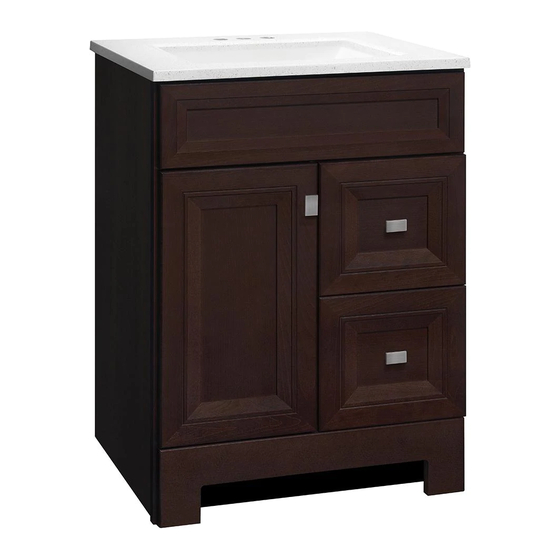
Vanity Combo
Phillips screwdriver
Power drill
Caulk/sealant
Model# PPLNKDCG24D
Model# PPLNKDVR24D
Model# PPLNKWHT24D
Model# PPLNKDCG30D
Model# PPLNKDVR30D
Model# PPLNKWHT30D
Model# PPLNKDCG36D
Model# PPLNKDVR36D
Model# PPLNKWHT36D
HARDWARE INCLUDED
AA - Knob x 3
Level
4
BEFORE BEGINNING ASSEMBLY
□ Read directions thoroughly
□ Decide on right or left hand door configuration
□ Perform door / drawer swap prior to vanity installation.
Item# 1003 619 898
Item# 1003 619 905
Item# 1003 619 907
Item# 1003 619 896
Item# 1003 619 906
Item# 1003 619 897
Item# 1003 619 902
Item# 1003 619 900
Item# 1003 619 901
BB - Screw x 3
HOMEDEPOT.COM
Please contact 1-888-774-8062 for further assistance.
Advertisement

Related Manuals for Home Decorators Collection PPLNKDCG24D


Summary of Contents for Home Decorators Collection PPLNKDCG24D
- Page 1 Use and Care Guide Model# PPLNKDCG24D Item# 1003 619 898 Model# PPLNKDVR24D Item# 1003 619 905 Vanity Combo Model# PPLNKWHT24D Item# 1003 619 907 Model# PPLNKDCG30D Item# 1003 619 896 Model# PPLNKDVR30D Item# 1003 619 906 Model# PPLNKWHT30D Item# 1003 619 897...
- Page 2 Door and Drawer Swap DOOR SWAP INSTRUCTIONS □ If swapping door and drawer locations, follow the instructions below. If using standard configuration, go to theInstallation Instructions on page 3. □ Remove door from frame cabinet by using a #2 Phillips screwdriver to remove screws holding hinges in place.
- Page 3 Installation INSTALLING THE CABINET □ For wall stud installation, insert #12 x 3 in. screws with washers into the stud locations (not included). □ For drywall installation, drill holes at the appropriate locations and insert toggle bolts with washers (not included). □...
- Page 4 Troubleshooting Problem Possible Cause Solution The doors do not align or The hinges are misaligned. Hold the door while loosening Up — Down the space is too big or too screws. Align the doors properly, In — Out tight between the doors. and re-tighten the screws.