Table of Contents
Advertisement
Quick Links
Advertisement
Table of Contents

Related Manuals for Fortis FS14IEBIKEA


Summary of Contents for Fortis FS14IEBIKEA
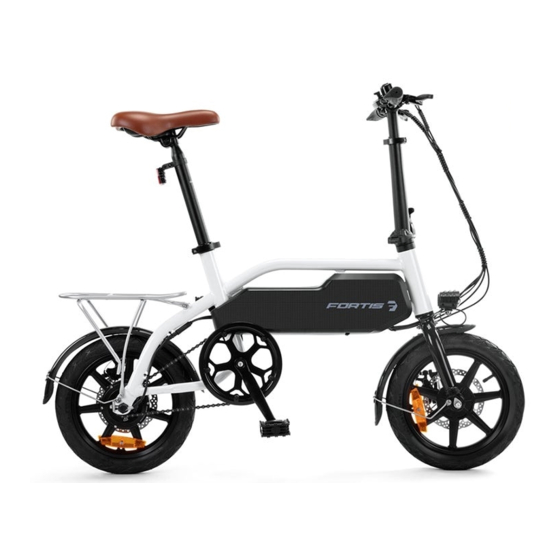
- Page 1 14 36V 5.2AH FOLDABLE ELECTRIC BIKE FS14IEBIKEA...
-
Page 3: Safety And Warnings
SAFETY & WARNINGS IMPORTANT: Read this user guide and keep for future reference. The rider must wear a helmet and appropriate safety gear when operating this bike. Ensure local laws and regulations for electric bike use are followed at all times. ATTENTION: This bike is designed for city roads and must not be operated in non-urban road or off-road environments. - Page 4 • If you must ride when in light rain, keep at a low speed and ensure a long distance from the vehicles in front of you in case of emergency stops. Ensure you are using the headlight. • Do not ride on slopes steeper than 15°. •...
- Page 5 COMPONENTS 1x Foldable Electric Bike 1x Charger / Adapter 1x User Guide...
- Page 6 OVERVIEW Bike overview: Hand grips Brake lever Seat Stem Headset Rear reflector Stem folding lever Seat post clamp Bike frame Headlight Rear rack Fork Front wheel Pedals Kickstand Front disc brake Chainring Hub motor and chain wheel Rear disc brake...
-
Page 7: Display Overview
Display overview: Battery status as percentage Battery status Battery status as graphic Long press to turn on/off headlight. + Button Short press to increase speed level. Long press 3 seconds to turn on/off power. Mode Button Short press to cycle through Trip / Odo / Time display mode. - Button Short press to decrease speed level. - Page 8 Additional display icons: Displays when headlights are activated Displays when brakes are activated Error indicator: Motor Error indicator: Controller Displays the current mode for the meter/time display Trip meter / Odometer / trip time display...
- Page 9 ASSEMBLY 1. Unfold Folding Stem Hold the bike frame, unfold the stem upright and ensure it connects seamlessly with the frame below. Fasten the stem folding lever upright. Ensure the stem is securely fixed into position. It should not wobble or give when shaken. Continue to Step 2 to continue assembly.
- Page 10 2. Install the Handlebars Insert the handlebars into the stem, ensuring you are positioning it at a comfortable riding height. Fasten the headset and tighten the screw to secure the handlebars. When tightened, press down hard to check whether the handlebars are secure in the stem. 3.
- Page 11 4. Install the Seat Post and Seat Loosen the seat post clamp, and install the seat post while holding the bike frame. Ensure it is set to a comfortable riding height. The rider must be able to touch both feet on the ground while on the seat.
- Page 12 5. Power On Ensure the bike is fully charged prior to first use. Long-press the Mode button (M) for 3 seconds to power on.
- Page 13 CHARGING ADVICE Battery and Charging Ideal environmental temperature for charging is 0°C - 45°C, for discharging (general operation) is -20°C - 60°C. Keep the battery in dry condition. Do not put the battery in acidic or alkaline liquid; keep it away from rain, fire, excessive heat and high-temperature environments.
-
Page 14: Cleaning And Care
CLEANING & CARE • Keep the electric bike in a place where there is no direct sunlight or no rain after riding. • Always check your bike before riding. Ensure that the brakes work well, the battery is fully charged, tyre pressure is correct, and that no screws have become loose. Listen for any abnormal sounds. -
Page 15: Specifications
SPECIFICATIONS Mechanical configuration Unfolded dimensions 1200 x 400 x 1100mm Seat height (from ground) 770-980mm (adjustable) Wheelbase 830mm Tyre dimension <p14 x 1.95inch Net weight (inc. battery) 17kg Brake System Front and rear disc brake Frame material Aluminium Alloy Weld Battery instalment Built-in/non-detachable Battery Specification... -
Page 16: Troubleshooting
TROUBLESHOOTING Issue Possible cause Solution No power Check the battery is installed correctly. assistance No power when bike Check battery whether need charging. turned on Battery not fully charged after Check the charger is working well. 5 hours. Tyre pressure is low. Check the pressure before riding. - Page 17 NOTES...
- Page 18 NOTES...
- Page 19 NOTES...
- Page 20 Need more information? We hope that this user guide has given you the assistance needed for a simple set-up. For the most up-to-date guide for your product, as well as any additional assistance you may require, head online to help.kogan.com...
Need help?
Do you have a question about the FS14IEBIKEA and is the answer not in the manual?
Questions and answers