
Related Manuals for SINTERIT Lisa


Summary of Contents for SINTERIT Lisa
- Page 1 Sinterit Lisa printer SHORTENED USER GUIDE Read the instruction manual before starting the device. Version S/11/2019...
-
Page 2: Table Of Contents
6. Cleaning the printer................................13 7. Technical support ................................15 The Shortened User Guide is a shortened version of the Sinterit Lisa printer User Manual. For correct and trouble-free operation of the printer, please read the Full User Manual available at www.sinterit.com. -
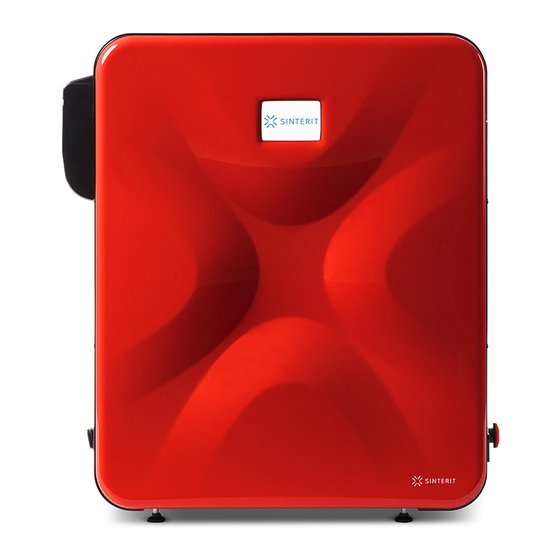
Page 3: Sinterit Lisa 3D Printer
Image 2. View of the printer’s right and left side. 8.Lid’s handle / 9.OVERFLOW BIN / 10.USB port / 11.Key slot / 12.Emergency Stop Button (E-STOP) / 13.Lid’s hinges / 14.Power socket / 15.Power switch (On/Off) Sinterit Lisa printer SHORTENED USER GUIDE | 3... -
Page 4: Preparing The Machine To Print
To open the printer’s Lid , press: “START NEW PRINT” // “UNLOCK LID” buttons on the LCD screen (Image 6). The Lid’s electrolock deactivates for 10 seconds. After 10 seconds, it will re-activate. 4 | Sinterit Lisa printer SHORTENED USER GUIDE... - Page 5 (Image accessories). b. Remove the module from the locking holders located on the left side of the Lid. Image 9. Correct unmounting of the LASER PROTECTIVE GLASS. Sinterit Lisa printer SHORTENED USER GUIDE | 5...
- Page 6 Clean the Glass one more time from any finger marks or stains if present. Image 12. Correct closing of the Heating module. The printer is ready to work. Turn the printer on and let’s get started! 6 | Sinterit Lisa printer SHORTENED USER GUIDE...
-
Page 7: Printing - Standard Mode
Titles of project files will be displayed. Arrows will help to navigate through folders and files (Image 15). After choosing a file, it will be loaded into the device’s memory. Image 15. Loading the print file screens. Sinterit Lisa printer SHORTENED USER GUIDE | 7... - Page 8 Flash Drive can be then safely removed (Image 16). 9. The software will allow to return to the previous section or proceed to the next. After choosing the next section, Lisa Printer will check whether it is ready to print. Image 16. Basic information after loading the file to the printer.
- Page 9 • When working with powders always wear protective clothing (glasses, mask, gloves). • For the first use of the Sinterit Lisa Printer use only the powder (for PA 12 SMOOTH and PA 11 ONYX) from the container labeled Print Ready Powder.
- Page 10 20. Press “START PRINTING” button on the LCD screen and the printing process will start (Image 30). 21. The process will start with a slight delay (not immediately after pressing the button). Image 30. Start printing screen. 10 | Sinterit Lisa printer SHORTENED USER GUIDE...
-
Page 11: Information And Tasks While Printing
When this process is complete, “YOU CAN NOW REMOVE THE PRINT FROM PRINTER” message will appear on the screen. Click “DONE” to complete the printing process (Image 35). Image 34. Removing a printout screen 1. Sinterit Lisa printer SHORTENED USER GUIDE | 11... - Page 12 11. Transfer unsintered powder to the container/tray in which it will be mixed, with the Fresh Powder – for PA powder (Image 40). 12. Place the OVERFLOW BIN back in its place. Confirm with the “DONE” button (Image 39). 12 | Sinterit Lisa printer SHORTENED USER GUIDE...
-
Page 13: Cleaning The Printer
• Even if you do not intend to make the following print right after the previous one, mix both powders immediately after recovering the unsintered powder from the printer in the proportions given by the Sinterit STUDIO software. Store it in a container for the Print Ready Powder. - Page 14 This can be done with the use of Image 45. Clean PRINT Bed screen 1. a spatula and paintbrush (Image 47). Image 47. Removing powder from PRINT Bed Image 46. Clean PRINT Bed screen 2. to OVERFLOW BIN. 14 | Sinterit Lisa printer SHORTENED USER GUIDE...
-
Page 15: Technical Support
• phone: +48 570 702 886 The list of distributors and technical support in specific countries can be found at www.sinterit.com/contact IMPORTANT! More information, f.ex. about working with powders etc. you will find in the full version of Sinterit LISA User Manual. - Page 16 SINTERIT Sp.z o.o. ul. Kalwaryjska 69/9 30-504 Kraków, Poland www.sinterit.com Contact: +48 570 967 854...
Need help?
Do you have a question about the Lisa and is the answer not in the manual?
Questions and answers