Advertisement
Quick Links
Advertisement

Related Manuals for De Agostini Model Space MiG-29


Summary of Contents for De Agostini Model Space MiG-29
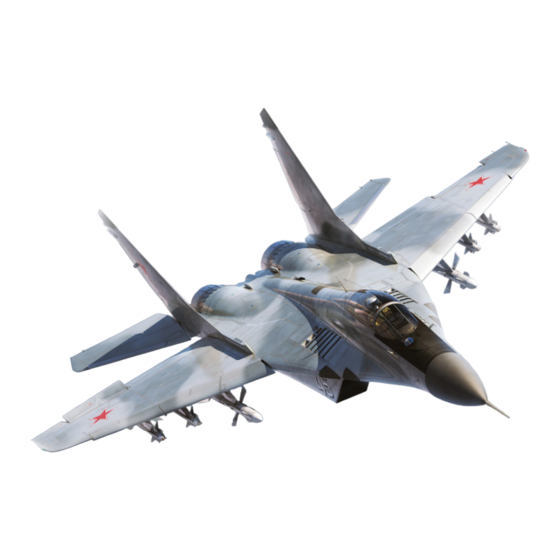
- Page 1 PACK 11 PACK 11...
- Page 2 Published in the UK by De Agostini UK Ltd, Royds Withy King, 65 Carter Lane, London EC4V 5EQ. Published in the USA by De Agostini Publishing USA, Inc., 299 Park Avenue • New York, New York 10171. All rights reserved © 2019 Warning: Not suitable for children under the age of 14.
- Page 3 Stage 51: The front landing gear P168 P169 D065 D064 Your parts 1. R168 - wheel disk (2 pcs.) 2. P169 - link 3. D064 - lever 4. D065 - stock NM screws PM screws...
- Page 4 Assembly D064 P169 Insert the link (P169) into the end of the lever (D064), as shown. Fix the parts with an HM screw. D064 D065 Then insert the eye of the rod (D065) into the lever (D064). Secure the parts with a PM screw.
- Page 5 Stage 52: The front landing gear Your parts P171 P170 D067 1. P170 - Damper D066 2. P171 - Damper 3. P172 - Link X006 P172 D069 4. D066 - Suspension strut 5. D067 - Link D068 6. D068 - Link 7.
- Page 6 D066 D066 D067 D068 Insert link (D067) into the suspension strut (D066) Insert link (D068) into the end of the suspension and fix in position with an OM screw. The link strut, and fix in place with an NM screw. The link should remain able to move so don't overtighten should remain able to move.
- Page 7 D066 D065 D067 D064 Insert the rod from the Stage 51 assembly into the Connect the link (D067) and the lever (D064) with strut, compressing the spring. an HM screw. The connection must be movable. D064 P172 Then connect link (P172) and lever (D064) with a QM screw. The connection must be movable. P169 D069 Connect link (D069) and lever (D064) using an FP screw.
- Page 8 Stage 53: The front landing gear P173 D071 P175 Your parts 1. P173 - Guard 2. P175 - Tyres (2 pcs.) 3. D071 - Wheel hubs (2 pcs.) RM screws IP screws Assembly D064 P168 P168 D064 Take the assembly from Stage 52 and the wheel disks Then install the second wheel disk (P168) on the (P168) supplied with Stage 51.
- Page 9 To make it easier to fit the tyres (P175), place them in a container of hot water for several minutes P175 P175 Take the tyres out of the water and place them onto the wheel hubs (D071). D071 D064 Mount one of the assembled wheels onto the axle, as shown.
- Page 10 P173 Carefully install the guard (P173) over the tyres, as shown, aligning the holes in the guard with those in the axle. Secure the guard on one side with an RM screw. P071 P171 Secure the guard (P173) to the other side of the axle with another RM screw.
- Page 11 Stage 54: The front landing gear D073 D072 P177 Your parts 1. R177 - Hydraulic cylinder 2. D072 - Hinge 3. D073 - Shaft SM screws NM screws Assembly D066 Prepare the assembly from Stage 53. Mount the shaft (D073) onto the front landing gear, as shown, and secure with an SM screw.
- Page 12 P177 D072 Fix the hinge (D072) to the hydraulic cylinder (P177) with an HM screw. Insert the shaft (D073) into the cylinder. D073 P177...
- Page 13 Stage 55: Landing gear port flap D074 X008 Your parts 1. D074 - Landing gear port flap 2. X008 - Hinge (2 pcs.) FM screws...
- Page 14 D074 X008 D074 X008 Fix both hinges (X008) to the landing gear port flap (D074) with FM screws, as shown...
Need help?
Do you have a question about the Model Space MiG-29 and is the answer not in the manual?
Questions and answers