Table of Contents
Advertisement
Quick Links
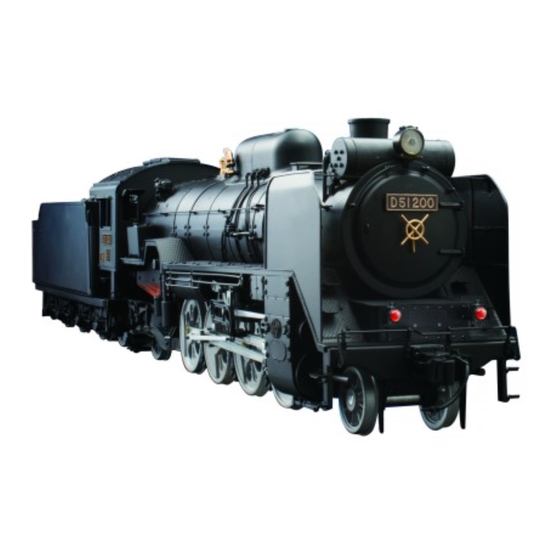
D51 200 Steam Locomotive: STEP BY STEP
The base 3
Your parts
Frame joint
Cap bolts × 16
Side frames A × 3
Side frame B
1
Required tools
Hex wrench
83
Frame joint
84
Side frame A
Side frames A (x3) fit at the remaining
spaces between the frame joints.
Side frame A
Side frame A
Stage 85
Place the frame joint between
the assemblies from Stages 83
Cutouts
and 84, as shown, aligning the
cutouts of each.
Side frame B should be
positioned up against the rear
frame (84) on the opposite
side to the slot.
Slot
Side frame B
Position the side frames, frame joint
and two assemblies as shown.
Side frame A
Side frame B
™
174
Advertisement
Table of Contents

Related Manuals for De Agostini Model Space D51 200


Summary of Contents for De Agostini Model Space D51 200
- Page 1 D51 200 Steam Locomotive: STEP BY STEP Stage 85 ™ The base 3 Assembling the base 1 Place the frame joint between the assemblies from Stages 83 Cutouts and 84, as shown, aligning the cutouts of each. Your parts Side frame B should be Frame joint positioned up against the rear frame (84) on the opposite...
- Page 2 D51 200 Steam Locomotive: STEP BY STEP ™ Assembling the base 2 Align the screw holes of the frame sides and frame joints. Side frame A Side frame A Side frame A Side frame B Assembling the base 3 Place a cap Use the hex bolt into one wrench to...
- Page 3 D51 200 Steam Locomotive: STEP BY STEP Stage 86 ™ The base 4 Fitting the top plates 1 Top plate A Place top plate B up against plate A , aligning the four holes in the corners with those in the frame below. Top plate B Your parts Small holes...
- Page 4 D51 200 Steam Locomotive: STEP BY STEP ™ Fitting the top plates 2 Make sure that the screw holes of the top plates are aligned with the corresponding holes in the frames below. Fitting the top plates 3 Use the hex wrench to tighten the Assembled parts cap bolts fully into the holes.
- Page 5 D51 200 Steam Locomotive: STEP BY STEP Stage 87 ™ The speaker Preparing the base ❶天板 A の隣に、 ❷天板 B を写 真の向きではめ込みます。 Your parts Turn the base assembly over and place the Position the cloth so that the four circled speaker protection cloth over the holes on the holes are not obstructed.
- Page 6 D51 200 Steam Locomotive: STEP BY STEP ™ Fitting the speaker cover Fitting the speaker cable 1 Turn the cable around so that the projection is facing upwards. Tighten a self-tapping screw into each of the six circled holes Projection in the speaker cover.
- Page 7 D51 200 Steam Locomotive: STEP BY STEP Stage 88 ™ The switchboard Fitting the washers and battery box Projection Insert the tab of one washer into the circled hole on the flat side of the switchboard. Apply instant adhesive around the edge of the washer.
- Page 8 D51 200 Steam Locomotive: STEP BY STEP ™ Fitting the switch plate Mounting the switch board Half-tighten a 2.3 x 8mm Place the switch plate over the switches self-tapping screw into Pass the socket into the slot in the base and up against the switchboard.
Need help?
Do you have a question about the Model Space D51 200 and is the answer not in the manual?
Questions and answers