
Related Manuals for CHERUBINI Skipper LCD


Summary of Contents for CHERUBINI Skipper LCD
- Page 1 Skipper TELECOMANDO MULTIFUNZIONE MULTI-FUNCTION REMOTE CONTROL MULTIFUNKTIONS-HANDSENDER ÉMETTEUR MULTIFONCTION EMISOR MULTIFUNCIÓN ISTRUZIONI - INSTRUCTIONS - EINSTELLANLEITUNGEN INSTRUCTIONS - INSTRUCCIONES...
-
Page 3: Table Of Contents
Table of contents: INTRODUCTION ......................Warnings ........................Guarantee / EU Declaration of conformity ..............Remote control - legend ................... Arrow keys - legend ....................Insertion/replacement of batteries ................Symbols - legend ...................... Keyboard ........................PRELIMINARY OPERATIONS ..................Rapid access controls ....................Main menu ....................... -
Page 4: Introduction
Failure to comply with these instructions annuls CHERUBINI’s responsibilities and guarantee. EU DECLARATION OF CONFORMITY CHERUBINI S.p.A. declares that the product is in conformity with the relevant Union harmonisation legislation: Directive 2014/53/EU, Directive 2011/65/EU. The full text of the EU declaration of conformity is available upon request at the... -
Page 5: Remote Control - Legend
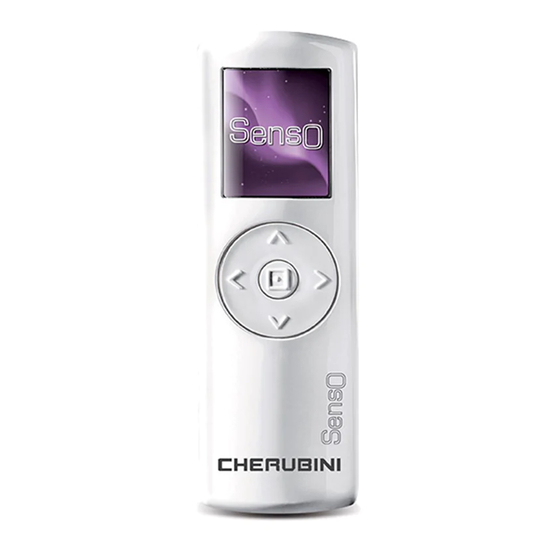
Display LCD RGB 1,8” INSERTION/REPLACEMENT 128x160 pixel OF BATTERIES Arrow keys Middle key ARROW KEYS - LEGEND SKIPPER LCD works with two 1,5V Alkaline batteries (AAA) format LR03. To replace the batteries, only use equally good Back Forward types. Old batteries should be disposed in conformity with existing national regulations. -
Page 6: Preliminary Operations
PRELIMINARY OPERATIONS These operations are only necessary the first time you switch on your remote control. All setups can be modified at any time by accessing the SETTINGS section. 1 - Follow the instructions on page 24 to insert the batteries. The screen of the remote control will be activated immediately. -
Page 7: Main Menu
MAIN MENU This screen allows to have access to various functions of the remote control: 1) COMMANDS – this is the section which you will use daily. You will be able to select a device, a group or a scenario among the previously saved ones and activate the motors related to the selection using the UP, DOWN and STOP keys. -
Page 8: Display
DISPLAY ACTIVATION AND SETTING Press any key for about 1 second to activate the display. After the last impulse, the display remains on for a number seconds which can be set (pre- set value: 30 seconds). During the 10 minutes after being switched off, the display can be reactivated by slightly pressing a key and the last screen can be visualised. -
Page 9: Program Lock
How to change the pre-set value: Main menu / Settings / Radio Set the desired values*, then press SAVE. * Use the UP/DOWN keys to set the required value. Press SELECT to move from one box to the other inside the same screen. PROGRAM LOCK In order to avoid involuntary changes to the programming, it is possible to activate the “Program Lock”... -
Page 10: Storing Of The Remote Control
Domi remote control* ADD TO B (2 sec) LCDn LCDx Skipper LCD (another) Skipper LCD ADD TO + Skipper LCD Skipper LCD ADD FROM ADD TO ADD FROM *Remote control of the Skipper series (not LCD) or Giro series. - LEGEND:... - Page 11 3- After checking, press END PROCEDURE on Skipper LCD. PROCEDURE 3 To execute the functions ADD TO / FROM on two Skipper LCD remote controls 1- Already stored Skipper LCD: a. Main menu / Programming / Devices / DEVICE CREATED / Add to + STORE.
- Page 12 HOW TO PROCEED WITH CHERUBINI MOTORS GARDA RX AND CONTROL UNITS COD. A510015 – A510017 – A510022: The programming of the remote controls for the above mentioned products requires a certain sequence in the use of the keys. Please keep the following functions of the keys in mind:...
- Page 13 - Make sure that the receiver (motor or control unit) is powered. - On Skipper LCD: follow the path Main menu / Commands / Devices / CREATED DEVICE. - On the Multi-channel remote controls position yourself on the desired channel.
-
Page 14: Groups
HOW TO INSERT A DEVICE INTO AN ALREADY EXISTING GROUP: Main menu / Programming / Devices / CREATED DEVICE / Groups All groups into which the device can be inserted are shown (groups of the same type as the device). The groups into which the device has already been inserted are shown as already selected. -
Page 15: Days
See GLOSSARY for the association of the type of group with the action - Device type/group. To save setups: SAVE. How to associate a device with a scenario: Main menu / Programming / Scenarios / CREATED SCENARIO / Device commands The list of existing devices is shown. -
Page 16: Weeks
- Press “Scenario” and select a scenario from the proposed list. After selecting, the system automatically goes back to the last screen. Otherwise, press BACK. - Press “Time” and set the activity start time. Press BACK (or forward). - Press BACK (or forward) to go back to the list of possible scenarios and set a new scenario following the points from 1 to 4. -
Page 17: Automation
AUTOMATION After you have programmed the devices, the scenarios, the days and the weeks, you can set the remote control so that it automatically carries out the required programming or that it works in the manual mode. You can intervene on the devices or on groups of devices using a direct command or starting a scenario, even when the remote control is in the automatic mode (see COMMANDS - page 37). -
Page 18: Daily Use - Commands
DAILY USE - COMMANDS In the Commands section it is possible to select a device or a group and move the motors corresponding to the selection using the Up, Down and Stop keys or to activate a scenario regardless of a programmed automation. According to the type of device or group (blind, awning, etc.), further differentiated commands are available (Middle position, Light ON/ OFF automatic system). -
Page 19: Information For The Installer
INFORMATION FOR THE INSTALLER ATTENTION! Even if the Skipper LCD remote control can be used for all installation devices, it is advisable to use also other remote controls (single or multi-channel ones) in order to control the devices in case of emergency (e.g. -
Page 20: Glossary
Each day is linked with a name which can be customized by the user. Up to 10 different days can be created. DEVICE: any motor linked with the Skipper LCD remote control. Each device is linked with a name which can be customized by the customer (e.g. kitchen, bedroom, terrace) and with a type (blind, awning, etc.) which clearly indicate which element of the house or of... -
Page 21: Technical Features
the user. It is possible to create a maximum of 10 different scenarios. TYPE OF DEVICE/GROUP: - AWNING: type of device referring to sun protection awnings outside the house. Applicable commands: Up, Down, Stop, Middle position, Light On automatic system, Light Off automatic system. - Page 22 Note - Bem - Notes - Notas:...
- Page 24 CHERUBINI S.p.A. Via Adige 55 25081 Bedizzole (BS) - Italy Tel. +39 030 6872.039 | Fax +39 030 6872.040 info@cherubini.it | www.cherubini.it CHERUBINI Iberia S.L. Avda. Unión Europea 11-H Apdo. 283 - P. I. El Castillo 03630 Sax Alicante - Spain Tel.
Need help?
Do you have a question about the Skipper LCD and is the answer not in the manual?
Questions and answers