Table of Contents
Advertisement
Zip FlushMaster Pearl &
Zip FlushMaster Mk.2
Water Saver Urinal Flushing System
Keeps Urinals Clean & Reduces Water Wastage
Instructions for Models: WS003; WS004; WS006; WS007 and 99168 Sensor.
WS004
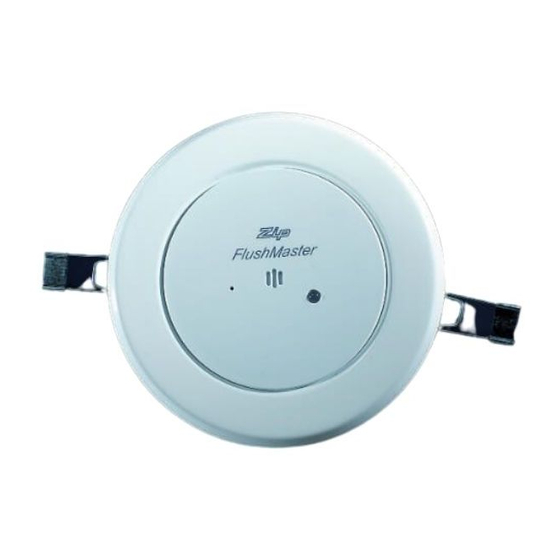
41091 Zip FlushMaster Pearl
Compact Recessed Sensor & Solenoid
DC WS004. With 64mm body
Zip FlushMaster Pearl Installation & Maintenance Instructions - 82902 - January 2012 v1.00
Installation and Maintenance Instructions
®
®
WS003
41095 Zip FlushMaster MK2
Recessed sensor & Solenoid
DC WS003. With 105mm body
Page 1 of 12
Advertisement
Table of Contents

Subscribe to Our Youtube Channel
Related Manuals for Zip FlushMaster Pearl


Summary of Contents for Zip FlushMaster Pearl
- Page 1 41091 Zip FlushMaster Pearl Compact Recessed Sensor & Solenoid Recessed sensor & Solenoid DC WS003. With 105mm body DC WS004. With 64mm body Zip FlushMaster Pearl Installation & Maintenance Instructions - 82902 - January 2012 v1.00 Page 1 of 12...
-
Page 2: Table Of Contents
99025 Zip FlushMaster Direct Injection Airbreak 1.25 inch BSP/ 32 mm 99026 Zip FlushMaster Direct Injection Airbreak 1.50 inch BSP/ 38 mm 99031 Zip FlushMaster AC Power Pack 99039 -Restrictaflow Fixing bracket Page 2 of 12 Zip FlushMaster Pearl Installation & Maintenance Instructions - 82902 - January 2012 v1.00... -
Page 3: Key Features
V Battery and brass fittings with restrictaflow 105mm Body Installation Procedure Set up water discharge Install sensor Connect latching valve cable Set flush timing Zip FlushMaster Pearl Installation & Maintenance Instructions - 82902 - January 2012 v1.00 Page 3 of 12... -
Page 4: Set Up Water Discharge
Maximum trough Maximum trough length 1200 mm length 600 mm -An Isolating valve must be supplied and installed in accordance with AS/ NZS3500 Page 4 of 12 Zip FlushMaster Pearl Installation & Maintenance Instructions - 82902 - January 2012 v1.00... - Page 5 (as shown above). The valve body is marked IN and OUT. Incorrect assembly will result in damage to Restrictaflow the diaphragm. Flow outlet to airbreak From stop valve Zip FlushMaster Pearl Installation & Maintenance Instructions - 82902 - January 2012 v1.00 Page 5 of 12...
-
Page 6: Install Sensor
Step 2 . Ensure clips ‘A’ are in the folded down position Step 1. Insert sensor with clips ‘A’ in the upright position Page 6 of 12 Zip FlushMaster Pearl Installation & Maintenance Instructions - 82902 - January 2012 v1.00... -
Page 7: Connect Latching Valve Cable
Battery holder Cable from latching valve BLUE WIRE BROWN WIRE Orientate plug to inlet socket with care Zip FlushMaster Pearl Installation & Maintenance Instructions - 82902 - January 2012 v1.00 Page 7 of 12... -
Page 8: Connect Optional Power Pack
Janitorial Flush: Set at 12 Hours Delay Time: Set at 45 seconds Delay button Fill Time: Set at aprox 5 seconds. Fill button Page 8 of 12 Zip FlushMaster Pearl Installation & Maintenance Instructions - 82902 - January 2012 v1.00... -
Page 9: Completing Installation
The FlushMaster goes through a “re-charge” for approximately 1 minute after completing a cycle, during this time the sensor remains dormant and will only target a user once recharge is complete. Zip FlushMaster Pearl Installation & Maintenance Instructions - 82902 - January 2012 v1.00 Page 9 of 12... -
Page 10: Maintenance Instructions
Wipe with a soft cloth, warm water and dish washing liquid. Never hose or spray any part of the flushing system. Where the Zip FlushMaster is powered by a long life lithium battery a life of up to three years can be anticipated depending on frequency of activation. -
Page 11: Problem Solving
Sensor fuse blown. Replace fuse on circuit board. Lens slot blocked. Clean lens slots. Not detecting users. Reposition sensor appropriately. Faulty sensor. Replace sensor. Zip FlushMaster Pearl Installation & Maintenance Instructions - 82902 - January 2012 v1.00 Page 11 of 12... -
Page 12: Contact Details
Images in this booklet have been modified and may not be true representations of the finished goods. Zip FlushMaster Pearl Installation & Maintenance Instructions - 82902 - January 2012 v1.00 Page 12 of 12...
Need help?
Do you have a question about the FlushMaster Pearl and is the answer not in the manual?
Questions and answers