Table of Contents
Advertisement
Quick Links
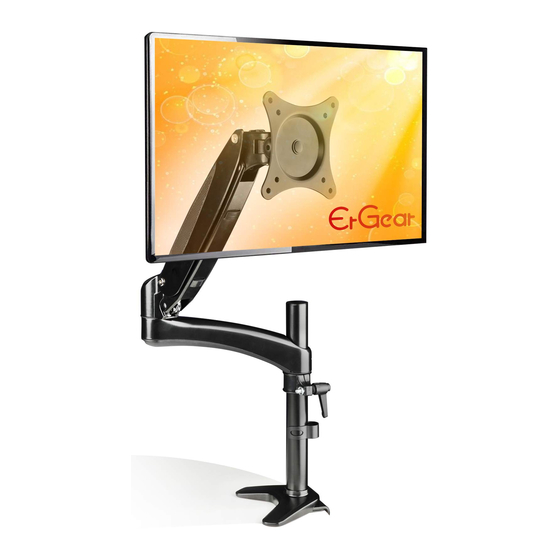
Monitor Desk Mount
Instruction Manual
V2.0
Model: EGSS1
Thank you for choosing this Ergear product! At Ergear we strive to
provide you with the best quality products and services in the
industry. Should you have any issues, please don't hesitate to
contact at support@ergear.com (US/CA/DE/UK/FR/IT/ES/AU)
Advertisement
Table of Contents

Subscribe to Our Youtube Channel
Summary of Contents for ErGear EGSS1
- Page 1 Instruction Manual V2.0 Model: EGSS1 Thank you for choosing this Ergear product! At Ergear we strive to provide you with the best quality products and services in the industry. Should you have any issues, please don't hesitate to contact at support@ergear.com (US/CA/DE/UK/FR/IT/ES/AU)
- Page 2 75mm/3 in.(W)x75mm/3 in.(H) If your Monitor VESA is greater than 100x100 mm/4x4 in. or less than VESA 75x75mm/3x3in., this mount is NOT compatible. If this desk mount is NOT compatible, please contact customer service at support@ergear.com to find a compatible product.
- Page 3 VESA PLATE ROTATION ADJUSTMENT SHOULD BE DONE ONLY AFTER MOUNT INSTALLATION Do not adjust the VESA plate without monitor Product Features With Extented Arm No Extented Arm for Normal/Roomy Space for Limited Space 360mm/14.2” 360mm/14.2” Ⅰ Ⅱ C-Clamp Mounting Grommet Mounting Ⅰ...
- Page 4 Parts and Hardware Included Arm Extender Pole Assembly M4x12mm M4x16mm M6x16mm M6x12mm Bolt (x4) Bolt (x4) Bolt (x4) Bolt (x4) 1/8 in. 5/32 in. 13/64 in. (3mm) (4mm) (5mm) Deborative M6x25 Cabel Clip Allen Key Spacer (x8) Bolt(x1) Cover (x1) (x1) 1.
- Page 5 B. For Grommet Mounting S= 5/32 in. S= 13/64 in. (4mm) (5mm) S= 5/32 in. (4mm) Desk Desktop S= 13/64 in. (5mm) Warning: Ensure bolts are secured firmly. Adjust locating ring at proper height and screw up tight to hold the mount.
- Page 6 2.Attach Arm to Monitor Flat back monitor Curved back monitor A-2/B-2 A-1/B-1 3. Attach the Monitor to Pole 3A No need Arm Extender Lift the spring arm along with the monitor and put it on the pole assembly. 3B Need Arm Extender Insert arm extender to the pole assembly Lift the spring arm along with the monitor and put it on the earm extender.
- Page 7 4. Adjust Gas Spring Tension 1. If the monitor can stay at the desired height by itself, no adjustment needed. 2. If the monitor rises up, press the arm to keep it in horizontal position and then use the 13/64 in.(5mm) Alley key (E) to turn the bolt clockwise(“-”...
- Page 8 6. Swivel and Tilt Adjustements Use an allen key to adjust the tension for tilting and swivelling. Turn counter-clockwise to reduce tension and clockwise to increase tension. S= 13/64 in. (5mm) Tilt Swivel Swivel 1/8 in. (3mm) Swivel 1/8 in. (3mm) 7.


Need help?
Do you have a question about the EGSS1 and is the answer not in the manual?
Questions and answers