Table of Contents
Advertisement
Quick Links
Download this manual
See also:
User Manual
Advertisement
Table of Contents

Related Manuals for Adaptec AUA-1411


Summary of Contents for Adaptec AUA-1411
- Page 1 AUA-1411 DuoConnect for Notebooks Installation Guide...
-
Page 2: Table Of Contents
In this Booklet What’s in the Kit System Requirements Installation Overview Step 1: Installing the Adaptec USB CardBus Plug-in Step 2: Inserting the Adapter Step 3: Installing the Device Drivers Step 4: Connecting Your Devices Removing the Adapter... -
Page 3: What's In The Kit
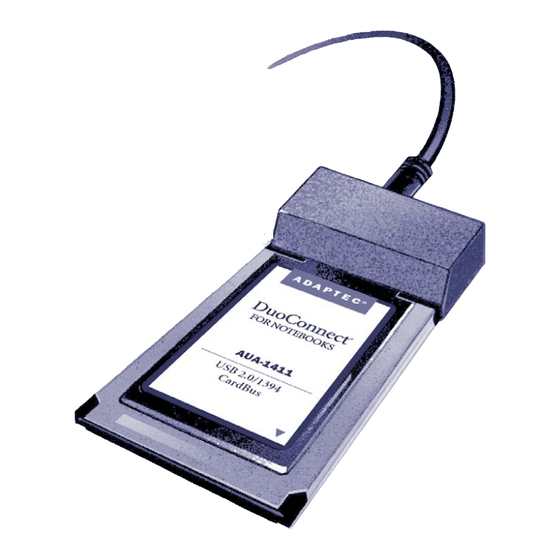
This Guide describes how to install the Adaptec AUA-1411 DuoConnect for Notebooks adapter and device drivers on your notebook computer. Caution: Do not insert the DuoConnect for Notebooks adapter into your computer before you install the Adaptec USB CardBus Plug- in. -
Page 4: System Requirements
System Requirements To use your DuoConnect for Notebooks adapter, you need a PC-compatible notebook computer with: ® Pentium II processor or equivalent (400 MHz or faster) Microsoft Windows ® Windows Me , or Windows XP Available CardBus slot CD-ROM or DVD-ROM drive ®... -
Page 5: Installation Overview
Step 1: Installing the Adaptec USB CardBus Plug-in (Windows XP and Windows 2000 Only) If your computer is running Windows XP or Windows 2000, you must install the Adaptec USB CardBus Plug-in software before you insert the DuoConnect for Notebooks adapter. To complete the installation: 1 Power on your computer. -
Page 6: Step 2: Inserting The Adapter
Step 2: Inserting the Adapter To successfully install your DuoConnect for Notebooks adapter: 1 Power on your computer, if you haven’t already. 2 Disconnect any devices that are connected to the adapter. 3 Carefully insert the adapter into the CardBus slot of your computer, as shown. - Page 7 1 Select Install the software automatically..., then select Next. 2 Click Continue Anyway. Note: Adaptec drivers have been fully tested and certified to work with the AUA-1411 card. 3 When the installation is complete, click Finish. 4 If you are prompted to restart your computer, click Yes.
- Page 8 Windows 2000 Note: If your operating system is updated with the latest Microsoft service pack, Windows recognizes the new adapter and automatically installs the necessary drivers. Your installation is complete. If your operating system is not updated with the latest Microsoft service pack, Windows recognizes the new hardware and automatically opens the Found New Hardware Wizard.
- Page 9 Windows Me Windows recognizes the new hardware and automatically opens the Found New Hardware Wizard. To complete the driver installation: 1 Select Automatic search for a better driver..., then click Next. 2 When the installation is complete, click Finish. 3 Restart your computer if prompted to do so. Windows 98SE These instructions guide you through the installation of 1394, USB 1.1, and USB 2.0 drivers.
- Page 10 5 Click Next again. 6 Click Finish. The 1394 driver installation is complete. The Add New Hardware Wizard reopens. 7 Repeat Step 1 Step The first USB 1.1 driver installation is complete. The Add New Hardware Wizard reopens. 8 Repeat Step 1 Step The second USB 1.1 driver installation is complete.
-
Page 11: Step 4: Connecting Your Devices
You can connect standard USB 1.1 and high-speed USB 2.0 devices to your DuoConnect for Notebooks adapter. To ensure proper functioning, Adaptec recommends using only standard USB cables with a maximum length of 6 feet (2 meters). High-quality cables are available for sale on... - Page 12 Hot-plugging Your DuoConnect for Notebooks adapter supports hot-plugging, so you can connect and disconnect your devices while your computer is running. Caution: Some devices (like CD-ROM drives and hard disk drives) must be stopped, using the Unplug or Eject Hardware icon, before they are unplugged.
-
Page 13: Removing The Adapter
Removing the Adapter You must use the Unplug or Eject Hardware Wizard to properly disconnect your DuoConnect for Notebooks adapter from your computer. To disconnect the adapter: 1 Stop and disconnect all devices connected to the adapter. (Refer to your devices’ documentation for instructions, if required.) 2 Click the Unplug or Eject Hardware Wizard icon (shown at right) on your system tray, which is in the bottom right corner of your screen. - Page 14 Adaptec, Inc. 691 South Milpitas Boulevard Milpitas, CA 95035 USA © 2003 Adaptec, Inc. All rights reserved. Adaptec and the Adaptec logo are trademarks of Adaptec, Inc. which may be registered in some jurisdictions. Part Number: 513557-06, Ver. AA LB 04/03...
Need help?
Do you have a question about the AUA-1411 and is the answer not in the manual?
Questions and answers