Table of Contents
Advertisement
Quick Links
Advertisement
Table of Contents

Subscribe to Our Youtube Channel
Related Manuals for D-D The Aquarium Solution P1 PRO


Summary of Contents for D-D The Aquarium Solution P1 PRO
- Page 1 P1 PRO DOSING PUMP USER MANUAL...
-
Page 2: Table Of Contents
Index Product Information Introduction Product features Unpacking Product layout Installation Positioning the pump Installing the app Register your cloud account Connect your dosing pump to the cloud Programming the dosing pump Setting the dosing plans Advanced plan adjustments Manual addition Calibration Advanced Settings Renaming the dosing pump... -
Page 3: Product Information
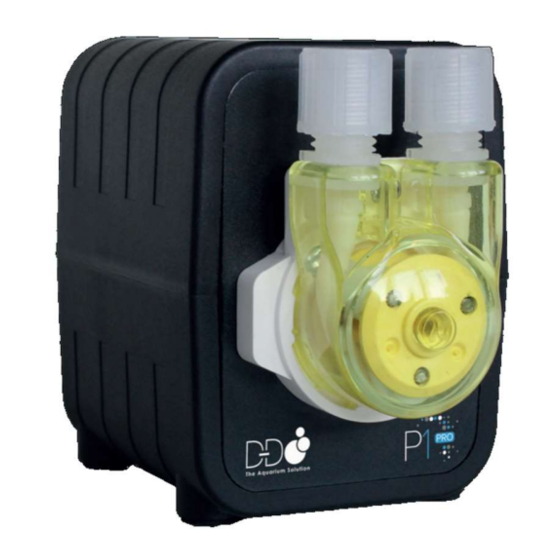
Product Information Introduction The D-D P1 PRO is a single channel intelligent dosing pump with Wi-Fi control. This unit will allow the automated addition of liquid additives and elements in an accurate, controlled manor to your aquarium. The D-D DDP1 PRO uses a Kamoer patented geared pump head to ensure that the pump head does not slip and rust. -
Page 4: Product Layout
Product Layout 1.Inlet 2.Outlet 3. Status / Power indicator 4. Pump head (Counter clockwise rotation) 5. Reset button Indicator Status Description Connected to the cloud via router Disconnected from the router Status indicator Fast Flashing Pump is in configuration mode Blue Disconnected from the cloud Slow Flashing... -
Page 5: Installing The App
Installing the App Option 1: Scan the QR code on quick start guide included with the pump or in this manual and download the app corresponding to the icon below. Android Option 2: Apple users visit the App Store, Android users visit the Google Play store, search for "Kamoer Remote", find the app download of the corresponding icon. -
Page 6: Connect Your Dosing Pump To The Cloud
Open the app, click the ‘+’ button in the upper right corner of the device to add the device. Under the D-D H2Ocean heading select the P1 PRO in the list of supported devices. Confirm that your mobile device is connected to your 2.4G Wi-Fi network. Enter you 2.4G Wi-Fi network password and then when prompted tap next. -
Page 7: Programming The Dosing Pump
Programming the dosing pump To Program the dosing pump, open the Kamoer Remote app and select the device you want to program from the available devices list. With the device selected the main plan page will be displayed. Setting the dosing plan Tap on ‘Cycle time’... - Page 8 For example, if the two P1 PRO pumps are set to dose 10ml, between 12:00 and 23:00, over 8 doses with the chemical interference set to ‘0’, both will enter the first dose at 12:00 at the same time. They will then continue to dose at the same time throughout the day until they complete their program.
- Page 9 In the example below the pump has been set to dose every three days a total of 10ml, split into 24 doses, between 00:00 and 23:59. The dosing container has 999.6ml of solution left in it and should therefore last approximately 99 days. Version 1.0...
-
Page 10: Advanced Plan Adjustments
Advanced plan adjustments When a plan has been created advanced manual adjustments can be made. Open the app and choose the device. Tap on the blue arrow icon at the bottom right corner of the plan group and a detailed breakdown will appear. This shows the individual plan points and associated dosing volumes. - Page 11 The plan group name and time can be altered by tapping on the plan group and then entering the new name or time as required. Select ‘Save’ to confirm the changes. The individual plan points will not be changed by doing this. If the plan points fall outside the new time set for the plan group they will have to be manually changed as described in this manual.
- Page 12 Plan groups and plan points can easily be deleted by swiping them to the left. When a plan point is deleted it will remove the volume of that dose from the overall group. The adjusted volume will be shown at the top of the pump page. To reset all the plan points in a group, select the ‘Quick add’...
-
Page 13: Manual Addition
Manual addition The pump can be used to add a manual dose if required. To achieve this open the app and select the device you want to program from the available devices list. In the main plan page tap the ‘Manual’ icon at the bottom middle of the screen. This will open the manual settings page. -
Page 14: Calibration
If you want to stop the manual dose tap the ‘Start’ button (that will now be displaying ‘Stop’) again to cancel the operation. There is a lag when pressing the stop button so this should not be used as a method to stop the pump at an exact point. - Page 15 Tap on ‘Start Emptying’ to prime the pump head and hose. Once all air has been expelled and the line is fully primed tap ‘Emptying, click to stop’. Move the outlet hose into a suitable measuring cylinder. Set the time for pump calibration by selecting ‘Add time’ and scrolling through to the desired time. This can be set up to 60 seconds.
-
Page 16: Renaming The Dosing Pump
Advanced Settings At the bottom right hand corner of the ‘Plan’ page there is a settings option. In this you can: Rename the Dosing Pump. In settings tap on ‘Name’ and the settings page will open. Enter the new name and tap ‘Save’ in the top right corner. -
Page 17: Factory Setting Reset
To remove the device from the app tap on ‘Remove Device’ and select remove. The unit will still be connected to the associated router and the Cloud. The D-D P1 PRO can be added back onto a mobile device on the same Wi-Fi network using the Kamoer Remote App by tapping on the ‘+’ symbol in the devices page and selecting from the ‘Local Devices’. - Page 18 WARRANTY: Should any defect in material or workmanship be found within 12 months of the date of purchase D-D The Aquarium Solution Ltd undertakes to repair, or at our decision, replace the defective part free of charge. Our policy is one of continual technical improvement and we reserve the right to modify and adjust the specification of our products without prior notification.
Need help?
Do you have a question about the P1 PRO and is the answer not in the manual?
Questions and answers