
Subscribe to Our Youtube Channel
Related Manuals for Ingenico group swipen Move 5000


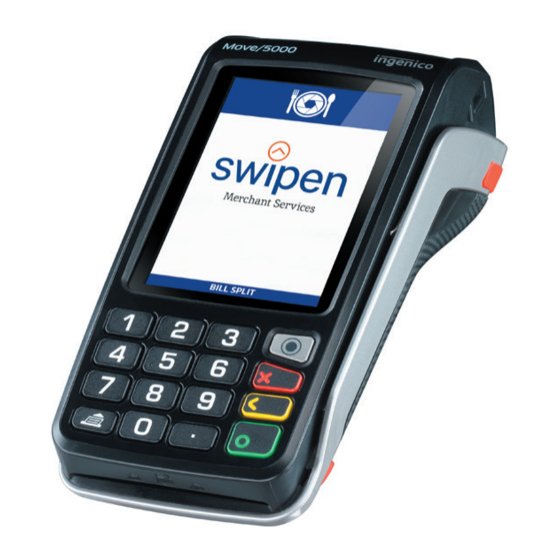
Summary of Contents for Ingenico group swipen Move 5000
- Page 1 Merchant Services Quick Start Guide Move 5000 Version 1.0 Merchant Services Payment Solutions 100% tailored to your business...
-
Page 3: Table Of Contents
Contents Getting started Connectivity Function keys Bluetooth Base Setup Switching Bluetooth to WiFi WiFi Network Setup and Profile Creation The Chip Card Reader Chip & Pin Transactions - Sale Chip & Pin Transactions - Refund Contactless - Sale Mail Order Transactions - Sale End of Day report Changing the paper roll Tips &... -
Page 4: Getting Started
Getting started Set up your base unit in a convenient location close to a power source and an Ethernet socket. To connect the Ethernet cable, connect one side to your Ethernet socket or router and the other side to the socket located on the rear of your base unit. -
Page 5: Connectivity
Connectivity The Move/5000 is a Multi-Comms terminal meaning you can connect via Ethernet, MobileNetwork or Wi-Fi/Bluetooth. To setup a mobile connection on the terminal, you simply need to insert the SIM card into the back of the Terminal and reboot using the dot key and yellow key. -
Page 6: Bluetooth Base Setup
Bluetooth Base Setup Bluetooth terminals should already be paired with the base unit provided; your terminal can only use the telephone and Ethernet connections when it is paired to the base unit. Please note: WiFi needs to be disabled. To associate your terminal to a Bluetooth base: Go to terminal control panel by pressing F3 on the ‘READY’... -
Page 7: Wifi Network Setup And Profile Creation
WiFi Network Setup & profile creation Wi-Fi configuration requires creating a profile. Several profiles can be created if connection is required to more than one access point. In this case, you can choose an active profile or let the terminal connect to the best available access point. -
Page 8: The Chip Card Reader
The Chip Card Reader Customer cards must be inserted as shown, with the chip upwards. Push the card fully into the slot below the keypad and follow the instructions on screen. If you see a “BAD READ” message, check the card orientation and try again. -
Page 9: Chip & Pin Transactions - Refund
Chip & Pin Transactions - Refund From the idle screen, press , then choose “REFUND”. Enter the ‘Refund Amount’ then insert the card. If prompted enter the Supervisor Password and press The terminal will now connect to the acquirer for authorisation, if the refund is authorised then “REFUND ACCEPTED”... -
Page 10: Mail Order Transactions - Sale
Mail Order Transactions - Sale Key in the amount, press When prompted, press When prompted, key in the customer’s card number and press Enter the Expiry Date, the start date (if required), the issue number (if required), pressing after each entry. Enter the ‘Security Information’... -
Page 11: End Of Day Report
End of Day Reports To access the reports menu press twice, the select ‘REPORTS’. If required enter the supervisor password and press END OF DAY: One touch function that prints both the “Z REPORT” and the “BANKING” report. This MUST be done at the end of each day that you trade. -
Page 12: Changing The Paper Roll
Changing the paper roll Hold the terminal securely in one hand. With the other hand, and by using two fingers, lift the printer cover release as shown in above. Fully open the printer cover and remove the old roll of paper. Unstick the end of the new roll, leaving the end free, hold the paper roll and carefully place into the printer compartment as shown in... -
Page 13: Tips & Advice
Tips & Advice REFERALS: If the terminal displays “CALL AUTH CENTRE” or “PLEASE WAIT” with a telephone number, then you must refer the transaction and phone for authorisation for that card. PIN TRIES EXCEEDED: If the terminal displays this message then the cards PIN has been locked by the cardholder. - Page 14 For further information on terminal functionality please call the terminal helpdesk or download your Terminal User Guide from: https://ingenico.co.uk/smart-terminals/user-guides Help Desk If you’re still having trouble, then we are here to help. You can contact us using the details below: 01933 201424 info@swipen.co.uk We are open:...
- Page 15 Copyright © 2020 Ingenico (UK) Ltd. This Quick Start Guide relates to Move3500 Tetra terminals – TMS/MATSU software. Whilst every effort has been made to ensure that the content of this document is accurate, Ingenico will not accept responsibility for any loss, damage or injury that may be incurred as a result of any errors or inaccuracies.
- Page 16 Merchant Services...
Need help?
Do you have a question about the swipen Move 5000 and is the answer not in the manual?
Questions and answers