Advertisement
Quick Links
Advertisement

Subscribe to Our Youtube Channel
Related Manuals for Ingenico group iSMP v4 Wi-Fi


Summary of Contents for Ingenico group iSMP v4 Wi-Fi
- Page 1 28/32, boulevard de Grenelle, 75015 Paris - France / (T) +33 (0)1 58 01 80 00 / (F) +33 (0)1 58 01 91 35 Ingenico Group – S.A. au capital de 61 493 241 € / 317 218 758 RCS PARIS...
-
Page 2: Table Of Contents
Wi-Fi Contents 1 Objective .................... 3 2 Audience .................... 4 3 Accessing Device Functions ............5 4 Powering On Wi-Fi Module ............... 7 5 Configuring Wi-Fi ................11 6 Setting POS Comm Type ..............21 Ingenico document - Reproduction or disclosure prohibited without written authorization... -
Page 3: Objective
Wi-Fi 1 Objective This document is created for setting and configuring Wi-Fi via the menus within the iSMP4. While there are other means to handle some of this, this focuses on end user level configuration. Ingenico document - Reproduction or disclosure prohibited without written authorization... -
Page 4: Audience
Wi-Fi 2 Audience This document is intended for merchant-level (employees at the station or in the back office) to walk through and conform the device’s Wi-Fi to the local area network’s criteria. Please confer with your IT / Network admin on the specific values needed for the criteria outlined in this document. -
Page 5: Accessing Device Functions
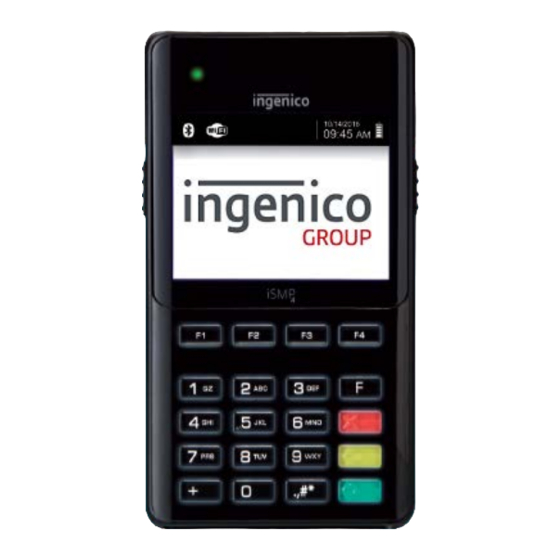
Wi-Fi 3 Accessing Device Functions This section will cover the necessary steps to access the Telium Manager upon starting the device. A. Power device on and wait until device displays the above; this is what is referred to as the “splash screen”. - Page 6 Wi-Fi B. Please give the device several seconds, and you should be directed to the above display. Press the <F> button. C. This is the Functions menu. NOTE: This will be the starting point for several below sections.
-
Page 7: Powering On Wi-Fi Module
Wi-Fi 4 Powering On Wi-Fi Module Before setting up the device to access your Wi-Fi network, you must assure the module is turned on for Wi-Fi to search and add the device to the WiFi network. A. In the Functions menu, scroll down using <F2> or press <3> to select 3-TDA. (For developers, this can also be configured and loaded with the TDA.xml in the DP provided by Ingenico) - Page 8 Wi-Fi B. Select 0-Configuration. C. Select 0-Communication. Ingenico document - Reproduction or disclosure prohibited without written authorization 8/23 Please check document validity before using...
- Page 9 Wi-Fi D. Select 3-Wifi Settings. E. Select 0-Power. Ingenico document - Reproduction or disclosure prohibited without written authorization 9/23 Please check document validity before using...
- Page 10 Wi-Fi F. Select 1-ON. NOTE: If the below prompt doesn’t display you can press <Cancel> (Red button marked with “X”) several times until it appears. G. Select 1-Yes to Save and Reboot (required). Ingenico document - Reproduction or disclosure prohibited without written authorization...
-
Page 11: Configuring Wi-Fi
Wi-Fi 5 Configuring Wi-Fi Following the previous steps, the device is now able to be configured with you or your company’s wireless local area network. Please make sure you’ve obtained the proper values from your network admin or technical support. - Page 12 Wi-Fi B. Under Telium Manager, select 3-Initialization. C. Select 2-Hardware. Ingenico document - Reproduction or disclosure prohibited without written authorization 12/23 Please check document validity before using...
- Page 13 Wi-Fi D. Select 5-Wifi. E. Select 2-Scan network to find the corresponding SSID or select “Other” if the network is hidden. Ingenico document - Reproduction or disclosure prohibited without written authorization 13/23 Please check document validity before using...
- Page 14 Wi-Fi F. The above will display while the network searches for nearby access points. G. Using <F2> or <F3> to scroll up or down to find the respective SSID. The last selection is Other; you will select this to set up your hidden network.
- Page 15 Wi-Fi H. Select 2-Yes, to begin setting the connection to your hidden access point. Enter the designated SSID provided. NOTE: F1=left, F2=down, F3=up, F4=right. Ingenico document - Reproduction or disclosure prohibited without written authorization 15/23 Please check document validity before using...
- Page 16 Wi-Fi J. Select Enterprise Security. NOTE: If not supporting specific encryption, select Home Security and move to Step L. K. Select your network’s designated Extensible Authentication Protocol (EAP). Ingenico document - Reproduction or disclosure prohibited without written authorization...
- Page 17 Wi-Fi L. For Home Security, enter the password M. Priority, as to which network is used first if multiple set, will be set to 20, whether using Enterprise or Home Security. This is the final step if using Home Security.
- Page 18 Wi-Fi N. Next you will select which Phase 2 Auth technology used. O. Enter your provided network log in credentials, both User and Password. NOTE: Password is case-sensitive. Ingenico document - Reproduction or disclosure prohibited without written authorization...
- Page 19 Wi-Fi P. If there is a Certification Authority to select, do so here. Ingenico document - Reproduction or disclosure prohibited without written authorization 19/23 Please check document validity before using...
- Page 20 Wi-Fi If you’ve successfully connected to your network the above will display in the top right of the devices screen. It will display signal strength and your network name next to the Wi-Fi icon. Ingenico document - Reproduction or disclosure prohibited without written authorization...
-
Page 21: Setting Pos Comm Type
Wi-Fi 6 Setting POS Comm Type This section will make sure the device is able to communicate with the point-of-sale (POS) using Wi-Fi connectivity. To better ensure success, please make sure your POS is also set up accordingly. - Page 22 Wi-Fi B. Confirm or select 1-Ethernet. C. Select 1-Yes, then allow device to reboot. Ingenico document - Reproduction or disclosure prohibited without written authorization 22/23 Please check document validity before using...
- Page 23 Wi-Fi D. Confirm connectivity via Wi-Fi by viewing the bottom of the “splash screen”. You should see Host: WiFi: Server: DHCP/Static: IP Address : Port # (these will be the values you Ingenico document - Reproduction or disclosure prohibited without written authorization...
Need help?
Do you have a question about the iSMP v4 Wi-Fi and is the answer not in the manual?
Questions and answers