Table of Contents
Advertisement
Quick Links
Advertisement
Table of Contents

Subscribe to Our Youtube Channel
Related Manuals for FuzzDog RockBox


Summary of Contents for FuzzDog RockBox
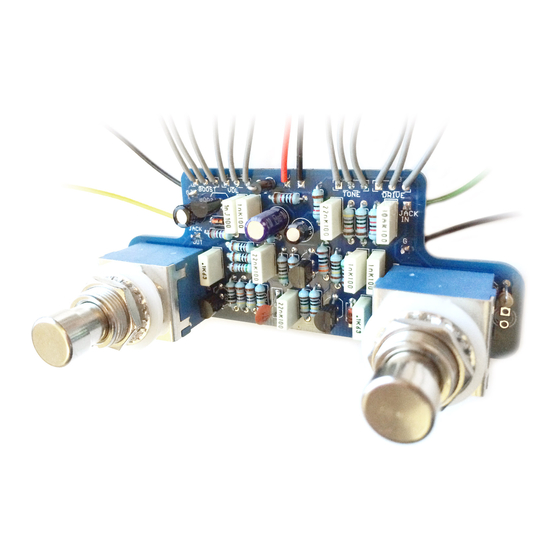
- Page 1 Rock Box Full-on Rock Distortion with a nice post-Boost PedalParts.co.uk...
- Page 2 Schematic + BOM Q1-4 BS170 100n 1N4001 470p 9.1v zener 9.1v zener 470K 100n GAIN TONE 100KB 100R 270R LEVEL 100KB empty BOOST 510K* empty SW1-2 3PDT 330R 360R 100n Main BOM is JTM45 version. Tweaks for ‘59 Bassman in blue. *520K in original.
- Page 3 As the GAIN and BOOST controls on this babe are actually Boner Boost circuits, they will produce a crackle when you adjust them. This is normal. Panic not. At full crank this circuit puts out a LOT of signal, so always start off with the ‘BOOST’...
- Page 4 POT WIRING Give yourself enough wire to be able to manoeuvre things around in the box without ending up with spaghetti junction in there. 35-40mm is plenty. JACK and DC WIRING I’d recommend longer wires until the circuit has been tested. Then you can detach them, put everything in place in the box, then make them as short as possible (without tension) in the final boxing up.
- Page 5 WIRING FOR TESTING Connect everything up but the LEDs. Ensure your power supply is 9V Tip Negative, or connect up a battery for now. If connecting a battery, solder long lengths of wire to the +V and GND pads on the PCB, then attach the battery to the other end of these. This saves desolding stuff from the board, which is a pain.
- Page 6 BOXING UP Here’s how it’ll look when boxed up. Notice the two outer pots are turned inwards 90°. This keeps them well clear of the jacks. What about my LEDs? Pre-drilled enclosures are supplied with 3mm holes for the LEDs, rather than larger ones that require a mounting bezel.
- Page 7 This is how the whole shebang is connected within the PCB traces. NOTE: This is just for illustration purposes - none of this wiring needs to be done! ROCK BOOST BOARD BOARD BOARD BOARD IN A IN B BOARD BOARD BOARD OUT A OUT B...
Need help?
Do you have a question about the RockBox and is the answer not in the manual?
Questions and answers