Table of Contents
Advertisement
Quick Links
Advertisement
Table of Contents

Related Manuals for Bristan Descent DSC BAS C


Summary of Contents for Bristan Descent DSC BAS C
- Page 1 Installation Instructions and User Guide Descent Tap Range Models Covered: DSC BAS C, DSC BF C, DSC BSM C, DSC 1HBF C, DSC FSBSM C Please keep this booklet for future reference. Installer, when you have read these instructions please ensure you leave them with the user.
-
Page 2: Table Of Contents
Contents Thank you for choosing Bristan. These fitting instructions have been created to give you all of the information you need for a safe and successful installation, so please read them thoroughly and retain for future reference. If you need any further help, please do not hesitate to give us a call on 0330 026 6273. -
Page 3: Important Safety Information
Important Safety Information All products manufactured and supplied by the manufacturer are safe to use provided that they are installed, operated and receive regular maintenance in accordance with these instructions. If you are in any doubt about your ability to install this product safely you must employ the services of an experienced qualified plumber. -
Page 4: General Information
General Information This product has been designed to comply with BS EN 200 for combination taps to be used within systems designed to BS 6700. BS 6700 recommends the temperature of stored water should never exceed 65°C. A stored water temperature of 60°C is considered sufficient to meet all normal requirements and will minimise the build up of lime scale in hard water areas. -
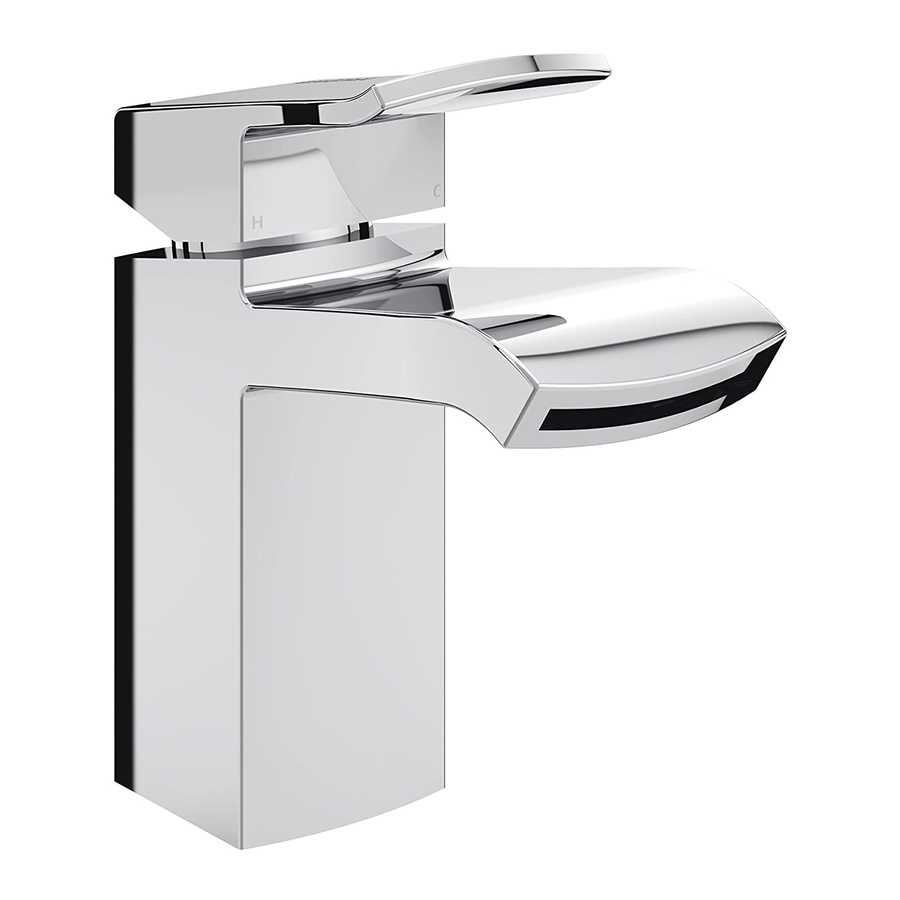
Page 5: Dimensions (Mm)
Dimensions (mm) Basin Mixer Bath Filler Dimensions are approximate and in millimetres. Need help? Give us a call on 0330 026 6273 and speak to one of our trained advisors. - Page 6 Dimensions (mm) Bath Shower Mixer 1 Hole Bath Filler Dimensions are approximate and in millimetres. Need help? Give us a call on 0330 026 6273 and speak to one of our trained advisors.
- Page 7 Dimensions (mm) Floor Standing Bath Shower Mixer Dimensions are approximate and in millimetres. Need help? Give us a call on 0330 026 6273 and speak to one of our trained advisors.
-
Page 8: Installation Requirements
Installation Requirements Flexible Connecting Pipes Care must be taken when connecting the flexible connection pipes to the household pipework to ensure they do not bend sharply and kink or twist. See below for recommended ways to fit the flexible connecting pipes. Slight 90°... -
Page 9: Installation
Installation Basin Mixer / 1 Hole Bath Filler 1. Screw the flexi tails into the bottom of the body by hand only (DO NOT OVERTIGHTEN). 2. Feed the flexi tails through the hole in the basin / bath, ensuring the washer is fitted between the tap body and fixing surface to ensure a water tight seal. - Page 10 Installation Bath Filler and Bath Shower Mixer 1. Fit the tap body to the bath ensuring that the washers are fitted between the body and the bath to create a water tight seal. 2. Secure the body to the bath using the washers and metal backnut.
- Page 11 Installation Floor Standing Bath Shower Mixer 1. Mark the fixing holes of the base onto the floor surface at the required position, also marking a central hole for the flexi tails to go through. Note: If the bath shower mixer is to be fitted onto wooden floorboards, the boards must be reinforced with additional wooden batons due to the height and weight of the bath shower...
-
Page 12: Maintenance
Maintenance General Cleaning Bristan products are made from premium materials, with hand polishing and electroplated finishes. Your taps or shower should be regularly cleaned with warm water, a mild pH-neutral liquid soap, and polished with a soft cloth. Any residues from soap, toothpaste, shampoos and shower gels can cause blemishes if not rinsed off straight after use. -
Page 13: Troubleshooting
Maintenance Cartridge Grub Sc rew Unscrew the shroud and cartridge Handle retaining nut and pull the cartridge 2.5 mm out from the body. Clean the cartridge hexagonal key thoroughly under cold water to Shr oud remove any build up of limescale or debris. -
Page 14: Guarantee
Guarantee At Bristan, we want to make things as easy as possible for our customers. That’s why we offer solid guarantees on all our products, effective from the date of purchase, to give you peace of mind. To start your free guarantee simply scan the QR code and register your product. -
Page 15: Notes
Notes Need help? Give us a call on 0330 026 6273 and speak to one of our trained advisors. - Page 16 Issue: D2 Part Number: DSC BOOK 1 Address Birch Coppice Business Park Dordon Tamworth Staffordshire B78 1SG Web: www.bristan.com Email: enquire@bristan.com A Masco Company...
Need help?
Do you have a question about the Descent DSC BAS C and is the answer not in the manual?
Questions and answers