
Related Manuals for Bristan Blitz Tap Series


Summary of Contents for Bristan Blitz Tap Series
- Page 1 Blitz Tap Range Installation Instructions & User Guide Please keep these instructions for future reference and request of replacement parts...
-
Page 2: Table Of Contents
Contents Thank you for choosing Bristan, the UK’s leading taps and showers expert. We have designed this product with your enjoyment in mind. To ensure that it works to its full potential, it needs to be fitted correctly. These fitting instructions have been created to give you all of the information you need and, if you need any further help, please do not hesitate to give us a call on 0844 701 6273. -
Page 3: Important Safety Information
Important Safety Information • Please read these instructions thoroughly and retain for future use. • All products manufactured and supplied by Bristan are safe provided they are installed correctly, used correctly and receive regular maintenance in accordance with these instructions. -
Page 4: Dimensions
Dimensions Ø32 Ø38 Ø42 Ø51 ½" Basin Taps ¾" Bath Taps G 1/2 G 3/4 Basin Mixer... -
Page 5: Bath Filler
Dimensions Cont. G½” Ø38 G¾" Ø51 Bath Shower Mixer Ø38 G¾" Ø51 Bath Filler... - Page 6 Installation Requirements IMPORTANT - PLEASE READ This/these fitting/fittings needs/need to be IRN R030 – BTZ BSM C - Schedule 2-15 (1) Multiple inlet fittings installed in installed in accordance with the following domestic premises or in other premises to Installation Requirements and Notes (IRN) protect against a backflow risk up to a Fluid to ensure they meet the requirements of Category 3, incorporating a self cancelling...
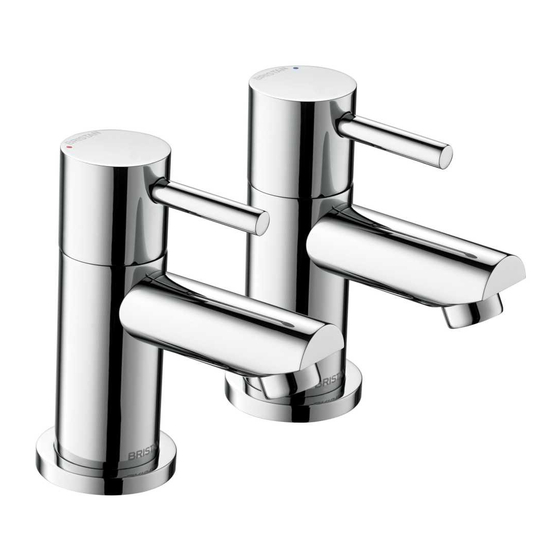
- Page 7 Installation ½" Basin & ¾" Bath Taps 1. Identify all components are present prior to starting installation. 2. Slide the plinth (6) and washer (7) onto the threaded tail and install the taps to the basin. 3. Using the washer (8) and backnuts (9) secure the taps to the basin by tightening the backnuts onto the threaded tails.
- Page 8 Installation cont. Basin Mixer 1. Identify all components are present prior to starting installation using the diagram overleaf. 2. Fit the mixer body (8) to the basin ensuring the plinth (9) and washer (10) are fitted between the basin and the mixer body (8). 3.
- Page 9 Installation cont Basin Mixer...
- Page 10 Installation cont Bath Filler 1. Identify all components are present prior to starting installation. 2. Slide the Plinth (6) and washer (7) onto the threaded tail of the tap and install the mixer body (5) to the bath. 3. Using washers (8) and the backnuts (9) secure the mixer body (5) to the bath by tightening the backnuts (9) onto the threaded tails (a suitable spanner maybe needed to fully tighten the backnuts (9).
- Page 11 Installation cont Bath Filler...
- Page 12 Installation cont Bath Shower Mixer 1. Identify all components are present prior to starting installation using the diagram overleaf. 2. Slide the Plinth (7) and washer (8) onto the threaded tail of the tap body and install the mixer body (6) to the bath. 3.
- Page 13 Installation cont Bath Shower Mixer...
-
Page 14: Maintenance
Using just water, E-cloth gives a smear free, deep clean by breaking up and holding dirt, which normal cloths leave behind. Order through your Bristan stockist (order code: ECLOTH). Cleaning the Showerhead – BTZ BSM C Your Bristan showerhead has rub-clean nozzles for easy cleaning. - Page 15 4. Clean the valve and the seating inside the Tap Body tap body. 5. If necessary replace the valve. Please visit www.bristan.com/sparesfinder in order to find spare parts for this product. 6. Replace the valve into the tap body and tighten fully using a suitable spanner.
- Page 16 Tap Body 4. Carefully clean the cartridge seals and seating. 5. If necessary replace the cartridge. Please visit www.bristan.com/sparesfinder in order to find spare parts for this product. 6. Replace the cartridge into the tap body and tighten retaining nut fully.
-
Page 17: Map Of Hard Water Regions In The Uk
Map of Hard Water Regions in the UK Soft to Hard to very hard moderately soft Above 200mg/l as 0 - 100mg/l as calcium carbonate calcium carbonate equivalent equivalent Slightly hard to moderately hard 100 - 200mg/l as calcium carbonate equivalent... -
Page 18: Troubleshooting
Troubleshooting Symptom Cause Remedy No flow or poor flow Partially closed stop or service Open stop or service valve. rate. valve in water supply pipework to the tap. Head of water is below the Refer to the Specification section minimum distance required. for minimum pressures required. -
Page 19: Guarantee
5 year parts only. Subject to proof of purchase. *Labour provided by an approved Bristan engineer. Guarantee only applies to products with a manufacturing fault. A deferred payment will be necessary in order to secure any visits by our engineers which will be charged if the problem is found not to be a manufacturing fault. - Page 20 BTZ ¾ C BTZ BAS C BTZ BF C BTZ BSM C Helpline 0844 701 6273 Bristan Group Limited Birch Coppice Business Park, Dordon, Tamworth, Staffordshire B78 1SG A Masco Company Website: www.bristan.com Telephone: 0844 7016 274 Facsimile: 0844 701 6275 Email: enquire@bristan.com...
Need help?
Do you have a question about the Blitz Tap Series and is the answer not in the manual?
Questions and answers