MIMAKI JFX500-2131 Procedures Manual
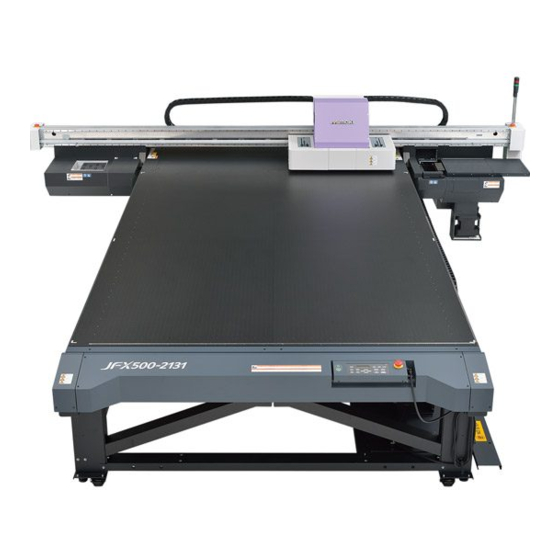
Uv inkjet printer
Hide thumbs
Also See for JFX500-2131:
- Operation manual (156 pages) ,
- Product manual (48 pages) ,
- Safety precautions (36 pages)

Related Manuals for MIMAKI JFX500-2131


Summary of Contents for MIMAKI JFX500-2131
- Page 1 UV INKJET PRINTER UV FAN Filter 交換手順書 Procedure Manual to replace UV FAN Filter 株式会社 ミマキエンジニアリング MIMAKI ENGINEERING CO., LTD. D902454-11...
- Page 2 Before Use Before Use ・Refer to the JFX500-2131’s Operation Manual for information about precautions and safety. ・Be sure to read and understand “Warning for Use” and “Precaution for Use” in this manual before using the device. ・Read the main unit Operation Manual for details about the operating method.
- Page 3 ・Record the UV unit position before the operation. ・Move the UV Unit to the front. ・Please follow the next page to replace the filter. ・Reposition the UV Unit in place. © 2014 MIMAKI ENGINEERING CO., LTD. All Rights Reserved. D902454-11...
- Page 4 This procedure is shown for only right side unit. Please operate it as well as left side. Unscrew the screws which are fixed the filter cover. Remove the filter cover. Pull up the projection of filter Assy. © 2014 MIMAKI ENGINEERING CO., LTD. All Rights Reserved. D902454-11...
- Page 5 Filter Base ・Attach the cover . Make sure to insert the projections to the notch hole of the filter base. ・Fix the cover using pinch screw. © 2014 MIMAKI ENGINEERING CO., LTD. All Rights Reserved. D902454-11...
- Page 6 Insert the filter Assy to the projection of receiver. Make sure to insert it to the bottom softly and firmly. ・Attach the filter cover. ・Fix the filter cover using pinch screw. © 2014 MIMAKI ENGINEERING CO., LTD. All Rights Reserved. D902454-11...
Need help?
Do you have a question about the JFX500-2131 and is the answer not in the manual?
Questions and answers