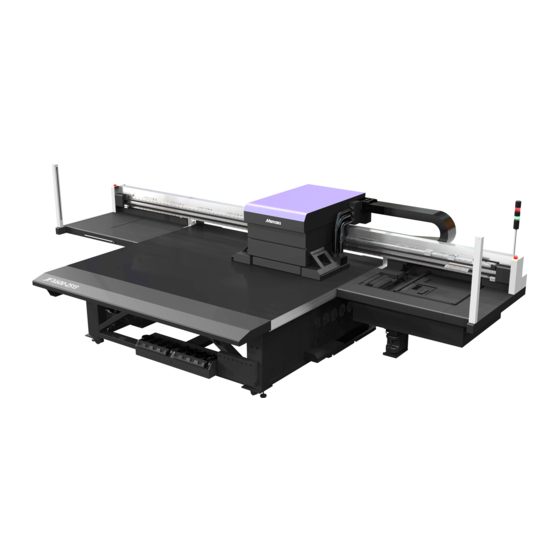
MIMAKI JFX550-2513 Manual
Uv inkjet printer
Hide thumbs
Also See for JFX550-2513:
- Operation manual (164 pages) ,
- Care and maintenance (28 pages) ,
- Manual (16 pages)
Subscribe to Our Youtube Channel
Summary of Contents for MIMAKI JFX550-2513
- Page 1 You can also download the latest manual from official website. MIMAKI ENGINEERING CO., LTD. https://mimaki.com/ D203649-10 Original instructions...
-
Page 2: Table Of Contents
TABLE OF CONTENTS Maintenance 1. Connecting to a Local Network........... 4 2. Configuring the RIP PC .............. 7 Configuring the network sharing and discovery settings ...... 7 Setting up an Ethernet connection............ 8 3. Importing Jobs in MPC via Shared Folders ...... 12 Outputting jobs to a shared folder............ -
Page 3: Maintenance
Maintenance The machine should be cleaned periodically depending on the usage frequency to maintain accuracy and ensure long-term use. Read the maintenance precautions thoroughly before maintaining this product. -
Page 4: Connecting To A Local Network
1. Connecting to a Local Network 1. Connecting to a Local Network Connect the control PC and RIP PC to a local network or with a LAN cable to save RIP data from the RIP PC. Insert the LAN cable until it clicks into place. l About the network configuration of RIP PC and this machine There are two types of connections between the RIP PC and this machine. - Page 5 1. Connecting to a Local Network l Method 1 for checking the LAN connection of the control PC Check the LAN connector indicators near the bottom on the back of the control PC. • The LAN connector indicators are illuminated when the system is connected. •...
- Page 6 1. Connecting to a Local Network Check the [Current settings] field. • If the LAN connection has been successfully established, the address will be displayed. Tap [X] in the upper right to close the dialog box.
-
Page 7: Configuring The Rip Pc
2. Configuring the RIP PC 2. Configuring the RIP PC Configuring the network sharing and discovery settings On the RIP PC, open the Windows start menu and click [Settings]. • The [Settings] window will appear. Select [Network & Internet]. Under the "Change your network settings" section, select [Sharing options]. •... -
Page 8: Setting Up An Ethernet Connection
2. Configuring the RIP PC Select [Private], [Guest or Public] or [Domain], depending on the network configuration. • If you are having trouble, check with your network administrator to see which settings need to be changed. Select [Turn on network discovery] and click [Save changes]. Restart the RIP PC to apply the settings. - Page 9 2. Configuring the RIP PC Select [Network & Internet]. Under the "Change your network settings" section, select [Change adapter options]. • The following window will appear. Right-click the [Ethernet] icon, and then click [Properties]. • If there are multiple [Ethernet] icons, open select the properties for the port you wish to use. •...
- Page 10 2. Configuring the RIP PC On the Networking tab, select the [Internet Protocol Version 4 (TCP/IPv4)] connection item, and then click [Properties]. Configure the network settings. • Configure the network settings of the RIP PC according to the network settings of the control PC. •...
- Page 11 2. Configuring the RIP PC Open the Explorer on the RIP PC and enter [\\printer serial number] in the address bar. • From MENU on the touch panel, tap [SYSTEM] > [System information] to display the printer serial number on the browser screen at right. •...
-
Page 12: Importing Jobs In Mpc Via Shared Folders
3. Importing Jobs in MPC via Shared Folders 3. Importing Jobs in MPC via Shared Folders Follow these steps to import RIP data (jobs) to the control PC using a local network: "Connecting to a Local Network"(P. 4) RIP PC Printer (control PC) LAN connection : SharedJob... - Page 13 3. Importing Jobs in MPC via Shared Folders Specify a shared folder in [Select output folder] on the RasterLink status screen according to the intended use. • To print from the [JOB LIST] on the touch panel after outputting a job ->...
- Page 14 3. Importing Jobs in MPC via Shared Folders l When using SharedJob From MENU on the touch panel, tap [PRINT] > [JOB LIST] > [SharedJob]. • If you have already opened the [SharedJob] folder, tap the refresh button. • Saved jobs are displayed. •...
-
Page 15: Copying Jobs To A Shared Folder At Any Time
3. Importing Jobs in MPC via Shared Folders (1) When continuous print mode is on • Printing starts immediately. (2) When continuous print mode is off • The job is added to the queue. Please turn on continuous print mode to start printing. (3) If another job is currently being printed •... - Page 19 NetworkConnection&Job Import Guide March, 2022 MIMAKI ENGINEERING CO.,LTD. 2182-3 Shigeno-otsu, Tomi-shi, Nagano 389-0512 JAPAN D203649-10-31032022...
- Page 20 System Pack 2.1.0 © MIMAKI ENGINEERING CO., LTD.2022...


Need help?
Do you have a question about the JFX550-2513 and is the answer not in the manual?
Questions and answers