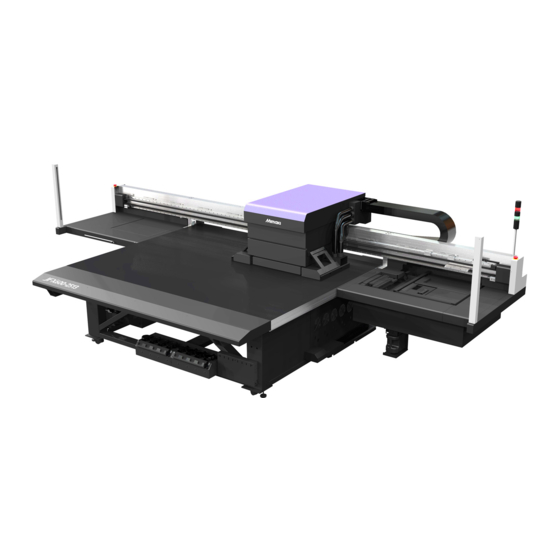
MIMAKI JFX550-2513 Manual
Hide thumbs
Also See for JFX550-2513:
- Operation manual (164 pages) ,
- Care and maintenance (28 pages) ,
- Manual (20 pages)

Related Manuals for MIMAKI JFX550-2513


Summary of Contents for MIMAKI JFX550-2513
- Page 1 You can also download the latest manual from official website. MIMAKI ENGINEERING CO., LTD. https://mimaki.com/ D203649-11 Original instructions...
-
Page 2: Table Of Contents
TABLE OF CONTENTS Introduction 1. Connecting to a Local Network........... 4 LAN connection checking method ............ 4 2. Setting up an Ethernet connection.......... 6 Sharing a Network ................ 6 Setting up an Ethernet connection............ 7 3. With output port set to [Ethernet] .......... 10 Creating RIP Data................ -
Page 3: Introduction
Introduction The machine should be cleaned periodically depending on the usage frequency to maintain accuracy and ensure long-term use. Read the maintenance precautions thoroughly before maintaining this product. -
Page 4: Connecting To A Local Network
1. Connecting to a Local Network 1. Connecting to a Local Network Connect the machine (control PC) and RIP PC via a local network or direct LAN cable to enable jobs (RIP data) to be easily imported. Insert the LAN cable until it clicks into place. l Machine (control PC) and RIP PC configuration The machine can be connected using one of the following two methods: •... - Page 5 1. Connecting to a Local Network • If the indicators are not illuminated, insert the LAN cable until it clicks into place. [LINK/ACT] [SPEED] Status Summary SPEED Green Linked via 10GBASE-T Yellow Linked over a connection other than 10GBASE-T LINK/ACT Flashing green Data is being sent and received.
-
Page 6: Setting Up An Ethernet Connection
2. Setting up an Ethernet connection 2. Setting up an Ethernet connection Sharing a Network On the RIP PC, open the Windows start menu and click [Settings]. Select [Network & Internet]. Under the "Change your network settings" section, select [Sharing options]. Select [Private], [Guest or Public], or [Domain]. -
Page 7: Setting Up An Ethernet Connection
2. Setting up an Ethernet connection Select [Turn on network discovery] and click [Save changes]. Restart the RIP PC. Setting up an Ethernet connection On the RIP PC, open the Windows start menu and click [Settings]. Select [Network & Internet]. - Page 8 2. Setting up an Ethernet connection Select [Change adapter options]. Right-click [Ethernet], and then select [Properties]. • If there are multiple [Ethernet] icons, select the properties for the port you wish to use. • The names may vary depending on the PC. On the Networking tab, select the [Internet Protocol Version 4 (TCP/IPv4)] item, then click [Properties].
- Page 9 2. Setting up an Ethernet connection Configure the network settings. • Configure the network according to the network settings of the control PC. • For more information regarding the network settings of the control PC and RIP PC, contact your network administrator.
-
Page 10: With Output Port Set To [Ethernet]
3. With output port set to [Ethernet] 3. With output port set to [Ethernet] Import jobs (RIP data) to the machine (control PC) using a local network. "Connecting to a Local Network"(P. 4) RIP PC The machine (control PC) LAN connection : HotFolder : SharedJob The shared folder for the machine (control PC) includes the following two types: These should be used as... - Page 11 • If multiple printers are registered, select JFX550-2513, JFX600-2513 in "Printer name". Select the image data imported. • The image is displayed in the tab for JFX550-2513, JFX600-2513 selected in "Printer name". Check the settings and alter as necessary. • Specify the following settings by clicking the function icons shown on the right-hand side of the screen: (General Print): Specifies settings like enlargement/reduction and number of copies.
- Page 12 3. With output port set to [Ethernet] Prepare a job (RIP data) from image data. • Click (Execute) from the function icons on the right-hand side of the screen. Select "RIP and Print", then click [Start]. • When the output destination folder is [SharedJob]: The RIP job is added to the MPC job list. "When saved to [SharedJob]"(P.
-
Page 13: Copying Jobs To A Shared Folder At Any Time
3. With output port set to [Ethernet] • From MENU on the touch panel, tap [PRINT] > [JOB LIST] > [HotFolder]. • Up to 100 jobs can be saved to [HotFolder] by default. If the number exceeds 100 jobs, the oldest jobs in the print history are deleted. - Page 15 NetworkConnection&Job Import Guide September, 2022 MIMAKI ENGINEERING CO.,LTD. 2182-3 Shigeno-otsu, Tomi-shi, Nagano 389-0512 JAPAN D203649-11-05092022...
- Page 16 © MIMAKI ENGINEERING CO., LTD.2022 System Pack 2.4.1...
Need help?
Do you have a question about the JFX550-2513 and is the answer not in the manual?
Questions and answers