Dormakaba TS93 Series Installation Instructions Manual
Gsr/emf t 1a, 1i, 2, surface applied closer, pull side track mount and coordinator system
Hide thumbs
Also See for TS93 Series:
- Installation instructions manual (9 pages) ,
- Installation instructions manual (9 pages)

Related Manuals for Dormakaba TS93 Series


Summary of Contents for Dormakaba TS93 Series
- Page 1 TS93 GSR/EMF T 1A, 1I, 2 Surface Applied Closer Pull side track mount and coordinator system Installation instructions 08280031 – 08-2019 | EN |...
-
Page 2: Table Of Contents
TS93 GSR/EMF T 1A, 1I, 2 Installation Instructions Table of Contents Table of contents 1 Technical specifications Overview Size selection chart Tools recommended Surface closer system Handing the door Installation instructions Installing the back plate Installing the surface closer... -
Page 3: Technical Specifications
TS93 GSR/EMF T 1A, 1I, 2 Installation Instructions Technical specifications 1 Technical specifications Overview Caution: sex nuts are required for attachment of A carry bar should be installed to insure that the active components to unreinforced doors and to wood or plastic door is opened enough for the inactive door to close. -
Page 4: Surface Closer System
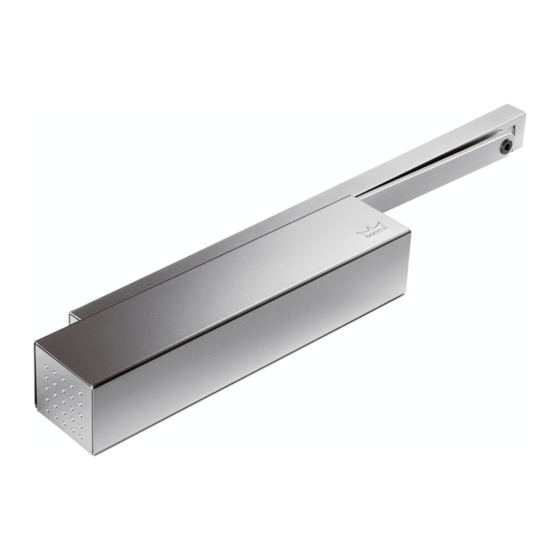
TS93 GSR/EMF T 1A, 1I, 2 Installation Instructions Surface closer system Handing the door 1.4 Surface closer system Fig.1 The surface closer is comprised of the following components. Track covers and center cover Closer body: “B” body Closer cover... -
Page 5: Installation Instructions
TS93 GSR/EMF T 1A, 1I, 2 Installation Instructions Installing back plate Installing surface closer Installation instructions 2.1 Installing the back plate Fig.3 Backplate 10-32x5/8" Right hand Left hand NOTE: Ensure arrows point door door in direction of arm location. -
Page 6: Installing The Slide Channel
TS93 GSR/EMF T 1A, 1I, 2 Installation Instructions Installing slide channel Installing main arm 2.3 Installing the slide channel Fig.5 Right hand door Left hand door 10-32x2" FH Coordinator towards (Inactive) (Active) center of doorway Right hand door End cap covers 10-32x2"... -
Page 7: Secure Main Arm
TS93 GSR/EMF T 1A, 1I, 2 Installation Instructions Secure main arm Installing coordinator system 2.5 Secure main arm Fig.7 Right hand door (Inactive) Trigger dial Slide shoe M8x15 SH bolt Left hand door (Active) 2.5.1 Secure arm to slide shoe. -
Page 8: Installing Conduit For Emf
TS93 GSR/EMF T 1A, 1I, 2 Installation Instructions Wiring conduit Coordinator system 2.7 Installing conduit for EMF Fig.9 Conduit From 24VDC power supply Cable clamps 2.7.1 Secure conduit to mounting surface with cable 2.7.2 Feed wires through conduit. clamps included. -
Page 9: Wiring The Emf
TS93 GSR/EMF T 1A, 1I, 2 Installation Instructions Wiring EMF 2.9 Wiring the EMF Fig.11 EMF 2 EMF 1I EMF 1A 2.9.1 Determine appropriate EMF unit and follow steps below: NOTE: Be sure power is off prior to making following connections: 2.9.2... -
Page 10: Adjustments
TS93 GSR/EMF T 1A, 1I, 2 Installation Instructions Adjust closing speeds Adjust hold open Adjustments Confirm closer spring size prior to making any closing speed Maximum opening angle is 175º. adjustments. Door should close in 3 to 6 seconds from 90º. -
Page 11: Adjust Spring Force
TS93 GSR/EMF T 1A, 1I, 2 Installation Instructions Adjust spring force Secure covers 3.3 Adjust spring force TS9315 Increase NOTE: Supplied with a size 2 spring setting. Barrier free openings: Decrease Take an opening force reading from the pull on the door. If required, adjust the spring force to meet the barrier-free requirement. - Page 12 DORMA USA, Inc. 1 Dorma Drive, Drawer AC Reamstown, PA 17567 T: 717-336-3881 F: 717-336-2106 www.dormakaba.com...
Need help?
Do you have a question about the TS93 Series and is the answer not in the manual?
Questions and answers