
Related Manuals for Dormakaba TS93 GSR PT


Summary of Contents for Dormakaba TS93 GSR PT
- Page 1 TS93 GSR PT Surface Applied Closer Push side track mount and coordinator system Installation instructions 08281850 – 08-2019 | EN |...
-
Page 2: Table Of Contents
TS93 GSR PT Installation Instructions Table of Contents Table of contents 1 Technical specifications Overview Size selection chart Tools recommended Surface closer system Handing the door Installation instructions Installing the back plate Installing the surface closer Installing the slide channel... -
Page 3: Technical Specifications
TS93 GSR PT Installation Instructions Technical specifications 1 Technical specifications Overview Caution: sex nuts are required for attachment of A carry bar should be installed to insure that the components to unreinforced doors and to wood active door is opened enough for the inactive or plastic faced composite type fire doors, unless door to close. -
Page 4: Surface Closer System
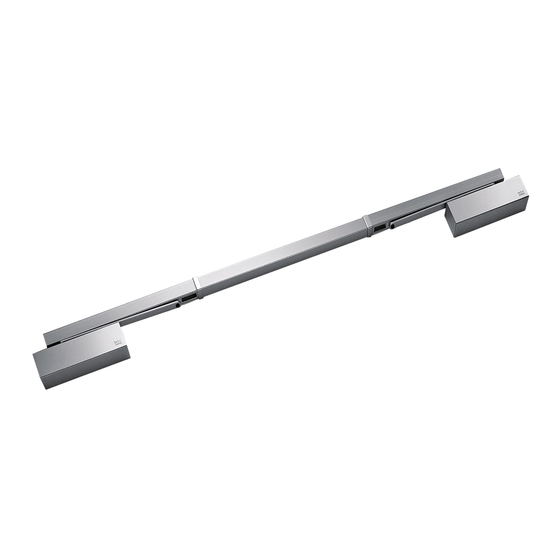
TS93 GSR PT Installation Instructions Surface closer system Handing the door 1.4 Surface closer system Fig.1 The surface closer is comprised of the following components. Track covers and center cover Closer body: “B” body Closer cover Main arm Closer end caps... -
Page 5: Installation Instructions
TS93 GSR PT Installation Instructions Installing back plate Installing surface closer Installation instructions 2.1 Installing the back plate Fig.3 Mounting angle flat head screws Mounting angles 10-32x5/8" Backplate NOTE: Ensure arrows point Right hand in direction of arm location. -
Page 6: Installing The Slide Channel
TS93 GSR PT Installation Instructions Installing slide channel Installing main arm 2.3 Installing the slide channel Fig.5 Left hand door (Active) Coordinator towards center of doorway Right hand door Left hand door (Inactive) M5 FH End cap covers M5 FH End caps NOTE: EXAMPLE: Left hand active door shown. -
Page 7: Secure Main Arm
TS93 GSR PT Installation Instructions Secure main arm Installing coordinator system 2.5 Secure main arm Fig.7 Trigger dial Slide shoe Shoulder bolt Right hand door(Inactive) Left hand door (Active) Alignment screw END VIEW Hex screw Lever with roller 2.5.1 Secure arm to slide shoe. -
Page 8: Installing The Coordinator System
TS93 GSR PT Installation Instructions Coordinating system 2.6 Installing the coordinator system Fig.8 CUT LENGTH Trigger dial Plastic guide element Connecting channel Cut mark reference Slide shoe Connecting channel Plastic guide screw Locking Trigger dial Clamping plate Clamping rod Active door: Insert connecting channel into 2.6.7... -
Page 9: Adjustments
TS93 GSR PT Installation Instructions Adjust closing speeds Adjust hold open Adjustments Confirm closer spring size prior to making any Maximum opening angle is 175º. closing speed adjustments. Door should close in 3 to 6 seconds from 90º. Do not back valve heads out beyond closer casting. -
Page 10: Adjust Spring Force
TS93 GSR PT Installation Instructions Adjust spring force Secure covers 3.3 Adjust spring force Fig.11 TS9315 NOTE: Supplied with a size 2 spring setting. Increase Barrier free openings: Take an opening force reading Decrease from the pull on the door. If required, adjust the spring force to meet the barrier-free requirement. - Page 11 DORMA USA, Inc. 1 Dorma Drive, Drawer AC Reamstown, PA 17567 T: 717-336-3881 F: 717-336-2106 www.dormakaba.com...
Need help?
Do you have a question about the TS93 GSR PT and is the answer not in the manual?
Questions and answers